

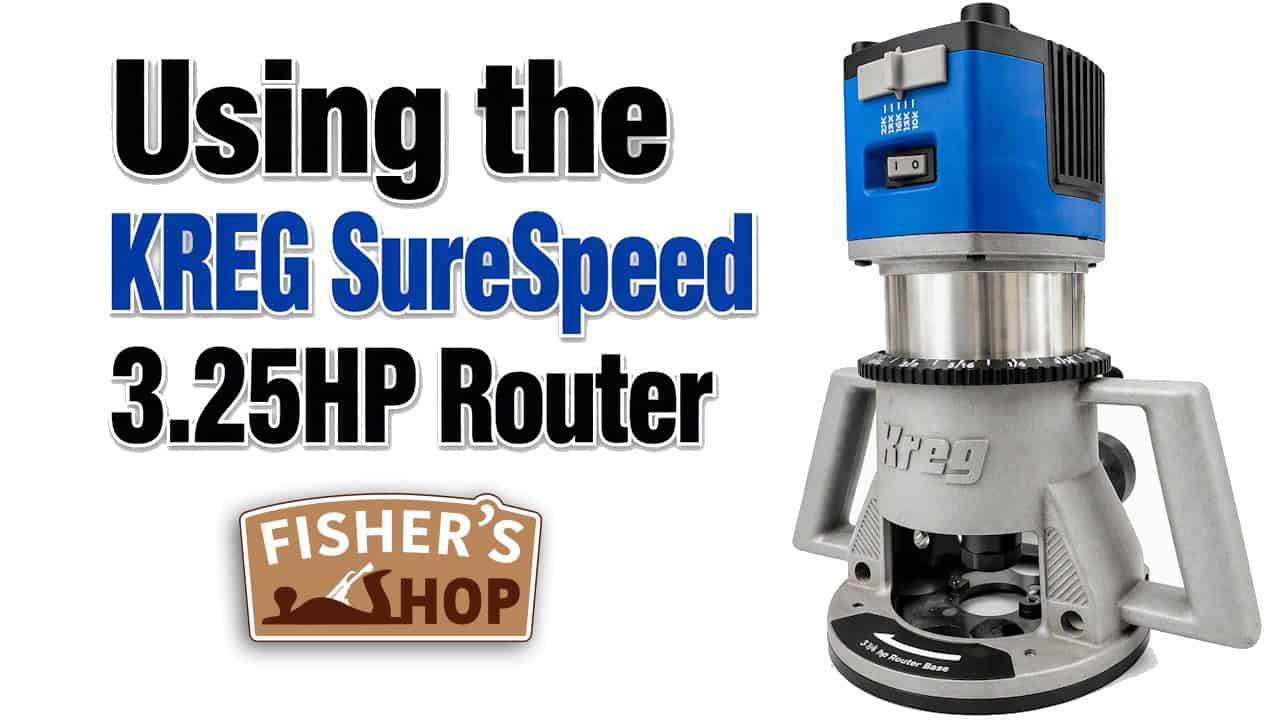
Drew Fisher from Fisher’s Shop demonstrated the test featured in this video.
Drew recently picked up a slab flattening mill and needed a powerful router to pair with it, so he put the new Kreg Fixed-Base 3.25HP Sure-Speed router through its paces on several real shop projects. From cutting T-track slots to flattening slabs and fixing an old tabletop, this video covers how the router performed under genuine working conditions rather than just a quick unboxing.
Watch the full video and subscribe to Fisher’s Shop:


First Impressions and Key Features
Drew started by building a flattening mill setup using a large melamine panel as a flat base and rails to guide the router carriage. The one piece missing from the setup was a router strong enough to handle heavy material removal, which is where the Kreg router came in.
Out of the box, he liked that the speed control used a fixed switch with set positions rather than a dial, making it easy to select the right speed without guessing. The aluminum base and locking lever allowed for smooth depth changes, and a reference ring let him dial in depth adjustments with a high level of precision.
The router came with two collet sizes, letting him swap between small trim bits and full-size shaping bits without extra hardware changes. The angled wrenches also stood out as a nice touch, since they make it easier to access the collet when the router is mounted in a table.
Other details, like the dust port sized for standard shop vacuum hoses and the flat top that allows the router to be flipped upside down for bit changes, added convenience that made routine tasks less of a hassle.
Checking Power and Soft Start
Before diving into real cuts, Drew tested the soft start feature and ran the router through its full speed range. The motor ramped up smoothly with no kickback at startup, and he noted the power felt strong even at the lowest settings.
This kind of smooth engagement matters most when working with large or awkward bits, since a sudden jolt at startup can throw off a cut or make the tool harder to control.
Cutting T-Track Slots
With hold-down clamps in hand, Drew needed to rout slots for T-track to secure slabs on the flattening jig. He set the depth to cut the full groove in a single pass and guided the router along a straightedge.
The router showed no hesitation cutting at full depth, moving through the material with minimal resistance. Dust collection also performed well once the carriage settled into the cut, keeping the slot mostly clear aside from some initial scatter.
This kind of full-depth cutting capability is useful for anyone setting up jigs or fixtures, since it saves time compared to running multiple shallow passes with a weaker router.
Flattening a Walnut Slab
Once the T-track was installed, Drew switched the base plate to the one included with the flattening mill, which matched the mounting pattern on the Kreg router perfectly. He then installed a large surfacing bit to begin flattening a small black walnut slab.
After wedging the slab to stop it from rocking and clamping it to the jig, he made a test pass to check the setup before connecting dust extraction. With the vacuum hooked up, the remaining passes stayed largely dust-free.
He flattened both sides of the slab, removing a modest amount of material from each face. This approach is a practical way to true up smaller pieces before cutting them into parts for furniture, like the side table components Drew cut from this slab using a flush trim bit and templates.
Fixing an Eight-Foot Maple Tabletop
The real test came with an older maple table Drew had built years earlier. The top had been assembled in two halves and ended up with a slight twist that bothered him every time he checked it with a straightedge.
After removing the top from its base, he placed it on the flattening mill and began surfacing the top. He found that cutting in a single direction, rather than going back and forth, gave smoother results and avoided visible ridges between passes.
Once finished, the top checked out as dead flat across its entire length, something it had never achieved during the original build. Reattaching the base and resanding to remove machine marks brought the table back to looking brand new.
Finishing Touches on the Side Table
With the walnut slab pieces already surfaced, Drew used the router to add a large round-over detail to the top edge and a chamfer underneath, giving the table a more refined profile. A coat of tongue oil applied the next day brought out the grain and completed the finish.
Routing both the flattening work and the edge details with the same tool shows how a single powerful router can cover a wide range of tasks, from rough stock removal to final detail work.
Final Thoughts on the Router
Across jig-making, slab flattening, and fixing a twisted tabletop, the Kreg router handled every task without bogging down or losing accuracy. Drew pointed out that a good router needs to balance power, precision, and ease of use, and this one checked all three boxes throughout the testing.
For anyone considering an upgrade to their shop’s router lineup, this kind of real-world testing offers a clearer picture than spec sheets alone, especially when the tool is pushed through demanding cuts like full-depth slots and large-scale slab flattening.
See Drew’s plans here: https://www.FishersShopOnline.com/plans

Matt’s Take
These are my personal thoughts and tips based on my own experience in the shop. This section is not written, reviewed, or endorsed by the original creator of this project.
Slab flattening is one of those tasks that really separates a strong router from an underpowered one. When you’re running a big surfacing bit across a wide piece of material, any dip in power shows up immediately as chatter or uneven passes. A fixed-base router with real horsepower behind it, like what’s being tested here, makes a huge difference when you’re asking the tool to hog off material consistently across several feet of travel.
On the dust collection side, it’s worth remembering that performance always improves once a bit is fully buried in the cut and the shroud or base is sealing against the work surface. That initial scatter before the vacuum catches up is normal, especially on open carriage setups like a flattening mill. If dust control matters for your shop, pairing a strong vacuum with a hose diameter that matches the port is one of the easiest ways to keep performance consistent throughout a long pass.
Cutting full-depth T-track slots in one pass is satisfying, but it’s always worth feeding slower and listening to the motor rather than rushing the cut just because the router can handle it. Bit quality matters just as much as router power here — a sharp, well-balanced straight or spiral bit will reduce strain on the motor and leave a cleaner slot.
For anyone flattening tabletops or slabs for the first time, going in one consistent direction rather than back-and-forth passes is a great habit to build early. It’s a small detail that makes a noticeable difference in the final surface quality.