Jodee from Inspire Woodcraft shared the woodworking tip featured in this video.
The video demonstrates a simple, inexpensive small-parts jig for the miter saw that dramatically reduces tear-out and improves safety when cutting profiled or tiny stock.
Watch the full video and subscribe to Jodee’s channel:
Design and purpose
The jig lays the back fence flat to the table and brings a leading edge forward so the front of the blade is used for the cut instead of the rear.
This orientation lets the blade cut down into the profile and keeps the profile face supported, which reduces splintering and makes cutting small, profiled stock far cleaner and safer.
Building the jig
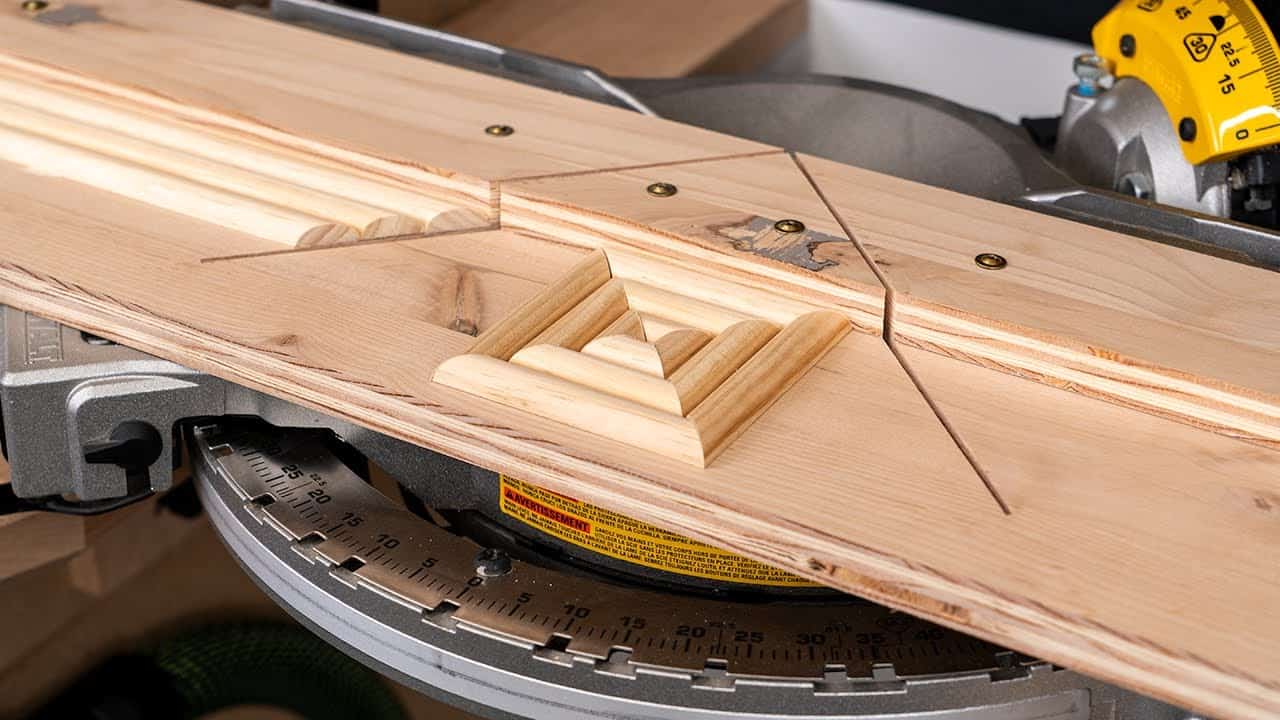
The jig is essentially two pieces joined together: a flat base that sits on the saw table and a shorter top piece that supports the workpiece forward of the blade.
Assembly can be temporary or permanent depending on how often the jig will be used; double-sided tape is shown as a quick, effective method to hold parts in place without permanent fastening.
Determining the right size
Sizing depends on the miter saw and the material being cut rather than a fixed set of measurements, so parts should be adjusted to fit the specific setup in the shop.
A practical way to find the base and top dimensions is to lower the blade and use an offcut to eyeball where the blade will intersect the jig, then measure from the fence forward to the top piece edge to ensure full cutting clearance.
Why it prevents tear-out
The key observation is how the blade teeth move: the rear half of a blade tends to lift fibers upward, which causes tear-out on profiled faces when cutting in the usual orientation.
By using the front half of the blade, where the teeth are moving downward, the cut slices into supported fibers and the jig supports the back side, so tear-out is greatly reduced or eliminated.
Securing, indexing, and safety
Sticking the jig to the saw table with strong double-sided tape keeps it from shifting during cuts, and placing it on the turntable is fine for 90° cuts where the saw is not being rotated.
For mitering left and right, the jig should be attached to the fixed portion of the table or otherwise secured so blade direction can change without losing alignment.
Tips and variations
- Add a small stop block to the front edge of the jig if repetitive length cuts are needed; it can be secured with another piece of tape or a removable fastener.
- Use small blocks attached to the underside of the jig against the saw base to prevent lateral shift and ensure the zero-clearance curve lines up every time.
- Consider a more permanent version with an adjustable stop (key track or similar) if batch work is common.
- Be creative with clamps—every saw is different, and finding a method to hold the jig firmly will improve repeatability and safety.
Why this observation matters
The technique focuses on a small change in how material meets the blade that yields cleaner results and fewer headaches when working with profiles and small parts.
Because it is simple, low-cost, and adaptable, the jig can be updated or rebuilt to suit different saws and cutting tasks, making it a practical addition to many shops.
Support Jodee by visiting his online store here: https://inspirewoodcraft.com/collections/all.

Matt’s Take
These are my personal thoughts and tips based on my own experience in the shop. This section is not written, reviewed, or endorsed by the original creator of this project.
This is one of those elegant solutions that makes you wonder why you didn’t think of it sooner. The physics behind it are spot-on — using the front half of the blade where the teeth are cutting downward into supported material is a game-changer for profiled stock. I’ve seen too many beautiful moldings get chewed up by tear-out on that final cut.
The beauty of this jig is its simplicity and adaptability. Every miter saw is slightly different, so having a design that you can customize to your specific setup is valuable. Double-sided tape might seem like a temporary fix, but it’s surprisingly effective for this application — just make sure you’re using quality tape that won’t let go mid-cut.
Safety-wise, this setup is a win because you’re not trying to balance tiny pieces against the fence while the blade spins. The forward support gives you much better control, and your hands stay well clear of the action. Just remember to account for the jig thickness when setting your stops or measuring cuts — it’s easy to forget that extra height when you’re focused on the workpiece.
For anyone considering a permanent version, think about your typical workflow first. Sometimes the simplest solution really is the best one, and you can always upgrade later if you find yourself reaching for this jig constantly.