Jodee from Inspire Woodcraft shared the woodworking tip featured in this video.
The video demonstrates how to repurpose a router table to flatten a board face so it can be reliably run through a planer, using a makeshift outfeed support and a straight router bit instead of a dedicated jointer.
The approach focuses on creating a stable outfeed surface, holding consistent pressure during feeding, and making progressive passes to remove high spots without copying existing twists.
Watch the full video and subscribe to Inspire Woodcraft:
Design Concept
The core idea mirrors a jointer: an infeed and a slightly higher outfeed with the cutter positioned between them so the freshly cut portion can land on the outfeed and stay flat.
Rather than knives, the setup uses a router bit as the cutting element and a thin, flat support clamped to the fence to act as the outfeed table.
Setting Up the Outfeed Support
A thin piece of tempered hardboard or similar flat plastic is used for the outfeed support and must be made as flat as possible on the router table.
The technique involves raising the support into the spinning bit, lowering the bit until it aligns flush with the support’s face, then locking everything down and clamping a scrap fence to keep the support stable.
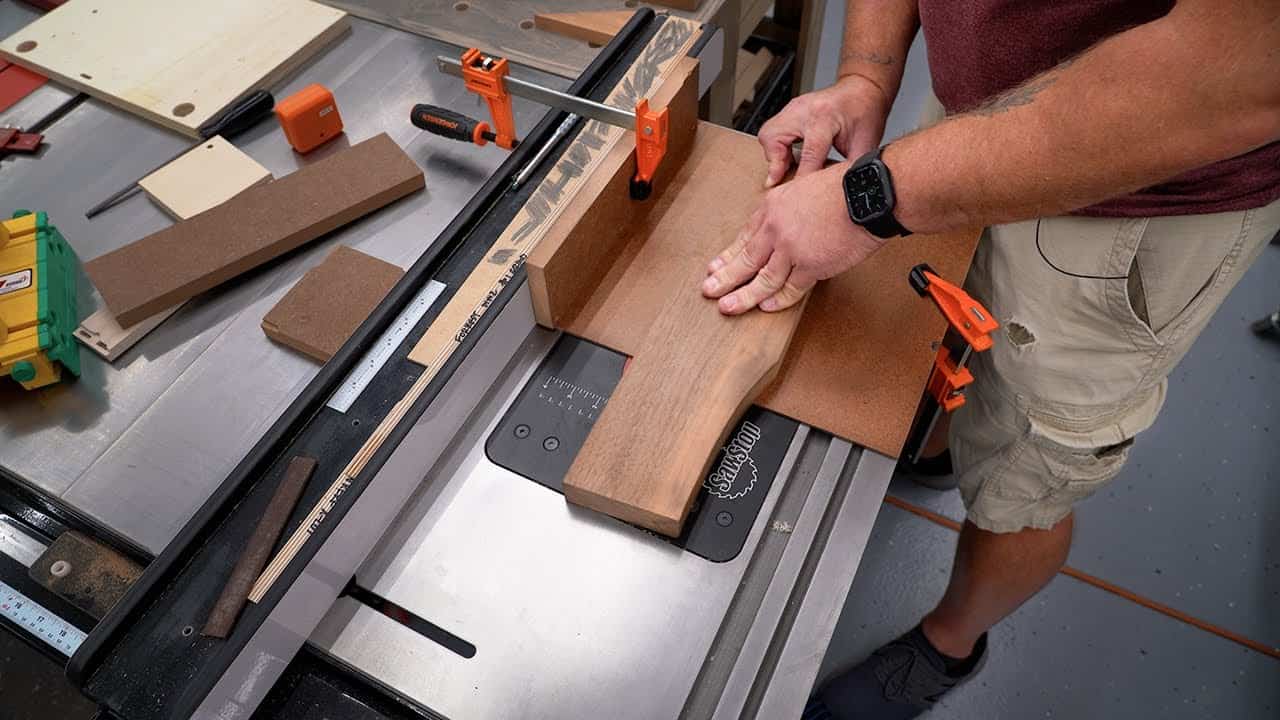
Feeding Technique and Workholding
Feeding the stock requires holding firm pressure near the cutter and walking the board forward to let the bit remove material from the high areas, creating a notch that lets further passes reach deeper. Multiple light passes are made while keeping attention on the board’s rocking direction so the process flattens the desired face instead of repeating the twist.
Results and Finish
The method leaves a surprisingly smooth surface with faint router marks that are easily removed with a light sanding, and the flattened face will sit flat on a table or suction to it. Once one face is flattened, the board is ready to be run through a planer for consistent thickness without inducing snipe or reintroducing twist.
Why This Trick Is Useful
This approach is a practical workaround for shops that lack a dedicated jointer or prefer to avoid heavy hand-planing, and it leverages tools many woodworkers already own.
It adapts well to different bit sizes and outfeed materials, but it requires patience, attention to feed pressure, and safe router-table practices to avoid tearout or kickback.
The technique provides a clever, low-cost option for face jointing that expands a router table’s usefulness and helps prepare stock for reliable planing.
For a clear demonstration of the setup and feeding technique, the video from Inspire Woodcraft is a concise, practical reference.
Support Jodee by visiting his online store here: https://inspirewoodcraft.com/collections/all.

Matt’s Take
These are my personal thoughts and tips based on my own experience in the shop. This section is not written, reviewed, or endorsed by the original creator of this project.
This router table technique is genuinely clever and fills a real gap for shops without a dedicated jointer. The key insight here is getting that outfeed support perfectly flush with the cutter — that’s what makes or breaks the whole setup. Take your time with this step, because any deviation will show up in your finished board.
Safety-wise, this operation demands extra attention since you’re dealing with a spinning bit and managing feed pressure simultaneously. Keep your hands well away from the bit, use push blocks when possible, and never rush the feed rate. The board will want to grab or chatter if you’re too aggressive, so let the bit do the work with light, consistent passes.
One thing I really appreciate about this method is how it demonstrates that you don’t always need specialized machinery to get quality results. A $20 piece of hardboard and some patience can substitute for a $2,000 jointer in many cases. That said, this works best on smaller stock — anything too wide or heavy becomes unwieldy and potentially dangerous on a router table.
The smooth finish this technique produces is a nice bonus. While you’ll still want to sand lightly, it’s often cleaner than what you’d get from a budget jointer with dull knives.