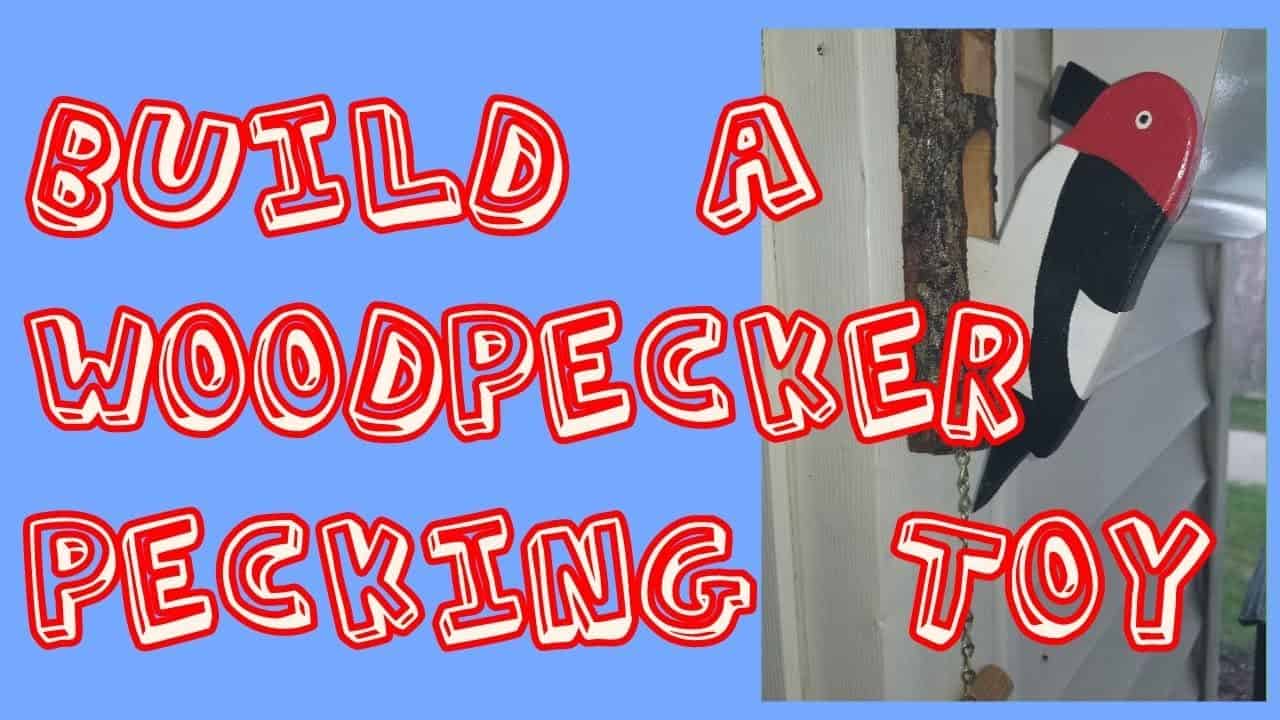
This project was built and designed by Tom from Alley Picked.
It’s a fun, interactive woodworking project that results in a quirky door-hanging toy that pecks when the string is pulled—perfect for entertaining kids, surprising guests, or adding some charm to your shop or porch.
The design combines rustic materials with a clever chain mechanism to mimic the pecking motion of a real woodpecker.
It’s simple to build and easy to personalize, making it a rewarding project for woodworkers of any skill level.
Watch the full video and subscribe to Tom’s channel:
Preparing the Materials
The project begins with selecting a solid branch, roughly two inches in diameter and about a foot long. Tom uses this as the base, giving the toy a natural, woodland feel that fits its subject perfectly.
The branch is then cut lengthwise, creating a flat surface for mounting the pecking mechanism. Once the piece is split, several coats of polyurethane are applied to seal the wood and preserve the bark. This step helps protect the toy from moisture and keeps the bark from flaking off over time.
Creating the Path for Motion
To make the woodpecker move, two holes are drilled into the branch using a paddle bit.
These holes are spaced to allow a small chain to pass through and operate freely within the structure.
A jigsaw is used to cut between the holes, creating a narrow channel for the chain to glide through.
This channel is essential—it lets the chain pull the woodpecker forward and spring back into place, creating that satisfying pecking motion.
Shaping the Bird
With the mechanism base prepared, Tom moves on to cutting out the bird. Using an online photo for reference, he traces the woodpecker’s shape onto a piece of wood.
The design is cut using a jigsaw or scroll saw, depending on how much detail you want to include.
After cutting the shape, the edges and faces are thoroughly sanded. This not only removes rough spots but makes the bird safe to touch, especially important if the toy will be used around children.
Assembling the Pecking Mechanism
The woodpecker is attached to a small chain, which is connected on one end to a nail at the top of the branch.
The other end of the chain connects to a piece of picture-hanging wire that runs through the channel.
This setup allows the bird to hang in front of the wood and “peck” when the chain is pulled. Tom keeps the chain length around 1.5 inches, which allows for quick movement without too much slack.
A small nail or screw at the top anchors the chain, while the picture wire is threaded through the path and tied securely.
This makes the bird move with a light pull and return on its own with a satisfying tap against the wood.
Painting and Personalizing
Once the mechanics are tested and working, it’s time to paint.
Tom uses acrylic paints to bring the bird to life, following the same reference image used during the shape-cutting phase.
Several light coats of paint are applied to build up the color, with drying time between each.
This is where the project becomes truly personal—colors can be changed, details added, or even cartoon-style birds created for a more playful version.
Once dry, a clear topcoat can be applied to protect the paint and help it stand up to outdoor use.
Optional Additions
This toy is designed to hang on a wall or door, so you can add a small bracket or picture hanger to the back. It’s lightweight enough to mount easily but strong enough to withstand regular use.
If you want to take it a step further, you could add a simple sign above it or pair it with another moving toy. The mechanism can also be adapted for other animals, allowing for a variety of motion-based decorations.
A Fun and Lighthearted Project
Tom’s woodpecker toy is more than just a novelty—it’s a clever little project that highlights the fun side of woodworking.
The combination of rustic materials, moving parts, and custom design makes it a great conversation piece or gift.
It’s also an ideal project for getting kids involved in the shop.
Simple cuts, fun painting, and a mechanical result give it the kind of payoff that helps younger builders stay engaged.
Watch the full video and subscribe to Tom’s channel:
