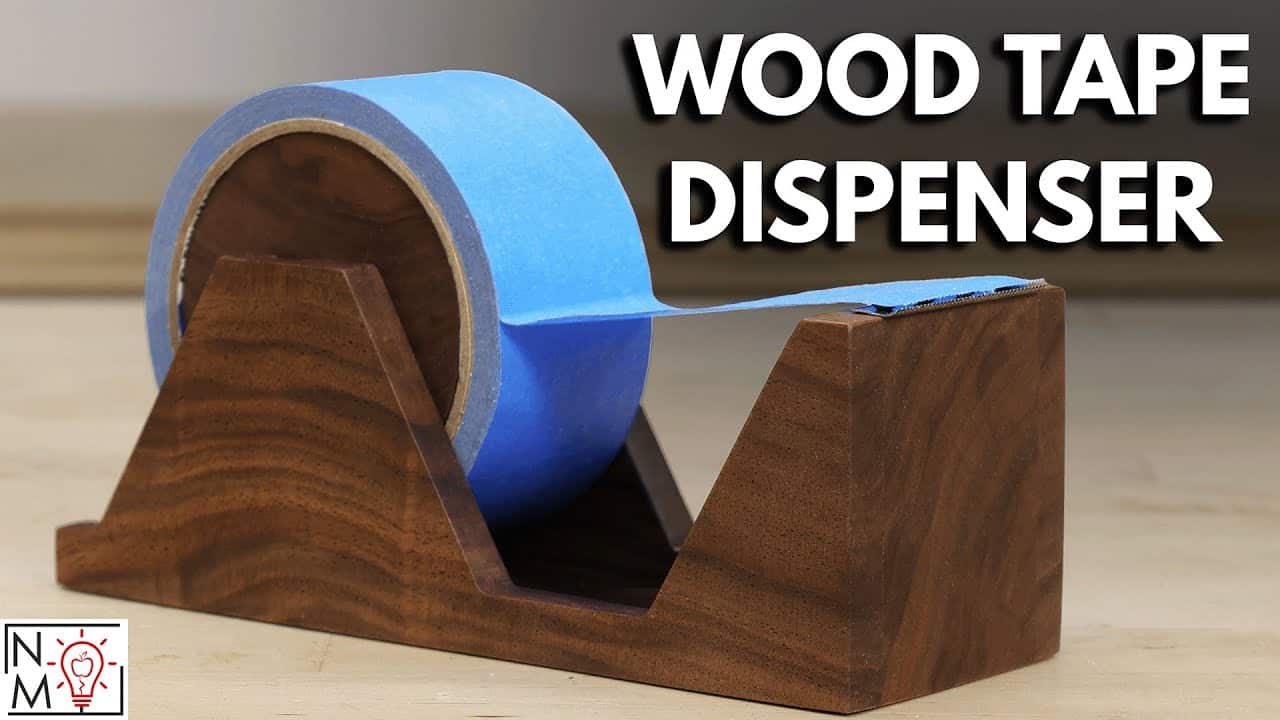
This project was built and designed by Billy from Newton Makes. It’s a sleek, handcrafted tape dispenser made from walnut that brings both utility and visual appeal to any woodworking shop or desk.
The project blends basic joinery with clean shaping, giving woodworkers a chance to work on layout, sanding, and even a bit of turning. It’s a great weekend build that results in a truly functional piece that looks better than anything plastic.
Watch the full video and subscribe to Billy’s channel:
Choosing Materials and Planning Ahead
Billy begins with a dense hardwood—walnut—chosen for its strength, workability, and striking grain. He preps the wood by flattening it, jointing edges, and cutting it to rough size before layout.
The design centers around a three-piece structure: a core that holds the tape roll and two matching caps on each side. This approach keeps the design symmetrical, balanced, and easy to handle while allowing for clean visual lines.
Using Templates to Guide the Build
After sketching out the concept, Billy uses Fusion 360 to refine the shape and work out dimensions. The software helps him visualize the parts and make adjustments before cutting into any actual stock.
To transfer the design, a hardboard or MDF template is made and temporarily attached to the walnut with spray adhesive. This guide allows for precise cuts using a jigsaw and keeps the layout consistent on both ends of the dispenser.
Shaping and Smoothing Each Piece
With the template in place, Billy uses a jigsaw to cut along the shape and a drum sander to smooth out the edges. Figured walnut can chip or tear if not handled carefully, so he wraps key edges with blue painter’s tape before cutting to reduce tear-out.
The result is a set of three cleanly shaped pieces that align tightly and showcase the grain pattern nicely. This prep work makes the assembly phase go much more smoothly.
Cutting the Inner Channel for the Tape
A key detail of the dispenser is the channel that holds and guides the roll of tape. Billy builds a simple jig to help align the holes drilled into the caps, which are later cleaned up with a sharp chisel.
Sharp hand tools are critical here—especially when chiseling clean mortises in hardwood. Billy points out that learning how to properly sharpen your chisels pays off with smoother results and more precise joinery.
Shaping the Core and Slotting for the Dowel
The center block is refined further to create clearance for the tape roll and room for your fingers when using the dispenser. A small dowel will later run through the roll, supported on both ends by the cap pieces.
Billy trims excess wood from the core using a saw and sanding tools, checking often for fit and tape movement. The goal is a secure but not overly tight space for the roll.
Assembly with High Glue
For this project, Billy uses high glue, which offers a longer open time and blends well with darker hardwoods. The slower set allows him to tweak positioning and get perfect alignment before clamping.
Once everything is glued up, the piece already feels solid, and the fit of each component comes together cleanly. The contrast of smooth curves and crisp lines makes for a professional-looking tool.
Turning the Tape Roll Spacer
To support the tape roll, Billy uses his lathe to turn a wooden disc that sits inside the tape roll and centers it on the dowel. Turning isn’t necessary if you use pre-made spacers, but it adds a personal touch and is a good way to practice lathe work.
Even simple turning projects like this help build confidence and improve shaping control. It’s a small part of the build but adds to the overall polish of the dispenser.
Installing the Cutting Edge
For the tape-cutting feature, Billy repurposes a metal blade from an old plastic dispenser. This is secured onto the wooden front with small screws and sits flush with the base.
Rather than reinvent the wheel, this solution keeps the design clean and lets the woodwork shine. It’s practical, efficient, and easy to replace later if needed.
Finishing and Final Look
With assembly complete, the entire piece is sanded to a fine grit, and edges are eased with light chamfers. A few coats of clear lacquer are applied to protect the wood and bring out the depth of the walnut grain.
The final result is a durable, elegant tape dispenser that looks great on a desk or workbench. It’s one of those small shop projects that feels great to use every day.
Please support Billy by visiting his website here: https://www.newtonmakes.com/shop.

Matt’s Take
These are my personal thoughts and tips based on my own experience in the shop. This section is not written, reviewed, or endorsed by the original creator of this project.
Working with walnut like this really shows why it’s such a popular choice for shop projects. The density Billy mentions makes it ideal for something that’ll get daily handling, and that rich chocolate color just gets better with age. When you’re dealing with figured grain like this, taking time with those initial cuts really pays off – rushing through the jigsaw work is where most tear-out happens.
That template approach is spot-on for keeping everything consistent. I’ve found that spending a few extra minutes getting the template perfect saves headaches later, especially when you need matching parts. MDF or hardboard templates can be reused too, so if you like the design, you’ve got it dialed in for future builds.
The repurposed cutting blade is a smart move. Those metal edges from commercial dispensers are already the right thickness and tooth pattern – no need to fabricate something custom when the original works perfectly. Plus, if it eventually dulls or gets damaged, replacement is just a trip to any office supply store.
Projects like this hit that sweet spot where you’re practicing real joinery skills but ending up with something genuinely useful. It’s the kind of piece that makes you smile every time you reach for tape, and honestly, that’s worth the effort right there.