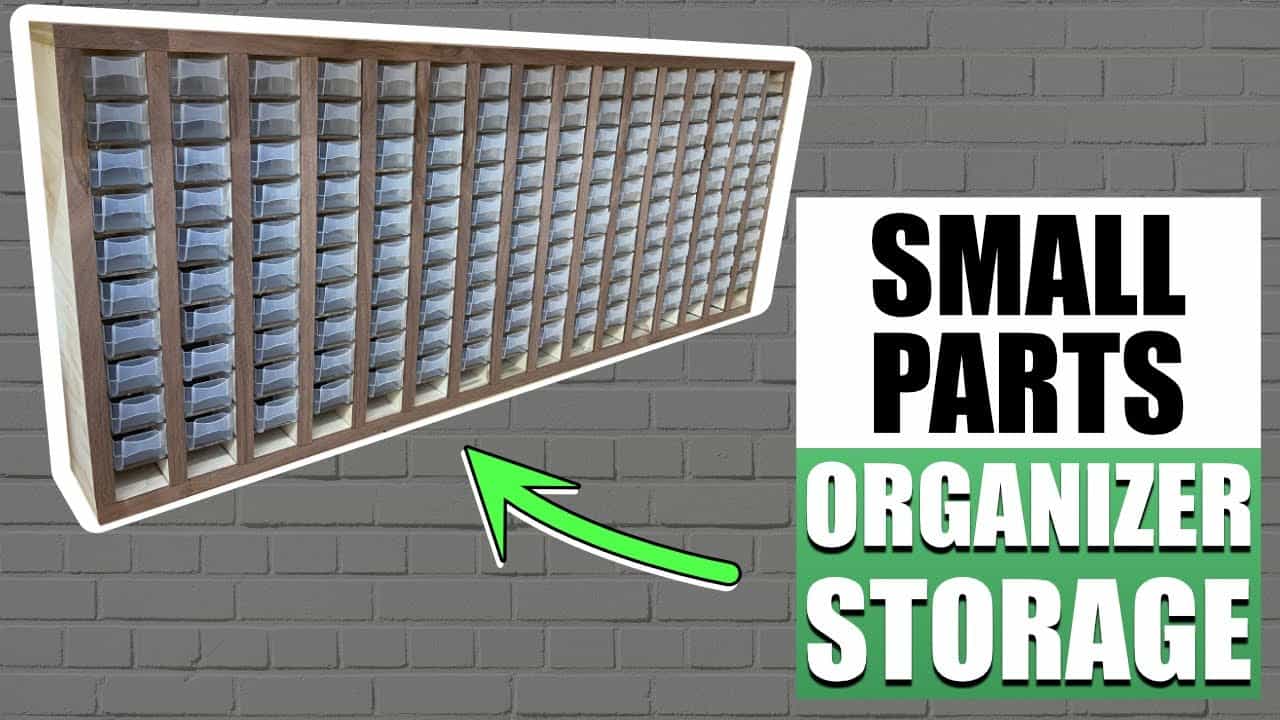
This project was built and designed by Nick from Rocky River Woodworks. It’s a custom-made small parts organizer built from durable wood to replace the flimsy plastic trays that often come with commercial organizers.
Instead of sticking with cheap materials that break or jam, Nick built something better—stronger, cleaner, and more efficient. The result is a wooden parts organizer with real staying power that fits his shop perfectly.
Watch the full video and subscribe to Nick’s channel:
Why Go with Wood Instead of Plastic?
Plastic bins are common, but they’re not built to last. They crack, warp, and often stick together, especially after some wear.
Wood, on the other hand, offers strength, structure, and a better overall look. It holds up under constant use, and you can tailor the design to fit your exact storage needs—something mass-produced plastic can’t offer.
Materials That Balance Strength and Cost
Nick chose 3/4-inch pine plywood for the structure, which is a solid, budget-conscious choice. Pine is easy to work with, widely available, and strong enough to support the weight of full bins.
For the internal shelves, he used hardboard. It’s smooth, sturdy, and slides well inside grooves without adding too much thickness. A back panel was also included to square up the frame and prevent flexing over time.
Breaking Down the Plywood
The build begins with ripping down sheets of plywood into narrow strips. These strips form the vertical and horizontal frame members and will hold the shelves in place.
Accuracy during this stage is key. Any inconsistencies will affect the spacing of the bins and the fit of the shelves, so careful measurements and straight cuts are a must.
Cutting Grooves with a Dado Blade
To hold the shelves, Nick uses a dado blade setup on his table saw. He makes repeated passes to cut equally spaced slots into each strip of plywood.
These grooves act as tracks for the hardboard shelves to slide into. This joinery method is simple, effective, and helps align everything during final assembly.
Test Fit Before Gluing
Once the dados are cut, Nick cuts the hardboard to size and dry-fits each shelf into place. This allows him to make any small adjustments before committing to glue.
Dry-fitting also helps ensure the frame remains square and that the bins will sit evenly once installed. Any problems caught here are much easier to fix than after glue-up.
Assembly and Reinforcement
With the test fit done, Nick glues up the frame and secures the pieces using 18-gauge brad nails. He attaches top and bottom caps to lock the structure together, adding more stability and helping the unit resist flexing under load.
To prevent racking or shifting, a solid back panel is added. Even though it won’t be seen once mounted, this step adds a lot of long-term strength.
Finishing Touches with Edge Banding
To clean up the exposed plywood edges, Nick applies edge banding. This gives the piece a finished look and hides any visible plies or rough edges.
He chooses a dark walnut tone for contrast, which gives the organizer a more refined, built-in appearance. It’s a small detail that really improves the overall presentation of the piece.
Installing the Bins
With the frame complete and all shelves secured, it’s time to fill it. Nick transfers 160 plastic bins from their original housing into the new wooden frame.
It’s a repetitive task, but it transforms the unit from a simple shelf system into a fully functional organizer. Now, each bin has a dedicated space that fits tightly and slides cleanly into place.
Sorting Hardware for Efficiency
With everything in place, Nick starts loading up the bins with screws, bolts, washers, and other small hardware. Having them sorted and labeled saves time during future projects and makes inventory easier to manage.
An organized parts system like this one reduces clutter and keeps frequently used supplies within reach. It’s a big step toward improving shop workflow.
A Practical Upgrade for Any Workshop
This wooden parts organizer is a major upgrade over typical plastic cases. It’s tough, good-looking, and made specifically for Nick’s setup and needs.
For other woodworkers, it offers a great opportunity to improve organization with a relatively simple build. It’s also scalable—build a single unit or make several to line your entire wall.
Please support Nick by visiting his website here: https://www.rockyriverwoodworks.com/.

Matt’s Take
These are my personal thoughts and tips based on my own experience in the shop. This section is not written, reviewed, or endorsed by the original creator of this project.
This type of organizer build really showcases how much better wood can be than plastic for shop storage. Pine plywood is a smart material choice here — it’s affordable but still plenty strong for this application. The 3/4-inch thickness gives you enough meat to cut those dado grooves without weakening the structure, and hardboard makes perfect sense for the shelves since it’s smooth and won’t bind up in the slots.
The dado blade approach for cutting those shelf grooves is efficient, but take your time with the setup. Make sure your fence is perfectly parallel and test your cuts on scrap first. Those grooves need to be consistent depth and spacing, or your shelves won’t sit right. A good trick is to mark all your groove locations with a pencil before you start cutting — it’s easy to lose track when you’re making repetitive passes.
That dry-fit step before glue-up is absolutely critical. Once you commit to glue, you’re pretty much locked in. Check that everything is square, the shelves slide smoothly, and the spacing works with your bins. The back panel might seem like extra work, but it really does make a huge difference in preventing the whole unit from getting wobbly over time.
For anyone considering a similar build, think about your specific needs first. The beauty of building your own is getting exactly the bin spacing and overall dimensions that work for your shop and hardware collection.