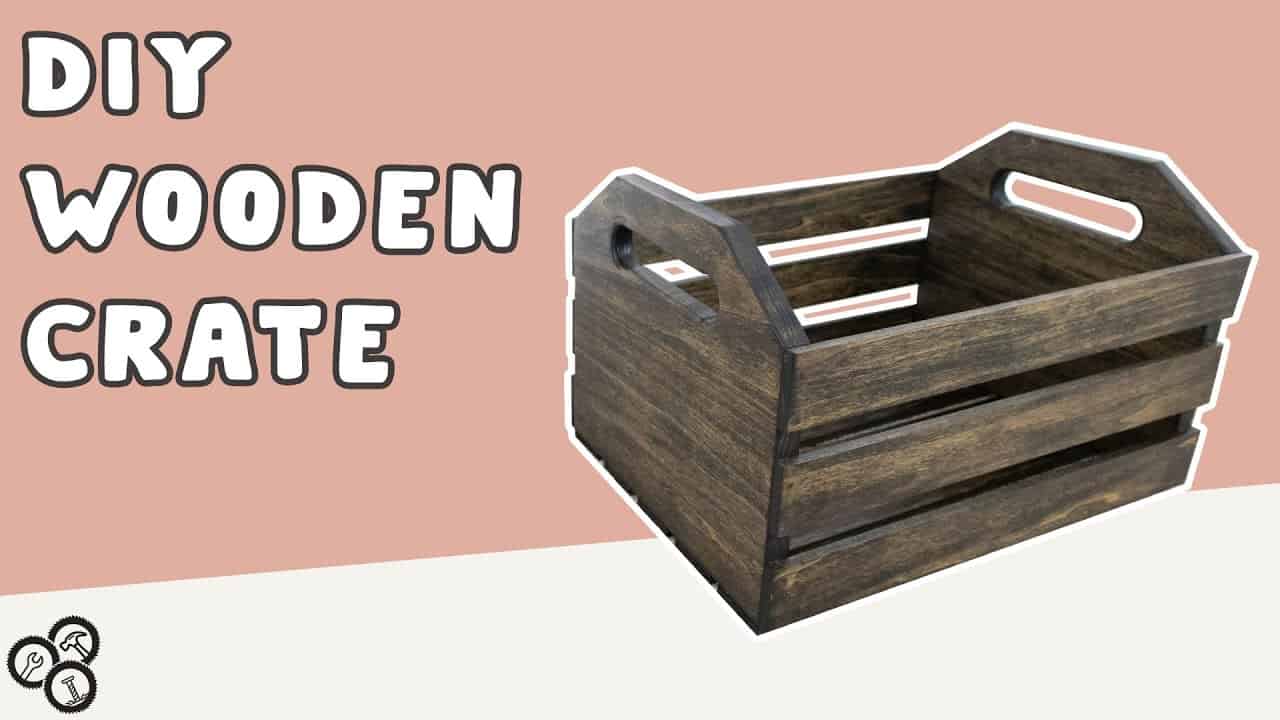
This project was built and designed by Tim from Casual Builds. It’s a simple, functional wooden crate made entirely from one eight-foot poplar board—ideal for storing everything from dog toys and books to cleaning supplies or kids’ items.
The build is compact, efficient, and adaptable. With smart layout and basic tools, Tim shows how to maximize a single board and end up with a polished, versatile storage solution.
Watch the full video and subscribe to Tim’s channel:
Breaking Down the Board
The project starts by cutting the eight-foot board into four equal sections, each roughly thirteen inches long. These will eventually become the main sides of the crate, and they’re trimmed down to their final size after the glue-up.
To build up the crate’s height to around ten inches, Tim glues two pieces together for each side panel. Since the board is only seven and a quarter inches wide, this glue-up step is essential for reaching the desired height.
Joint Prep and Edge Flattening
Before applying glue, Tim ensures the edges of each board are flat and tight-fitting. He uses a jointer for this, but for woodworkers without one, a table saw with a jointer jig can achieve the same result.
Taking time here pays off with cleaner seams and a sturdier finished crate. Even slight gaps at this stage can lead to uneven glue-ups and visible seams after finishing.
Gluing and Clamping the Panels
Once the edges are prepared, Tim applies wood glue and aligns the boards carefully. He avoids over-tightening clamps to prevent bowing and uses F-style clamps and calls to keep everything flat.
Squeeze-out is a good sign that enough glue has been applied, but it also needs to be cleaned off before drying to avoid hardened residue on the finished faces. The glued panels are left to cure overnight.
Cutting and Shaping the Slats
While the side panels dry, Tim turns his attention to the slats. He cuts two longer pieces from the remaining board and rips them into six smaller slats. Each slat is then resawn to roughly 3/8″ thickness for a lighter, cleaner look.
Accurate ripping and resawing are important here for both consistency and appearance. The final slats will form the crate’s bottom and sides, so even spacing and thickness help the project come together smoothly.
Trimming and Finalizing Panel Dimensions
After the glue has cured, Tim squares one edge of each panel using a crosscut sled. This reference side helps maintain consistency when trimming the panels to their final dimensions.
Though there’s a small error in one of the measurements, Tim adapts easily, showing how flexibility and problem-solving are part of every woodworking project. The panels are still square and the crate fits together as intended.
Adding Angled Sides and Handles
Next, Tim marks out angled cuts for the upper edges of the crate’s side panels. These are made with a jigsaw and then cleaned up with a sander. This small visual detail gives the crate a more custom look and reduces visual bulk.
To make the crate easier to carry, Tim drills finger holes and rounds the edges with a router using a roundover bit. The result is a soft, comfortable grip and a more finished appearance overall.
Assembly with Glue and Nails
With all pieces prepped, Tim assembles the crate using wood glue and brad nails. He starts with the side panels, securing slats one at a time.
The first few slats are the trickiest since there’s nothing holding the sides in place. A speed square helps keep everything aligned, and once the first couple of slats are secured, the rest of the assembly goes faster.
Sanding and Filling
To clean up the nail holes, Tim mixes glue with sawdust collected from the project. This creates a perfectly matched wood filler that blends into the surface after sanding.
A final sanding smooths all surfaces and rounds any remaining sharp corners. Taking this time ensures a clean, professional feel and prepares the crate for staining.
Stain and Finish
Tim chooses a dark walnut stain to give the crate a rich, classic tone. After the stain dries, he applies three coats of spray polyurethane to protect the surface and enhance the natural grain.
The finish brings out the warmth of the poplar and helps the crate stand up to regular handling and use. Whether it’s for indoor storage or decorative purposes, the finished piece is sturdy and attractive.
A Simple Project with Many Uses
This wooden crate is a great weekend project that makes smart use of a single board. It’s small enough for beginners to handle and versatile enough to suit a variety of storage needs around the home.
Tim’s straightforward process and helpful tips make this build easy to follow. It’s proof that even simple projects can offer a rewarding woodworking experience.
Please support Tim by visiting his website: https://www.casualbuilds.com/.

Matt’s Take
These are my personal thoughts and tips based on my own experience in the shop. This section is not written, reviewed, or endorsed by the original creator of this project.
This type of single-board project is a perfect introduction to edge gluing and basic joinery. When you’re working with poplar like Tim did, remember that it can be prone to tear-out, especially around knots. Take light passes when routing those finger holes, and keep your bits sharp. A climbing cut with the router can sometimes give you cleaner edges on poplar, though you’ll need to be extra careful with control.
The glue-and-sawdust filler trick is one of those old-school techniques that works beautifully, but timing matters. Mix it right before you use it since wood glue starts to set up quickly. I like to collect sawdust in a small container during sanding so it’s ready when needed. Make sure you’re using 220-grit dust or finer—coarser dust won’t blend as seamlessly.
For anyone planning to build something similar, consider the crate’s intended use when choosing your finish. Three coats of poly is great for durability, but if this is going in a kid’s room or holding toys, you might want a more natural finish like paste wax or danish oil. These are easier to repair if the crate gets dinged up during regular use.