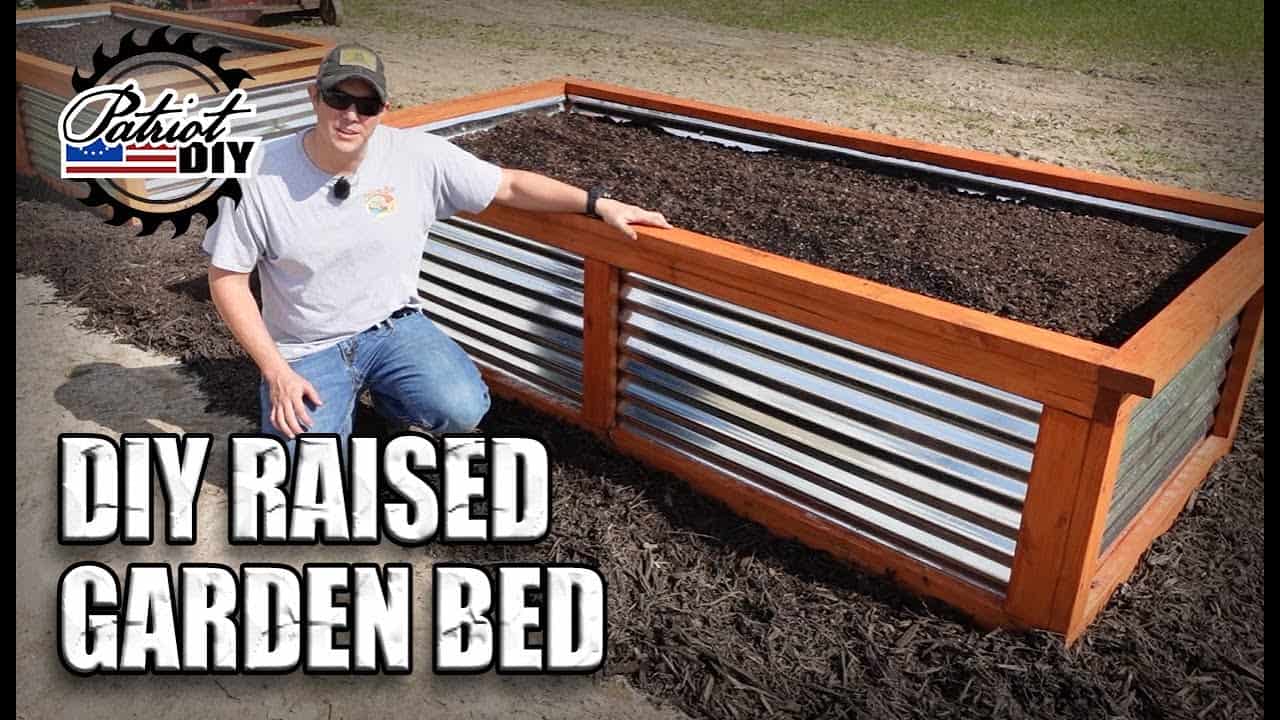
This project was built and designed by Jason from PatriotDIY. It’s a durable, low-maintenance raised garden bed built with a combination of wood and corrugated metal—designed to look great and function well for seasons to come.
Raised beds offer better soil control, less bending, and fewer weeds, making them a popular choice for gardeners of all experience levels. Jason’s build is a practical, beginner-friendly approach that’s easy to replicate with a few tools and materials.
Watch the full video and subscribe to Jason’s channel:
Why Go with Raised Beds?
Raised garden beds make gardening easier on your back and knees by bringing the planting surface up to a more manageable height. They’re also ideal for improving soil conditions, especially in areas where native soil is too compacted or poor in nutrients.
Jason highlights how raised beds allow you to fill them with exactly the type of soil your plants need. It’s also much easier to manage weeds and drainage when you control the growing environment from the ground up.
Materials You’ll Need
This build uses a smart mix of rot-resistant wood and corrugated metal panels. Jason recommends treated pine or cedar for the wood frame, paired with galvanized corrugated steel to add strength and protect the wood from direct soil contact.
Pocket hole screws, self-tapping metal screws, and basic fasteners round out the materials list. The design can be adjusted depending on the size of your space and how many beds you want to build.
Cutting and Preparing the Wood
Jason starts by breaking down the lumber into side panels, end pieces, and vertical corner supports. Measuring each cut carefully ensures the box goes together square and tight.
Using a pocket hole jig makes it easier to fasten pieces cleanly, especially when attaching side boards to posts. If you’re new to pocket hole joinery, this project is a great opportunity to get comfortable with the technique.
Assembling the Frame
Once the wood is cut, the side panels are laid out on a flat surface and joined to the vertical posts. Jason adds center supports on the long sides for extra rigidity, preventing any bowing once the bed is filled with soil.
Each corner is checked for square before driving in the screws. The pocket holes make for a clean, tight fit that holds up well to the pressure of soil and water over time.
Installing the Corrugated Metal Panels
After the frame is assembled, the corrugated steel panels are cut to fit the sides and ends. Tin snips or an angle grinder can be used here, depending on what tools you have available.
Jason recommends installing the metal from the inside of the frame, securing it with self-tapping screws that bite cleanly through the steel. The panels not only give the beds a unique look—they also reduce long-term moisture exposure on the wood.
Adding a Top Cap for Safety and Style
A top cap made from additional wood pieces is fastened around the upper edge of the bed. This adds a smooth surface for leaning or resting tools and also covers any sharp corners from the metal below.
Jason mitered the ends of his cap pieces to create clean corners and attached them with screws for long-term hold. It’s a simple detail that gives the entire project a more polished, finished appearance.
Water Sealing and Weather Protection
Before filling the bed, Jason applies a water sealant to all exposed wood surfaces. This step is important for extending the lifespan of the build, especially if you’re using untreated lumber or placing the bed in a high-moisture area.
Even with treated lumber, a protective finish helps reduce surface cracking and color fading over time. It’s a small investment of time that pays off with longer-lasting results.
Filling the Bed with Soil
Jason starts with a layer of large sticks and small logs at the bottom of the bed to improve drainage and reduce soil costs. Over that, he adds a mix of topsoil, compost, and garden soil—creating a nutrient-rich environment for vegetables, herbs, or flowers.
This layered method, often referred to as hugelkultur-style filling, helps retain moisture while providing slow-release nutrients. It’s a great way to make use of yard waste while improving your garden’s performance.
Reflections and Lessons Learned
After completing the build, Jason mentioned one design tweak he’d consider for next time: adjusting the position of the end panels to make the footprint more compact. This kind of post-build insight is part of the process, especially when creating repeatable projects for your yard.
He also shared his excitement about involving his kids in the gardening process. Raised beds like these create opportunities for family time, learning about food, and watching plants grow from seed to harvest.
Please support Jason by visiting his Etsy Store: https://www.etsy.com/shop/patriotdiy.

Matt’s Take
These are my personal thoughts and tips based on my own experience in the shop. This section is not written, reviewed, or endorsed by the original creator of this project.
The combination of wood and metal makes a lot of sense for raised beds. The corrugated steel does more than just look good—it acts as a barrier between the soil and the wood frame, which can significantly extend the life of your build. Even treated lumber will eventually show wear when it’s in constant contact with moist soil, so that metal liner is doing real work.
Jason’s approach with the pocket holes is spot-on for this type of project. When you’re dealing with the weight and pressure of soil, those mechanical connections are much more reliable than just face-screwing through boards. The pocket holes also keep the hardware hidden, which gives you cleaner lines on the finished bed.
That hugelkultur-style filling method is something more gardeners should consider. Starting with larger organic material at the bottom creates better drainage while slowly breaking down to feed your plants over time. It’s essentially building a compost pile in place, and it can cut your soil costs by 20-30% depending on how much organic matter you have available.
One thing to keep in mind with any raised bed project—measure your space carefully before you start cutting. These beds look best when they’re proportioned well to your yard, and it’s much easier to adjust dimensions on paper than after you’ve already assembled everything.