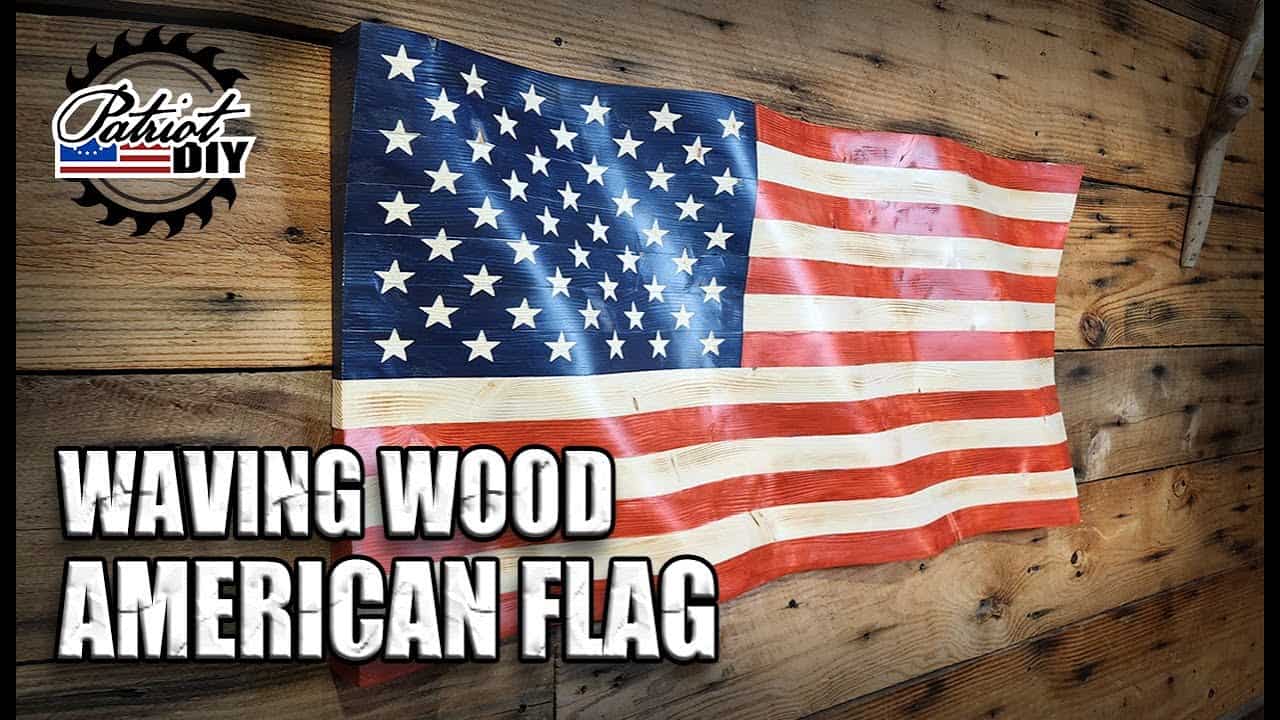
This project was built and designed by Jason from PatriotDIY. It’s a visually striking wooden American flag with a carved wave pattern that adds movement, texture, and a handcrafted touch to any patriotic display.
Unlike flat flag builds, this version mimics the natural flow of fabric caught in the wind. With carving, burning, and staining techniques, Jason brings depth and dimension to a classic woodworking design that celebrates both skill and national pride.
Watch the full video and subscribe to Jason’s channel:
What Makes This Flag Different
This isn’t your typical wooden flag. Instead of a static, flat panel, the project features flowing contours that simulate a waving effect. Each piece of wood is individually carved, shaped, and aligned to create a cohesive motion across the entire piece.
Jason has used this style for both personal projects and for items available through his Etsy store. The design offers flexibility—you can recreate the classic American flag, explore state flags, or even personalize your own version.
Choosing and Preparing the Wood
The project begins with basic two-by-fours cut to length. These boards form the foundation of the flag and will later be shaped into wave-like contours.
To ensure smooth shaping, each board is planed flat, then squared up on a jointer and table saw. This early prep work helps everything align properly when it’s time to assemble and carve.
Shaping the Wave
Using a wave template, Jason marks a gentle curve across the surface of each board. By slightly offsetting the pattern as he moves from piece to piece, the overall look mimics fabric in motion.
Each board is labeled to keep everything in the right order. This simple organization step is key when it comes time to glue up the flag and keep the wave flow consistent across all pieces.
Cutting and Carving
The next phase begins at the bandsaw, where the curved wave shapes are cut out. With the pieces rough-shaped, Jason clamps them together tightly and moves on to carving.
A carving disc attached to an angle grinder is used to remove material and deepen the wave effect. After the main carving is done, the surface is smoothed out with an orbital sander and finished by hand to remove tool marks and refine transitions.
Burning for Contrast
To enhance the rustic look, a propane torch is used to lightly burn the wood’s surface. This highlights the grain and adds depth before the stain is applied.
Jason mentions that this step can be done with the boards clamped together or individually. Separating them can give better access to details and reduce uneven burn marks.
Coloring the Flag
The staining process brings the flag to life. Red and blue stains are applied carefully, with the natural wood left unstained for the white stripes. To keep the colors crisp, Jason uses razor blades or painter’s tape to avoid bleeding between sections.
Each color is allowed to dry thoroughly before moving on. The result is a flag that’s rich in contrast, with deep tones that play nicely against the charred grain of the wood.
Assembly and Gluing
Once stained and dried, the individual boards are glued together and clamped to dry. The glue-up is done from the back, with careful alignment to preserve the wave pattern and maintain visual flow.
The clamping process ensures there’s no separation or misalignment once everything is locked into place. Jason takes extra care here to avoid shifting the stain or leaving visible glue marks on the finished face.
Hand-Carving the Stars
Rather than painting or stenciling the stars, Jason uses a Dremel with a flex shaft attachment and engraving bit. Each star is hand-carved into the blue field for a raised, tactile finish that adds even more depth to the flag.
Though time-consuming, this method results in a standout detail that sets the flag apart from more basic designs. It’s also a great opportunity to personalize the piece, depending on the flag style or layout.
Final Finishing Steps
After carving the stars, the back of the flag is cleaned up and sanded. Any glue squeeze-out is removed, and rough edges are smoothed to give the piece a polished, finished look.
A clear protective topcoat is applied to seal the wood and bring out the depth of the grain and color. Jason finishes off the build by attaching D-ring hangers to the back for easy wall mounting.
He also adds his maker’s mark with a branding iron, giving the flag a final personal touch.
Why This Project Stands Out
Creating a waving wooden flag is both a technical challenge and a meaningful creative project. It teaches shaping, carving, finishing, and attention to detail, while offering a result that’s visually powerful and emotionally resonant.
Whether you’re honoring your country, making a gift, or adding a conversation piece to your shop or home, this project offers lasting value. The hand-shaped wave effect and custom staining give it depth far beyond a flat design.
Please support Jason by visiting his Etsy Store: https://www.etsy.com/shop/patriotdiy.

Matt’s Take
These are my personal thoughts and tips based on my own experience in the shop. This section is not written, reviewed, or endorsed by the original creator of this project.
The wave carving technique Jason uses here is a great example of how small details can transform a familiar project into something special. When working with an angle grinder and carving disc, keeping steady pressure and consistent motion is key — it’s easy to dig in too deep or create uneven surfaces if you rush. Taking your time with the sanding afterward really pays off, especially when you’re planning to stain different sections.
That torch burning step adds so much character to the final piece. If you’re new to this technique, practice on scrap wood first to get a feel for how quickly the grain darkens. Different wood species react differently to flame, and you want that nice contrast without any scorching. Working in good ventilation is essential too.
The hand-carved stars are what really make this build shine. Using a Dremel with a flex shaft gives you much better control than trying to manage the full tool weight. Start with light passes and gradually deepen the cuts — you can always remove more material, but you can’t put it back. A sharp engraving bit makes all the difference in getting clean, crisp star points.