This project was built and designed by Michael from Maker At Play. Known for his creative shop solutions and practical builds, Michael takes on the challenge of organizing hand saws using a customizable French cleat system.
Tool storage is an ongoing issue in many workshops, especially when tools end up buried, misplaced, or awkwardly stored. With this build, Michael focuses on visibility, accessibility, and space efficiency—all while keeping the design simple and scalable.
Watch the full video and subscribe to Michael’s channel:
Rethinking Tool Storage
Michael starts by addressing a common workshop frustration: pegboards and drawers often don’t make the best use of wall space. He prefers keeping his tools in plain sight, where they’re easy to grab and even easier to return to their proper spot.
Instead of stashing saws in drawers or hanging them flat on a wall, he develops a new vertical storage method that makes use of the French cleat system already mounted in his shop. This approach keeps things modular and future-proof.
Planning the French Cleat Layout
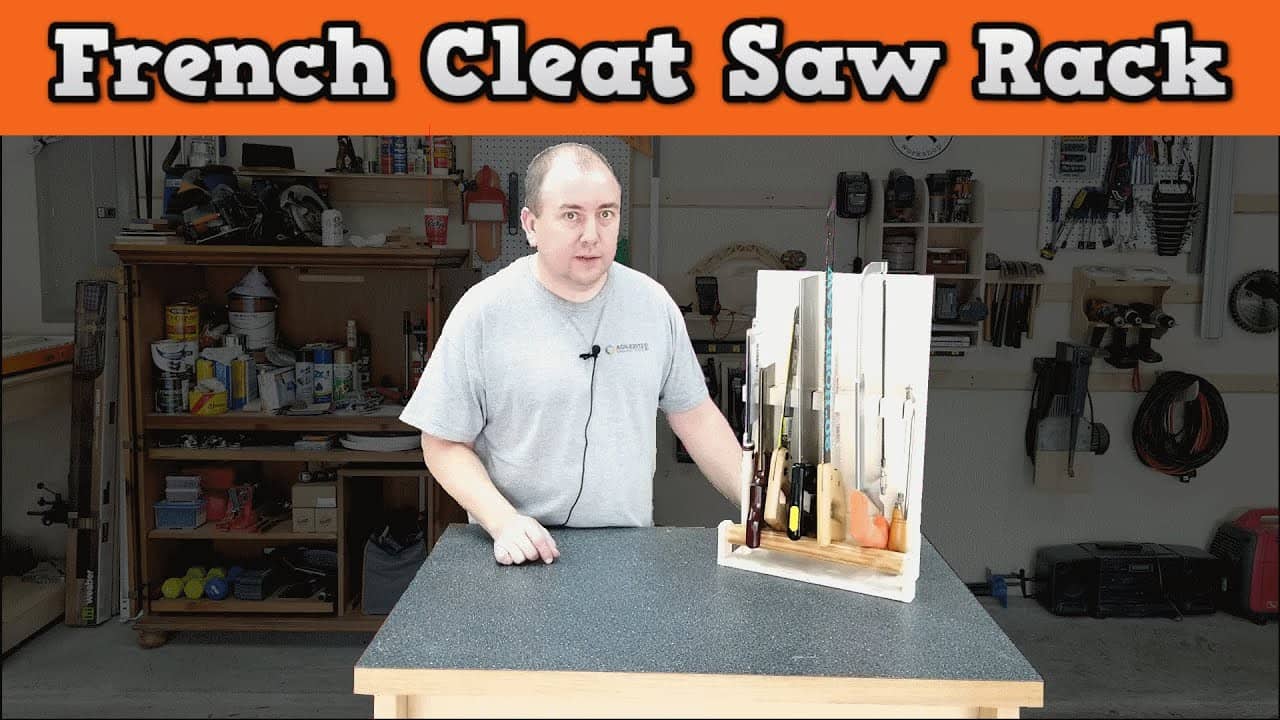
The goal is to build a vertical rack that can hold multiple types of hand saws while adapting to different sizes and handle styles. To do that, Michael sketches out a plan for a two-level rack—one shelf with upright slots and another with support rests to hold the blades steady.
By using cleats, the entire rack can be easily removed, rearranged, or modified later. This flexibility is one of the biggest advantages of the cleat system, especially for shops that are constantly evolving.
Choosing Materials and Starting the Build
Michael selects plywood for this build due to its stability, strength, and ease of use. It’s light enough to hang safely on a cleat but durable enough to handle the weight of multiple saws.
After cutting the backboard to size, he adds two horizontal pieces: the upper board for holding saw handles and the lower support to rest the blades. These are positioned at a slight angle to help gravity keep the saws in place.
Cutting the Saw Slots
One of the more detailed steps involves cutting slots into the top board where each saw handle will rest. These are spaced to accommodate a mix of saw types—from large panel saws to smaller coping and flush cut saws.
Michael customizes each slot width depending on the size of the tool. This step ensures each saw has a snug fit, preventing it from tipping or sliding out during use.
Solving for Balance and Stability
As the build progresses, Michael identifies a potential issue: some saws tend to tip forward, especially those with narrow blades or unbalanced handles. To fix this, he makes small modifications to the angle of the rack and adds additional features like notches and drilled-in stop holes.
These adjustments prevent the saws from falling out and keep them angled slightly backward toward the wall. It’s a small design tweak that makes a big difference in daily use.
Fine-Tuning the Fit
Even with careful layout and measurement, minor differences in saw shapes require some trial and error. Michael makes several test fits and small changes until every saw sits correctly in its slot.
He also braces the bottom shelf to eliminate any flexing and to make sure the blade edges don’t touch each other. That extra support makes the rack more rigid while helping protect the saws from dings and scratches.
Final Setup and Wall Installation
Once the rack is assembled and painted, it’s mounted to the French cleat wall system. The entire unit can now be moved, removed, or replaced as needed without any additional holes in the wall.
Michael loads up the rack with saws, confirming everything fits as planned. The result is a clean, organized display that not only stores the tools but also turns them into a visible, usable part of the shop.
An Ideal Shop Upgrade for Woodworkers
This saw rack is a great project for any woodworker looking to get their shop under control. It’s simple enough to build in a day, yet flexible enough to grow as your collection changes.
The vertical storage method helps free up horizontal space for other tools or benches, and it turns wall storage into something that’s actually useful rather than just decorative.
Michael’s build emphasizes problem-solving and refinement—common themes in real-world woodworking. His focus on accessibility and modularity makes this rack a strong option for shops of any size.
Support Michael by visiting his website: https://makeratplay.com/.

Matt’s Take
These are my personal thoughts and tips based on my own experience in the shop. This section is not written, reviewed, or endorsed by the original creator of this project.
The French cleat system really shines for projects like this. Once you have cleats mounted on your wall, you can experiment with different storage solutions without committing to permanent holes or fixed positions. The beauty is in the flexibility — if you realize a rack isn’t quite right or your tool collection changes, you can modify or rebuild without starting from scratch.
One thing I really appreciate about Michael’s approach is the attention to balance and blade protection. Saws are expensive tools, and having them knock into each other or tip out of storage can dull edges fast. That slight backward angle he built in is clever — it uses gravity to your advantage instead of fighting it. The spacing considerations are spot-on too, since different saw types have vastly different handle shapes and blade widths.
If you’re thinking about building something similar, don’t underestimate the value of test-fitting everything before final assembly. Saws can be surprisingly finicky about how they sit, and small adjustments during the build process will save you frustration later. The vertical storage concept works great for other tools too — chisels, files, or even specialty planes can benefit from this same approach.