This project was built and designed by Caleb from Caleb’s Fine Woodworking. It’s a creative and resourceful napkin holder made entirely from scrap wood and epoxy, showing how small offcuts can still be turned into something beautiful and practical.
By combining a few woodworking fundamentals with thoughtful shaping and clear epoxy, Caleb creates a one-of-a-kind home accessory. It’s a great reminder that woodworking doesn’t always require fresh lumber to produce something polished.
Watch the full video and subscribe to Caleb’s channel:
Why Use Scrap Wood?
Repurposing leftover wood is an easy way to reduce waste and add variety to your builds. Most shops have a collection of offcuts that are too nice to toss but too small for larger projects.
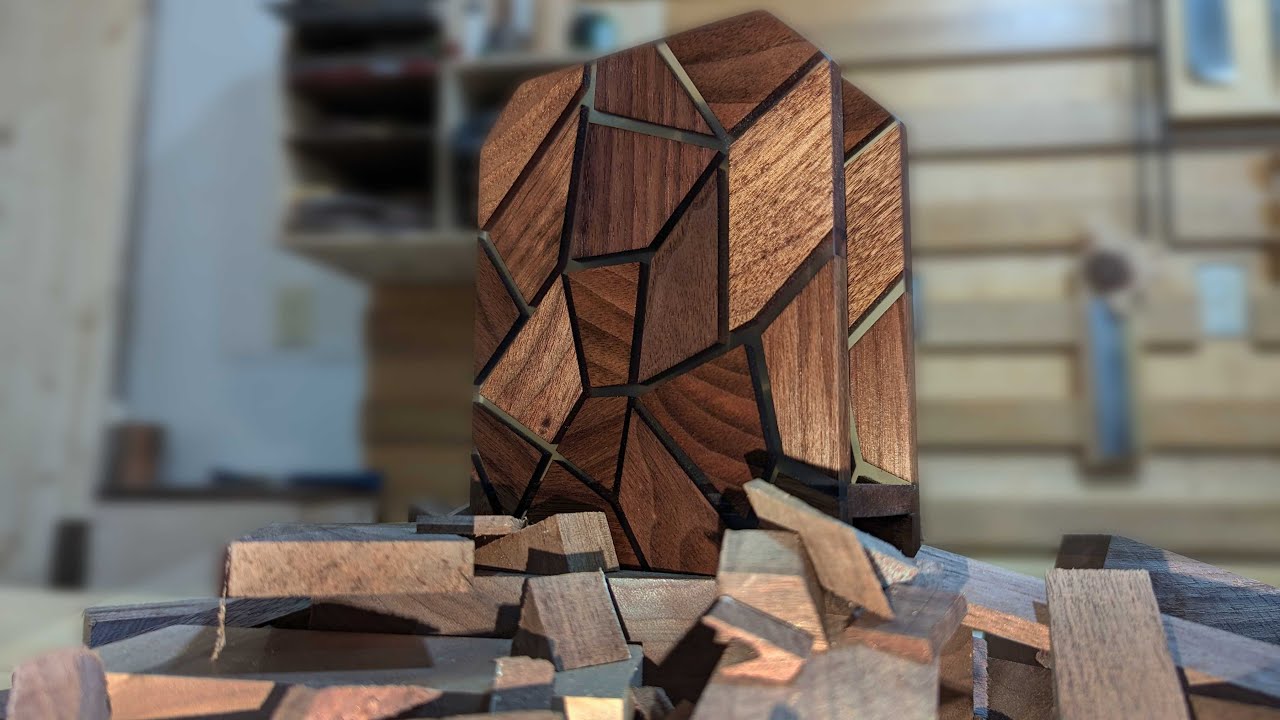
Caleb takes this pile of scrap and uses it as the foundation for a custom napkin holder. Instead of cutting from full boards, he embraces the unique sizes, shapes, and grain patterns already present in his materials.
Prepping the Mold for Epoxy
The project begins with constructing a mold that will hold the wood pieces in place during the epoxy pour. Caleb uses scrap MDF to build the mold walls and base, sizing everything to match the napkin holder’s final dimensions.
To prevent the epoxy from sticking, the interior surfaces of the mold are covered in tuck tape. This makes the demolding process much easier and keeps the epoxy edges clean and intact.
Designing and Cutting the Pieces
For this build, Caleb uses a specific pattern for the napkin holder’s interior design. He applies double-sided tape to the back of each cut-out and sticks them directly onto the wood, essentially turning the patterns into repositionable templates.
Using a bandsaw, he carefully cuts around the shapes, leaving a slight margin for sanding. This buffer allows for more precise fitting during final shaping while reducing the risk of cutting into the line too early.
Sanding for Clean Edges
Each wooden piece is brought to a disc sander to refine the shapes and close the gaps between parts. Light pressure and consistent movement help prevent burning and ensure smoother edges.
The goal at this stage is tight, even spacing that enhances the final look once the epoxy is poured. While this step requires patience, it directly impacts the quality of the finished napkin holder.
Setting the Design and Pouring Epoxy
With the pieces shaped and arranged, Caleb uses super glue to secure them to the base of the mold. This prevents any movement during the epoxy pour and ensures everything remains aligned.
Clear epoxy is mixed and poured into the mold, slightly overflowing to create a seamless edge. Caleb uses a propane torch to remove any air bubbles, giving the epoxy a clear, glassy finish as it cures.
After a few days of curing, the mold is removed, revealing the embedded wood pieces with a floating, suspended appearance inside the epoxy block.
Shaping and Final Assembly
Next, the napkin holder block is cleaned up using a drum sander to flatten the top and bottom and remove excess epoxy. This step helps bring the block to final dimension and gives it a smooth, uniform shape.
A base is cut and fit between the sides to complete the napkin holder’s structure. Caleb notches the interior edges of the epoxy block to create slots for the base, locking everything together cleanly.
Once assembled, the edges are rounded over slightly and sanded to a high grit for a smooth hand-feel. This small detail makes the piece more comfortable to use and elevates the overall look.
Applying a Finish
To bring out the wood grain and protect the surface, Caleb applies a couple of coats of clear finish. This seals the napkin holder and adds depth and clarity to both the wood and epoxy.
The end result is a compact, eye-catching piece that combines woodworking with resin art. It’s functional, stylish, and a great conversation starter for any kitchen or dining room table.
A Great Use for Scrap and Creativity
This project is a perfect example of what’s possible when you think outside the box with your materials. Scrap wood and leftover resin might not seem exciting at first, but with a good plan and careful execution, they can become something truly special.
Caleb’s build shows how even small shop projects can be an opportunity to improve skills and reduce waste—all while producing something people will actually use.r
Please support Caleb by visiting his website: https://www.calebscustomwoodworks.com/.

Matt’s Take
These are my personal thoughts and tips based on my own experience in the shop. This section is not written, reviewed, or endorsed by the original creator of this project.
This type of scrap wood project is a perfect shop exercise — it forces you to work with what you have instead of buying new material. I keep a dedicated bin for offcuts that are too good to burn but too small for major projects. Having them organized by thickness makes it easier to plan builds like this when inspiration strikes.
The mold construction here is solid, and that tuck tape trick is worth remembering for any epoxy work. I’ve found that even small gaps in your mold prep can turn into major headaches during demolding. Taking time to seal every seam properly saves you from having to sand away stuck tape residue later. Also worth noting — mixing epoxy in smaller batches gives you more working time and reduces the chance of overheating.
One thing I really appreciate about this build is the patient approach to fitting the pieces. That disc sander work is where the project succeeds or fails. Rushing through the shaping phase shows up immediately once the epoxy goes in, so taking time to get tight, consistent gaps pays off in the final appearance.
The notched base connection is a nice touch that keeps everything mechanically sound. Small projects like this are great for practicing joinery techniques without wasting expensive lumber — and you end up with something useful for the kitchen at the end of it.