

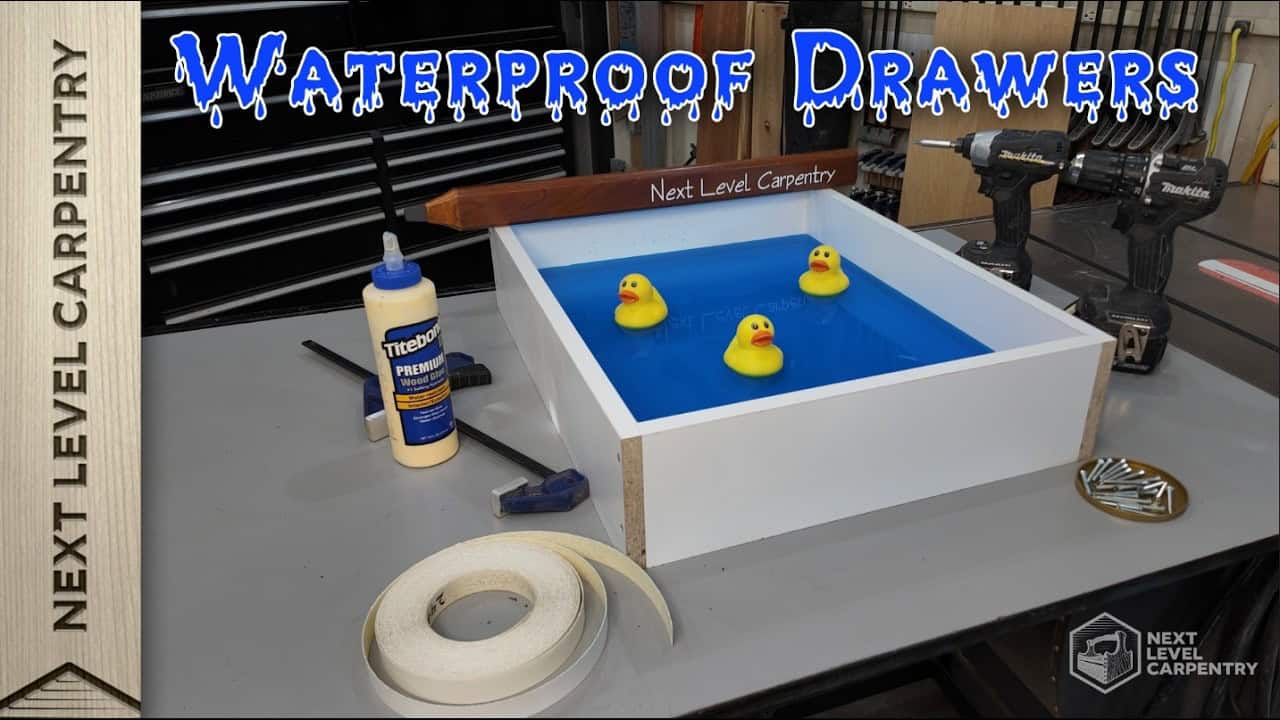
This project was built and designed by Matt from Next Level Carpentry.
Matt demonstrates how to build durable drawer boxes using melamine-coated particle board with simple table saw setups. The construction method produces drawers that are easy to clean, surprisingly strong, and can even be made waterproof with proper sealing.
Watch the full video and subscribe to Next Level Carpentry:

Material Selection and Setup
Matt chooses white melamine-faced particle board for the drawer sides and melamine-faced MDF for the bottom panel. While he prefers material that’s slightly thinner for weight, he uses standard thickness because it’s readily available and provides excellent strength.
The key to success lies in blade selection for the table saw. Matt switches between different blades throughout the build, using a dedicated melamine blade for clean cuts and a flat-top grind rip blade for creating grooves.
Cutting the Groove System
The drawer construction relies on a groove system that accepts the bottom panel. Matt uses his table saw like an adjustable dado blade, making multiple passes with a standard blade to create perfectly sized grooves.
He sets the groove depth by leaving a specific amount of material thickness, then positions it at the correct height from the bottom edge. This system ensures the drawer bottom sits properly and contributes to the overall strength of the assembly.
Edge Banding Process
Iron-on edge banding transforms the raw particle board edges into a finished appearance. Matt applies the banding with a standard household iron, then uses specialized trimmers to create flush edges.
The finishing touch involves careful filing to blend the edge banding with the melamine surface. This step prevents the soft banding material from protruding beyond the hard melamine face.
Rabbet Joint Construction
Instead of simple butt joints, Matt cuts rabbets in the drawer sides to accept the front and back pieces. This creates strong mechanical joints that align perfectly during assembly.
The rabbet width matches the material thickness exactly, creating shoulders that help position everything correctly. This joinery method significantly improves the structural integrity compared to basic corner joints.
Assembly and Fastening
Matt assembles the drawers using strategically placed flathead screws rather than nails or pneumatic fasteners. He carefully marks screw locations to avoid the bottom groove and ensure proper spacing.
Pilot holes prevent splitting while countersinking allows the screw heads to sit flush with the melamine surface. The rabbeted corners make clamping and assembly straightforward, with everything naturally aligning in the correct position.
Waterproofing Innovation
To achieve true waterproofing, Matt applies silicone caulk to all inside corners after assembly. This seals the joints between the melamine faces and protects the particle board core from moisture penetration.
The demonstration proves the concept works, with the completed drawer successfully holding water without leakage. While not necessary for typical use, this technique could benefit drawers in high-moisture environments.
This construction method scales efficiently for multiple drawers, with most setups remaining the same regardless of quantity. The combination of simple techniques and quality materials produces professional-grade results that rival manufactured cabinetry.
Watch the full video and subscribe to Next Level Carpentry:

Matt’s Take
These are my personal thoughts and tips based on my own experience in the shop. This section is not written, reviewed, or endorsed by the original creator of this project.
Melamine gets a bad rap sometimes, but it’s honestly one of my favorite materials for drawer boxes. The pre-finished surface saves hours of work, and when you use quality melamine-faced particle board like Matt shows here, you get surprisingly strong results. I’ve found that the key is really in the blade selection — a dedicated melamine blade makes all the difference in preventing chipout on those crisp white edges.
The groove system he demonstrates is brilliant for anyone without a dado set. I use this same multi-pass technique regularly, and it gives you incredible control over the fit. Just take your time with the setup and make test cuts on scrap first. The rabbet joints are what really elevate this from a basic box to something that’ll last decades. That mechanical connection distributes stress so much better than simple butt joints.
Safety-wise, always remember to use a push stick when running those narrow pieces for the groove cuts, especially on the final passes. And here’s a shop tip: when you’re edge banding, let the iron heat up fully before starting. Rushing this step usually means having to redo sections, and nobody wants that. The silicone waterproofing idea is pretty clever too — definitely something to consider for bathroom vanities or utility areas where moisture might be an issue.