This project was built and designed by Clinton from Specific Love Creations. It’s a smart shelving solution that transforms the often-wasted space between your car and the garage wall into valuable vertical storage.
By focusing on function, safety, and ease of construction, Clinton shows how even narrow, awkward gaps can be turned into organized, usable space. It’s a practical DIY project that works well in any garage with limited room.
Watch the full video and subscribe to Clinton’s channel:
Making the Most of Small Garage Spaces
Many homeowners struggle to keep their garage organized, especially when floor space is tight. Between lawn tools, seasonal decorations, and household supplies, clutter builds up quickly.
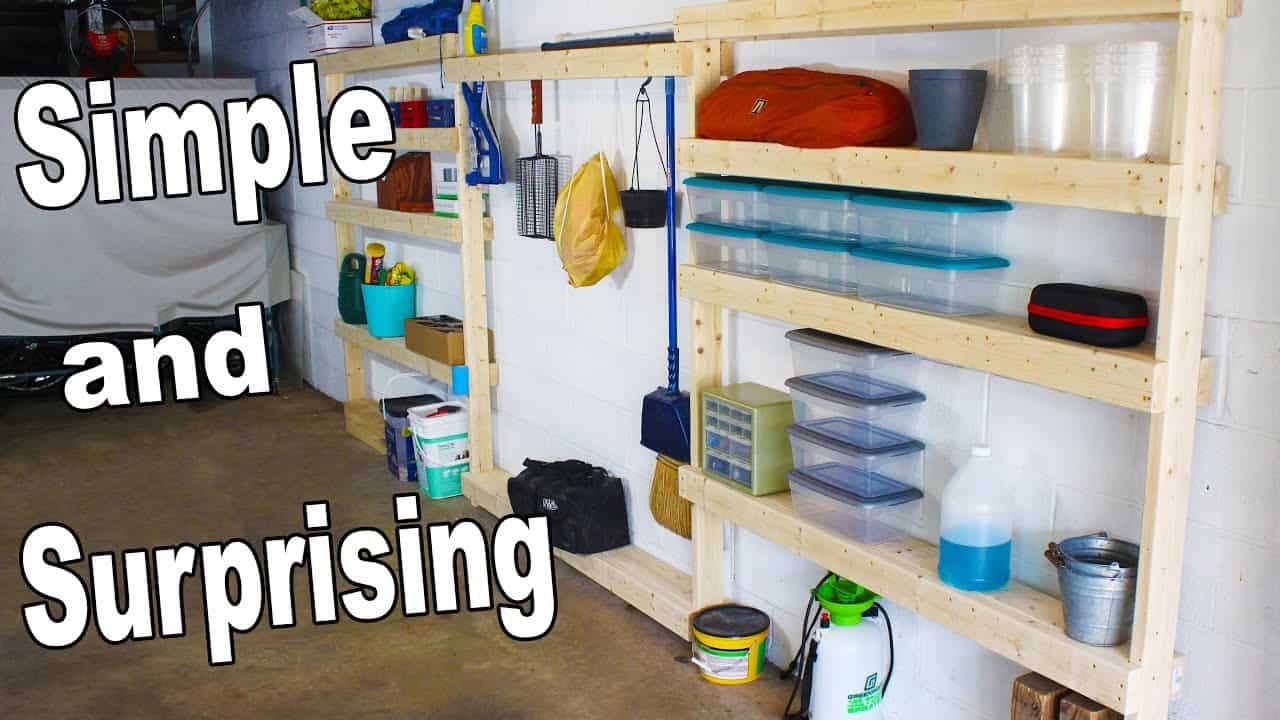
In this project, Clinton tackles the underused space right next to the vehicle—an area that’s often ignored due to its narrow footprint. The result is a vertical shelving system that adds meaningful storage without interfering with car access.
Material Selection
For strength and affordability, Clinton builds the shelves from 2×4 lumber. This material is sturdy enough to hold heavy items and widely available at most home centers.
Wood is also easy to work with, allowing you to adjust the dimensions to match your garage layout. Pressure-treated or kiln-dried boards can be used depending on your garage’s moisture levels and desired longevity.
Measuring and Planning the Layout
Before any cuts are made, Clinton emphasizes the importance of taking accurate measurements. You’ll want to measure the distance between your car and the wall, as well as the height of the space to determine how many shelves will fit.
The shelving system should be deep enough to hold containers or tools but still allow room to move around comfortably. Planning ahead ensures that the final build doesn’t interfere with other garage functions.
Cutting and Prepping the Wood
Once measurements are confirmed, the boards are cut to size. Clinton suggests labeling each cut piece to stay organized as you build, especially if you’re working with several identical lengths.
Using a miter saw speeds up the process, but a hand saw or circular saw will work too. Clean, square cuts are key for stable joints, and pre-drilling holes helps prevent splitting when driving in screws.
Building the Shelving Frame
The shelving unit is assembled using a straightforward frame design. Vertical 2×4 supports form the sides, and horizontal 2x4s create the shelves themselves.
Each shelf is attached to the uprights using screws and clamps to keep everything aligned. Clinton recommends checking for square as you go and making sure all shelves are evenly spaced for visual consistency and balance.
Wall Attachment and Safety
With the frame built, the entire unit is secured to the wall. Clinton advises anchoring the frame into wall studs for maximum stability. This prevents tipping and keeps the unit safe for use around children or pets.
If your garage has concrete walls, concrete screws or anchors will offer a strong hold. Either way, attaching the shelving to the wall adds strength and peace of mind, especially if storing heavier items.
Customizing Storage for Your Needs
Once installed, the shelving can be configured to fit your specific storage needs. Clinton recommends using clear plastic storage bins to help identify contents easily and keep similar items grouped together.
Labeled bins also help speed up your workflow when grabbing tools or supplies, and they make the entire system more user-friendly. Adding small baskets or containers can help keep smaller items from getting lost.
Adding Vertical Options and Accessories
The vertical design of the shelving allows room to hang items like extension cords or handheld tools. Clinton suggests installing hooks or pegboard panels along the side to keep these essentials off the floor and within reach.
This layered approach to storage keeps the most-used items accessible while freeing up shelf space for bulkier supplies. It’s a great way to maximize the value of every square inch.
Finishing and Final Adjustments
For a polished look and added protection, a coat of wood stain or sealer can be applied to the shelves. This step helps resist dust and moisture while giving the unit a finished appearance.
You can also round off sharp corners or sand rough edges for safety and comfort. These final touches don’t take much time but contribute to the overall quality of the project.
A Simple Project with Big Impact
This garage shelving unit proves that you don’t need a large space or complex tools to make a big improvement. By using standard lumber and working within tight dimensions, Clinton creates a functional, space-efficient system that’s adaptable to almost any garage.
Whether you’re dealing with clutter or just want to streamline your storage, this build offers a solution that’s easy to follow and satisfying to complete.
Watch the full video and subscribe to Clinton’s channel:

Matt’s Take
These are my personal thoughts and tips based on my own experience in the shop. This section is not written, reviewed, or endorsed by the original creator of this project.
This type of vertical shelving really shows how much storage you can squeeze out of those awkward garage spaces. I’ve found that measuring twice and cutting once becomes even more critical in tight areas like this — there’s no room for error when you’re working within the confines of a car door swing and wall clearance.
The 2×4 construction is a smart choice here. It’s beefy enough to handle serious weight without getting wobbly, and you can usually grab everything you need in one trip to the lumber yard. When working in garages, I always remind folks to check if their concrete floor is level — shimming the bottom of your uprights might be necessary to keep everything plumb and prevent your bins from sliding off.
Wall anchoring is absolutely non-negotiable on a project like this. Even if you’re just storing light items initially, habits change and shelves get loaded up over time. Finding those studs with a good stud finder (or the old knock-and-listen method) makes all the difference between a rock-solid shelf and a potential disaster. If you’re drilling into concrete block, invest in a decent masonry bit — it’ll save you time and frustration.
The clear bin approach Clinton uses is genius for garage organization. You’ll actually use what you can see, and it keeps everything dust-free. Pro tip: leave a little breathing room between your car and the shelving — you’ll appreciate that extra inch or two when loading groceries or getting kids in and out of car seats.