This project was built and designed by Chris from B&O Craftsman. It’s an easy and rewarding way to repurpose leftover wood into stylish photo frames for your home.
With just a bit of milling and careful joinery, Chris turns scrap 2×10 boards into clean, custom-sized frames. This type of project is perfect for beginner and intermediate woodworkers who want to make something functional and decorative.
Watch the full video and subscribe to Chris’s channel:
Using Scrap Wood to Start
Chris begins with a leftover piece of 2×10, salvaged from a kitchen countertop remodel. The goal is to create frames that showcase large art prints or personal photos while keeping costs low.
The wood is milled down to roughly ¾-inch thick and 1 inch wide. This prep step ensures consistency across all frame pieces, which is important for clean corners and a strong glue-up.
Cutting for Mitered Joints
Once the stock is ready, Chris cuts the frame pieces to length using a miter box and handsaw. Each end is cut at a 45-degree angle to form tight-fitting miter joints.
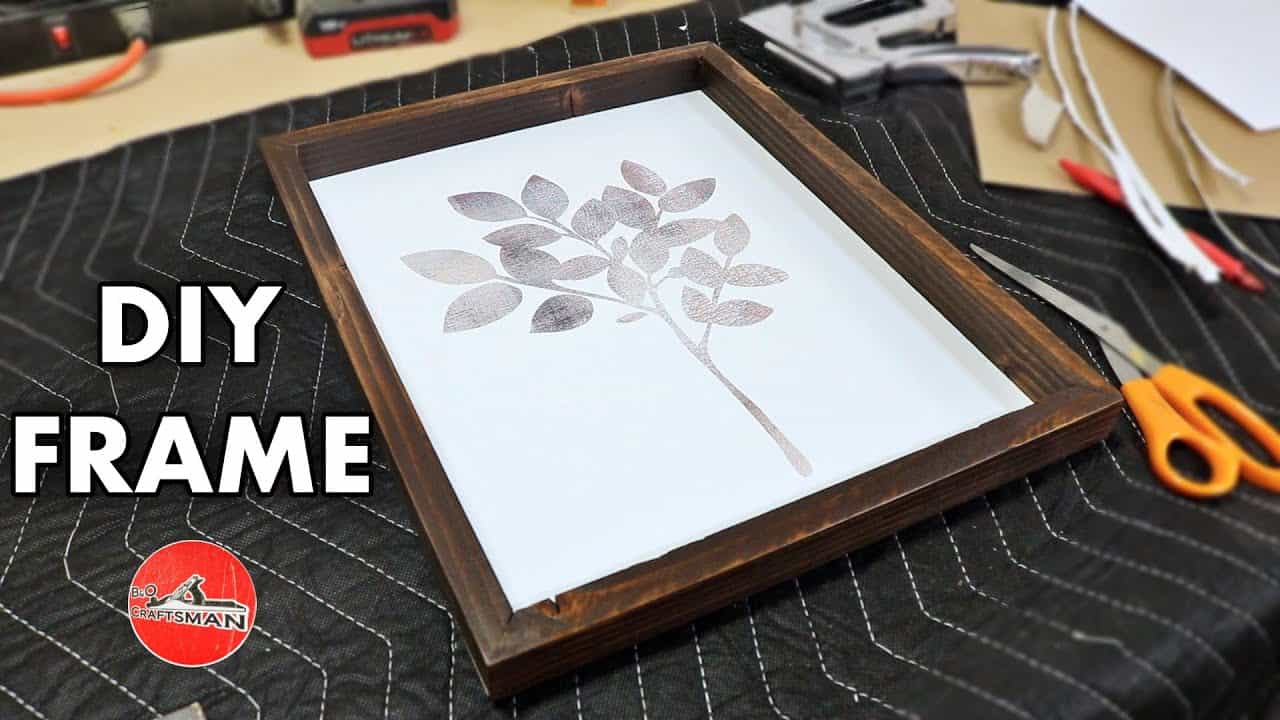
He makes eight frame pieces to ensure a solid selection for the best grain and fit. For this build, the frame is designed to hold an 11×13-inch photo, so the outer dimensions land around 12×15 inches—allowing for a slight overlap all the way around.
Assembly Without Clamps
Instead of using traditional clamps, Chris relies on painter’s tape to hold the joints together during glue-up. This approach works well for small projects and keeps things simple without the need for specialty equipment.
A carpenter’s square helps align the corners during assembly. Chris also uses heavy objects—like paint cans or shop weights—to apply pressure from above while the glue dries.
Sanding and Staining the Frame
After drying, the tape is removed and the joints are sanded to clean up any glue residue or small gaps. Chris finishes the frame with a dark walnut stain, applying it generously and wiping it off for a smooth, rich tone.
The dark stain gives the piece a finished look while still allowing the wood grain to show through. It’s a quick and effective way to elevate scrap wood into a finished decor item.
Sealing and Adding the Backing
For a protective finish, Chris sprays on a couple of coats of shellac. This adds a subtle sheen without making the frame too glossy, which works well for home display pieces.
Once the finish is cured, Chris cuts and staples a backing into place. Instead of buying new materials, he uses cardboard from shipping boxes, showing how simple repurposing can keep costs down and reduce waste.
Optional Customization for Photos
Chris’s original project was meant for art prints, but the design can easily be adjusted to fit standard photographs. For that, a groove can be cut into the back of the frame to hold a wood strip, which in turn secures the photo.
This allows the frame to be reused over time, letting the owner swap out prints or rotate seasonal decor. It’s a great feature for anyone who likes to change up their space without needing all-new frames.
Displaying the Finished Frames
After the build is complete, the frames are put to use right away. Chris’s wife decorates with the finished set, hanging them in a gallery-style arrangement.
The result is clean and cohesive—proof that homemade frames can hold their own against store-bought versions. Plus, they come with the added satisfaction of having been made by hand.
A Great DIY Decor Project
This simple woodworking project offers the perfect blend of practicality and creativity. It’s approachable, low-cost, and highly customizable—making it ideal for gifts, home upgrades, or even light product sales.
With just a few hand tools and a piece of scrap wood, anyone can make something both useful and attractive. It’s one of those projects that proves how much value you can get from materials that might otherwise go to waste.
Please support Chris by visiting his website here: https://bo-craftsman-shop.creator-spring.com/.

Matt’s Take
These are my personal thoughts and tips based on my own experience in the shop. This section is not written, reviewed, or endorsed by the original creator of this project.
The painter’s tape assembly method Chris uses is brilliant for frames this size. It eliminates the need for miter clamps, which can be expensive and intimidating for newer woodworkers. The tape provides just enough pressure while staying flexible enough to adjust corners during glue-up. Just make sure to remove it before the glue fully cures—dried PVA can be stubborn to sand off later.
When milling down lumber like this, taking light passes is key to avoiding tearout, especially with construction-grade 2×10s that can have wild grain patterns. A sharp blade makes all the difference, and checking your pieces with a straightedge after each pass helps catch any slight bowing before it becomes a problem. Those consistent dimensions Chris achieves really do make the difference between amateur-looking and professional-looking joints.
The shellac finish choice is smart—it’s forgiving, dries fast, and gives great protection without the complexity of polyurethane. For anyone new to spray finishing, practice on scrap first and work in thin, even coats. You can always add more, but fixing runs and drips is much harder. The cardboard backing approach keeps things simple and functional, though adding a dust cover on the back (just brown paper with spray adhesive) gives it that extra finished touch.