This project was built and designed by Clinton from Specific Love Creations.
It’s a budget-friendly way to get long, straight cuts from a circular saw without the cost of a commercial track saw.
Professional track saws excel at precise, repeatable cuts, but they can be expensive for new woodworkers. Clinton’s version uses common sheet material, a straight factory edge, and a non-slip underside to create a functional track that’s inexpensive and adaptable.
Watch the full video and subscribe to Clinton’s channel:
Why Make a DIY Track Saw?
A basic circular saw is a versatile tool, but it can be hard to control for long, straight cuts when used freehand. A track provides a fixed, straight reference edge so the saw stays aligned to the cut line.
Clinton’s design keeps things simple. It uses thin panels laminated together, preserves a factory-cut straight edge for accuracy, and adds a tacky underside so the track won’t slide on the workpiece.
Selecting the Materials
The base is made from a thin, rigid sheet—affordable plywood or similar panel stock works well. This keeps the track light and easy to store while still being sturdy enough for accurate cuts.
The most important feature is a straight, clean edge from the factory. This edge becomes the track’s guiding surface, so it’s protected and maintained throughout the build.
Preparing the Base
Clinton cuts the sheet into two strips: one narrower and one wider. The narrower strip is glued on top of the wider one, with both aligned so the straight factory edge runs flush along one side.
Before gluing, lightly scuff smooth surfaces to help the adhesive bond. The pieces are clamped or weighted while the glue cures, and any squeeze-out along the factory edge is wiped away to keep the guiding surface clean.
Adding a Non-Slip Underside
To keep the track in place without clamps, Clinton uses a layer of silicone sealant. Applied in a controlled bead, then spread evenly, the silicone cures into a tacky, rubber-like surface.
Masking off areas with painter’s tape before applying the silicone helps keep the coating uniform. Once spread and leveled, the tape is removed, and the silicone is left to cure fully before use.
Trimming to Zero Clearance
The final shaping step is trimming the track’s guiding edge to match the saw’s plate exactly. With the saw riding against the preserved edge, a cut is made along the length of the track.
This removes any extra material and leaves a zero-clearance guide. The blade will now cut exactly along the edge of the track, making alignment on future cuts quick and accurate.
Testing the Track
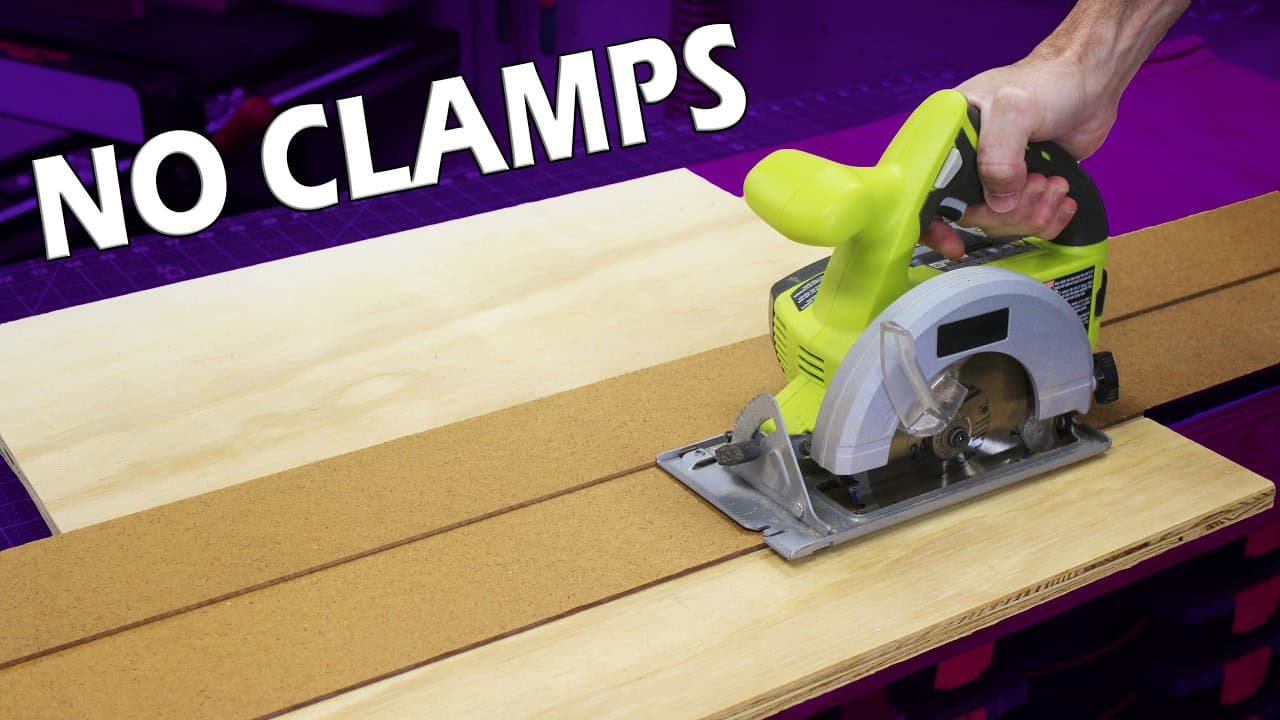
In the demonstration, Clinton uses the track to cut a sheet of plywood. The silicone underside holds the track in place with light pressure, and the saw glides smoothly along the zero-clearance edge.
The resulting cut is clean, straight, and matches the pencil line closely. The track resists shifting without needing extra clamps for most situations.
Maintenance and Improvements
Over time, the silicone layer can collect dust and debris, reducing its grip. A light wipe with a damp cloth is usually enough to restore its tackiness.
Optional upgrades include drilling a hole in one end for hanging storage or attaching a small handle for easier carrying. Some builders may prefer anti-slip tape or rubber strips instead of silicone for quicker assembly.
Pros, Cons, and Alternatives
Pros: Low cost, easy to build, adaptable to most circular saws, lightweight, and accurate for long cuts.
Cons: Less durable than commercial aluminum tracks, can be damaged if the blade cuts into it, and silicone requires curing time.
Alternatives include adding a thin hardwood edge for rigidity or using different non-slip materials underneath. Each option changes the build time, cost, and performance slightly.
Why This Project Makes Sense
For hobbyists and beginners, this track saw build delivers a big jump in cutting accuracy without the investment in a dedicated system. It’s a fast, affordable way to improve results with the tools you already own.
Even if a commercial track saw is in your future, making your own first can help you understand how guided cuts work and why certain design details matter.
Watch the full video and subscribe to Clinton’s channel:

Matt’s Take
These are my personal thoughts and tips based on my own experience in the shop. This section is not written, reviewed, or endorsed by the original creator of this project.
The beauty of this DIY track saw approach is how it transforms a basic circular saw into a precision cutting tool for under $20. What really stands out to me is Clinton’s focus on preserving that factory edge — it’s the heart of the whole system. Factory edges on quality sheet goods are incredibly straight and save you from having to true up an edge yourself, which can be tricky without the right tools.
That silicone underside is clever too. I’ve seen people try rubber mats or anti-slip pads, but the cured silicone creates this perfect balance of grip without being so sticky that it’s hard to reposition. Just remember to work in a well-ventilated area when applying it, and give it the full cure time before putting it to work.
One thing worth mentioning for safety — when you’re doing that final zero-clearance cut, take your time and keep steady pressure against the guide edge. It’s tempting to rush through it, but this cut determines how accurate all your future cuts will be. Also, always check that your saw’s base plate is clean and flat before making the track. Any debris or warping will throw off your zero clearance.
This is exactly the kind of shop-made jig that proves you don’t need to buy every tool to get professional results. Once you start using a guided cutting system like this, freehand cuts with a circular saw feel downright primitive.