This project was built and designed by Stan Sullivan. It’s a simple, functional woodworking piece that transforms reclaimed wood into a timeless Shaker-style coat peg rack—or, with a few upgrades, a full rail shelf.
Stan’s build shows how traditional design principles, paired with thoughtful joinery and recycled materials, can lead to a project that’s both beautiful and useful in almost any room of the house.
Watch the full video and subscribe to Stan’s channel:
Why Shaker Design Still Works
Shaker furniture is known for its clean lines, practicality, and honest craftsmanship. Stan’s peg rack sticks to that philosophy, using minimal ornamentation and a sturdy design that makes sense in entryways, kids’ rooms, mudrooms, or laundry areas.
The pegs serve as a base for organizing everything from coats and scarves to jars and bags. With its understated design, the rack blends easily into modern, rustic, or traditional interiors.
Starting with Reclaimed Materials
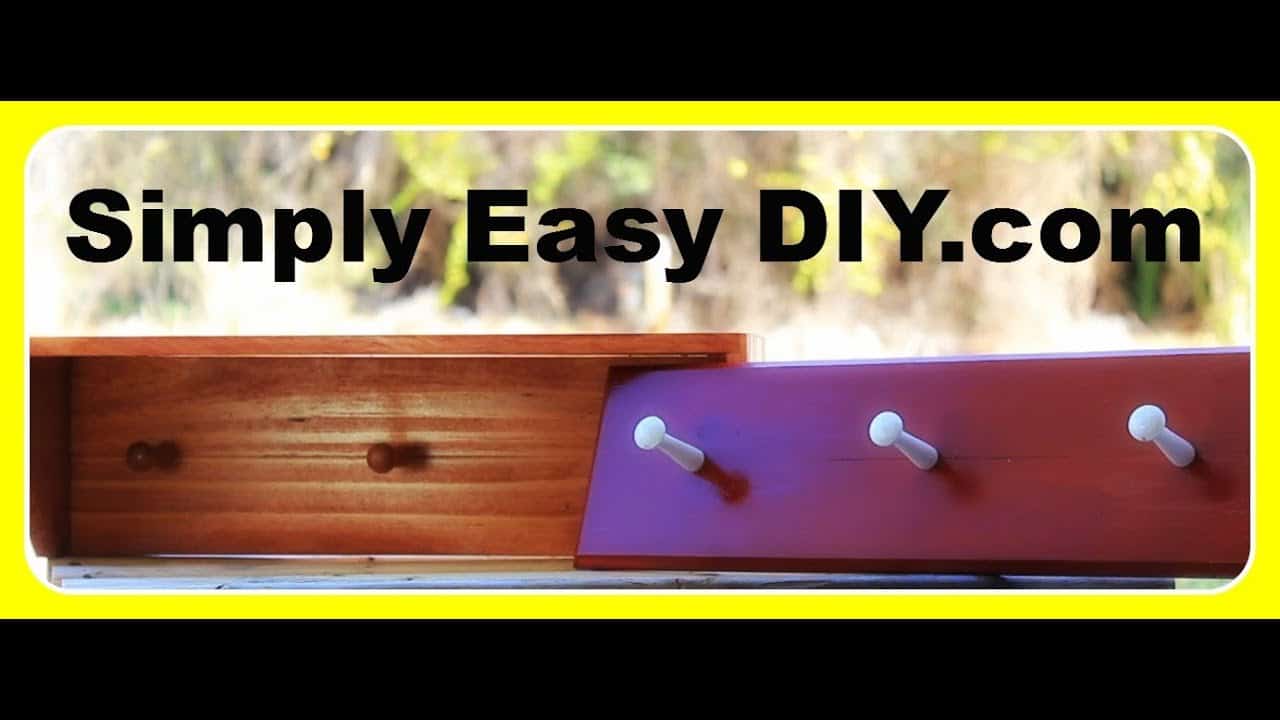
Stan uses old mattress support slats to build this project—a great example of sustainable woodworking. These slats, often discarded, are milled down and straightened to create the starting point for the main board and pegs.
The wood is prepped using a planer and table saw to square the edges and achieve consistent thickness. That early attention to prep pays off later, making glue-ups clean and the final look polished.
Building the Basic Peg Rack
The simplest version of this project starts with a straight board and a set of pegs. Each peg is made by gluing small blocks and shaping them to fit into holes drilled along the main board.
Stan uses a chamfer bit to soften the edges of the board, creating classic shadow lines typical of Shaker design. It’s a subtle touch that adds a sense of craftsmanship without making the project overly ornate.
For glue-up, he shares a helpful trick: apply glue to the inside of each hole and a little on the peg’s lower section. This helps avoid squeeze-out on the face of the board and keeps cleanup easy.
Ideal for Beginner Woodworkers
The basic peg rack is a great first woodworking project. It involves straightforward measurements, easy drilling, and basic joinery—all while teaching fundamentals like layout, grain direction, and finishing.
Stan recommends this version for kids’ rooms, where it can hang coats, hats, or backpacks. It’s low profile and simple to install, making it functional even in smaller spaces.
Upgrading to a Rail Shelf Design
For those wanting more utility, Stan shares an expanded version of the project: a rail shelf. This adds side panels, a top shelf, and a back panel that holds the pegs.
Rabbets are cut into the side pieces to hold the back panel and shelf. A subtle 45-degree angle on the side profile adds a little visual detail while keeping the overall look clean and classic.
Stan finishes this version with Danish oil and several coats of varnish. The finish highlights the wood grain while offering durability for daily use.
Room-to-Room Versatility
One of the strengths of this project is how adaptable it is. Installed in an entryway, it becomes a coat and bag organizer. In a laundry room, it’s perfect for clothespins, drying racks, or even canning lids.
The shelf version offers space to drop mail, keys, or other small items. With no elaborate installation required, it can be hung almost anywhere with basic wall anchors or screws.
Practical Tips for a Better Build
Throughout the build, Stan shares advice that beginners and seasoned woodworkers alike can benefit from. Here are a few key takeaways:
- Start with clean, flat boards. Even reclaimed wood performs well if milled properly.
- Don’t overdo the glue. A small amount goes a long way, especially in tight-fitting joints.
- Chamfer your edges. It adds a finished look without complicating the design.
- Be intentional with your finish. Whether you use stain, oil, or varnish, take your time and apply multiple coats if the piece will see daily use.
A Project That Teaches and Delivers
The Shaker peg rack is more than just a coat hanger—it’s an introduction to clean design, responsible material use, and practical construction. Whether you’re making it from scraps or cutting fresh stock, the results are timeless and useful.
Stan’s process also reinforces the value of improving a design over time. Starting with the simple version and then modifying it with added functionality gives woodworkers a chance to grow their skills without jumping into complex builds.
Get Stan’s plans here: https://www.simplyeasydiy.com/2014/02/to-help-us-with-our-organization-needs.html.

Matt’s Take
These are my personal thoughts and tips based on my own experience in the shop. This section is not written, reviewed, or endorsed by the original creator of this project.
What I love about this project is how it demonstrates that great woodworking doesn’t need expensive lumber or complex joinery. Using reclaimed mattress slats is brilliant—they’re usually straight-grained hardwood that just needs a little cleanup. The key is taking time with that initial prep work. Getting everything flat and square at the start makes everything else fall into place naturally.
The chamfer detail Stan adds really shows the difference between “made” and “well-made.” It’s such a simple cut, but it transforms the whole piece from looking like a board with holes to actual furniture. That’s classic Shaker thinking—small details that serve both form and function. The chamfer also helps prevent chipping if the rack gets bumped.
Safety-wise, drilling holes in a long board can be tricky. A drill press makes this much easier and more accurate than a handheld drill. If you’re using a handheld, clamp a guide block to keep your holes perpendicular. For the glue-up tip about putting adhesive in the holes—that’s gold. It prevents the mess of squeeze-out running down the face grain, which is always a pain to clean up.
The beauty of starting simple and then expanding the design is something every woodworker can learn from. Build the basic version first, live with it, then decide what improvements would actually make it more useful. That’s how you end up with furniture that really works for your space.