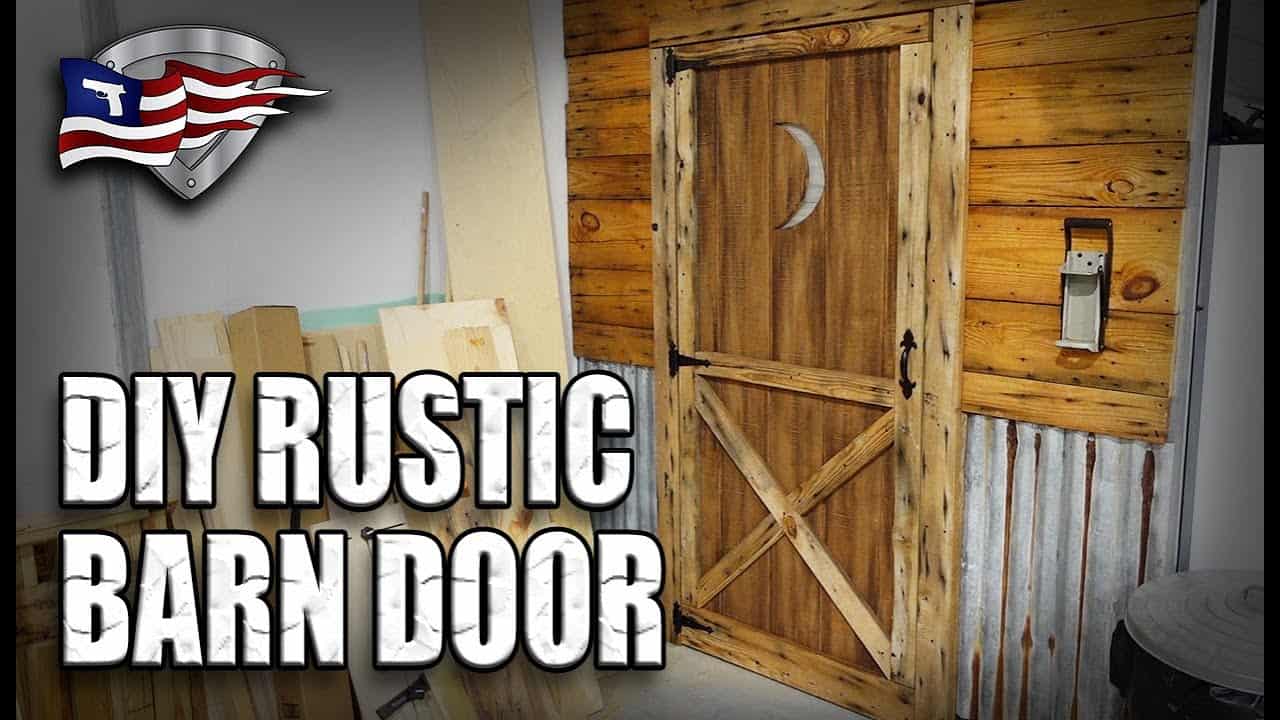
This project was built and designed by Jason from PatriotDIY. It’s a classic sliding barn door made from rough plywood siding, designed to bring rustic charm and character to any space.
Using simple tools and materials, Jason walks through each step of the build—from panel prep to staining to mounting. The result is a functional piece that works just as well for closets and bathrooms as it does for pantries or workshops.
Watch the full video and subscribe to Jason’s channel:
A Simple Design with Big Impact
Barn doors have become a go-to feature in modern rustic homes. They’re stylish, space-saving, and surprisingly simple to make with the right approach.
Jason’s version leans into rough-cut textures and imperfect details, making it an approachable build for beginners. By embracing the flaws in the wood, the door gains authenticity and visual interest.
Materials and Initial Prep
The main panel is built from exterior-grade plywood siding—the kind commonly used for sheds. It has a rough face that adds texture right out of the gate, skipping the need for reclaimed wood.
Additional trim pieces are cut from standard boards or reclaimed lumber, depending on the look you’re going for. These are stained separately and layered onto the panel to create the classic “Z” or “X” barn door style.
Measuring and Cutting the Door
Jason starts by measuring the opening where the barn door will be installed. To account for smooth operation and a clean reveal, he subtracts slightly from the height and width.
The panel is then cut to size using a track saw or circular saw with a straight edge. Whether you’re going for a clean rectangle or adding a decorative cutout at the top, it’s important to double-check all measurements before cutting.
Staining for a Rustic Finish
To keep things efficient, Jason stains the back of the door first, using a paint sprayer for fast and even coverage. Once dry, he flips it over and does the same on the front.
For added depth, a dry brush technique is used with a second, darker stain color. This mimics the look of aged, weathered wood and adds visual dimension without requiring extra materials.
Building the Accent Frame
Trim boards are cut to frame the edges and create a horizontal and diagonal layout on the panel face. Jason uses two side boards, one each for the top and bottom, and a middle brace to add structure.
All pieces are dry-fitted first, then secured with a mix of glue, screws, and brad nails. Clamps help hold everything in place while he fastens each section to the plywood base.
Adding a Decorative X Pattern
For extra detail, Jason cuts two angled pieces to form an “X” across the lower half of the door. This adds balance to the layout and reinforces the farmhouse style.
These angled cuts are made by eye and trimmed to fit tightly. Once in place, they’re attached with brad nails and wood glue, completing the traditional barn door look.
Hanging and Fitting the Door
With the panel built, the next step is fitting it to the doorway. Jason installs a basic frame around the opening using similar lumber, ensuring there’s proper clearance at the top and bottom.
If the door doesn’t fit perfectly at first, small adjustments can be made by sanding or trimming the edges. A small spacer helps maintain even gaps during installation.
Installing Hinges and Hardware
Jason opts for large black gate-style hinges to match the rustic aesthetic and provide solid support. These are spaced evenly across the side of the door and attached with heavy-duty screws.
A matching pull handle is added on the front face. If the door includes a decorative cutout like a moon shape, Jason recommends covering the backside with a metal sign for privacy—especially if used for a bathroom or bedroom.
Finishing and Final Adjustments
Once mounted, a few final details help dial in the fit and longevity. Jason installs a door stop to prevent over-swing and uses an anti-sag kit to tighten things up if the door begins to lean.
These small tweaks ensure the door stays functional over time, even with heavy daily use. Pressure-treated or exterior-grade plywood helps extend the lifespan if installed in a humid or high-traffic area.
A Rewarding DIY Upgrade
This rustic barn door delivers on both style and function. It’s a weekend-friendly project with plenty of room for customization and adds an immediate upgrade to any interior.
Jason’s build shows how simple materials and a few basic tools can create a high-impact result. The rough siding, classic trim layout, and thoughtful finish all combine for a standout DIY piece.
Please support Jason by visiting his Etsy Store: https://www.etsy.com/shop/patriotdiy.

Matt’s Take
These are my personal thoughts and tips based on my own experience in the shop. This section is not written, reviewed, or endorsed by the original creator of this project.
Rough-sawn plywood siding is a smart choice for this type of project. It gives you that authentic barn door texture without the cost and unpredictability of reclaimed wood. When selecting your siding, look for exterior-grade material even for interior doors—it tends to be more stable and less prone to warping over time.
The dry brush staining technique Jason uses is really effective for creating depth. If you’re new to this method, practice on a scrap piece first. The key is using a nearly dry brush with just a hint of the darker stain, working in the direction of the wood grain. You can always add more, but it’s tough to take it back once you’ve gone too heavy.
When cutting those angled X pieces, a good miter saw makes the job much easier and more accurate than eyeballing it with a circular saw. If you don’t have one, a speed square and circular saw will get you there—just take your time with the layout. Those diagonal cuts really make the door pop, so it’s worth getting them right.
Don’t skip the anti-sag hardware, especially on larger doors. Even with quality hinges, barn doors can start to droop over time just from their own weight and regular use. Installing the anti-sag kit from the start will save you headaches down the road.