This project was built and designed by Connor from Shopfix. It features a classic farmhouse table base built with traditional mortise and tenon joinery, combining strength, function, and timeless style.
Connor walks through each step of preparing rough lumber, creating strong joints, and assembling a stable base designed to last for decades. The result is a table that not only looks great but also performs under everyday use.
Watch the full video and subscribe to Connor’s channel:
Building a Strong Foundation
The base is the heart of any table, and Connor puts special emphasis on getting this part right. Not only does it support the tabletop, but it also defines the overall feel of the design.
He uses 2×6 and 4×4 pine boards as the main structural elements. The choice of rough lumber allows for a custom finish and better control over final dimensions after milling.
Milling and Preparing the Lumber
The process starts with cross-cutting boards slightly oversized. This gives room to square and flatten them with a jointer and planer later.
Each face and edge is milled until the boards are smooth, straight, and uniform in thickness. Connor marks reference faces and edges to keep orientation consistent throughout the project.
Once flattened and squared, all parts are cut to final length. This includes the table legs, side aprons, and support pieces. Precision here is essential—clean cuts help the joints seat properly and keep the entire structure square.
Laying Out and Cutting Joinery
The highlight of this project is the use of mortise and tenon joinery. It’s a traditional method that offers unbeatable strength and is ideal for a table meant to last for generations.
Connor marks and cuts mortises in the 4×4 table legs first. He uses a mortiser to remove most of the waste, then refines the openings with chisels to get sharp, clean walls.
The tenons are cut on the apron boards to match the mortises. The fit is dialed in until the tenon slides into place with some resistance—tight enough to hold, but not so tight that it requires a hammer to assemble.
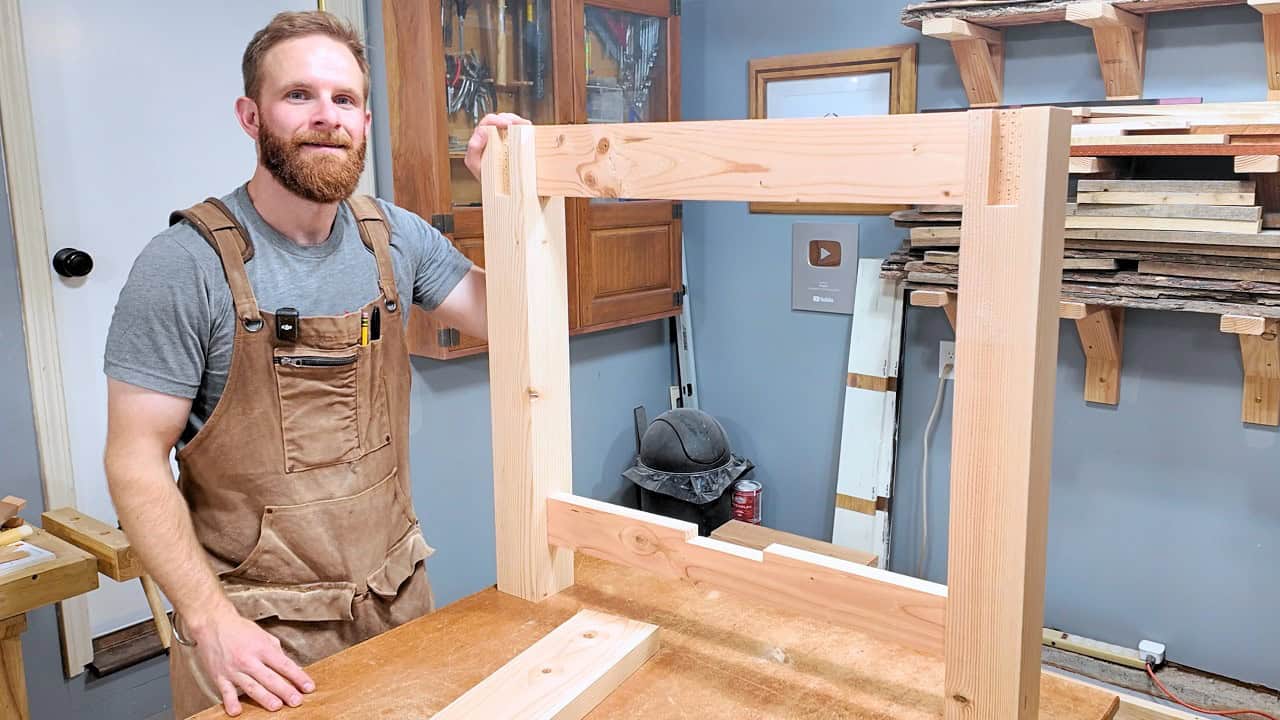
Building Out the Frame
Once the joinery is dry-fit and verified, the base assembly begins. Connor hollows out the bottom portion of each leg to accept a horizontal support rail. This helps prevent racking and strengthens the overall frame.
Wood glue is applied to the mortises and tenons during final assembly. Clamps hold everything tight, but he’s careful not to overtighten—too much pressure could twist or bow the components.
The remaining aprons are installed the same way, with attention to symmetry and alignment. The base is double-checked for square before moving on.
Adding Reinforcement and Support
Connor includes a support rail running between the long aprons. This piece fits into grooves at either end and serves to eliminate sagging and add long-term durability.
It’s a small addition, but it has a big impact on performance. The extra reinforcement helps keep the table stable, especially once the heavy tabletop is added later.
Pocket holes are also used in some strategic places—mainly at the top of the aprons—for attaching the tabletop. These are drilled with a Kreg jig and kept hidden once the top is in place.
Assembly Tips and Adjustments
As the base comes together, frequent checks for squareness ensure everything aligns properly. If adjustments are needed, light sanding or minor trimming of the tenons can help dial in the fit without compromising strength.
Connor adds that if the table will be moved or disassembled in the future, these pocket hole connections make it easier to break it down and reassemble without weakening the structure.
For extra rigidity, he suggests adding a few crosspieces in the middle to tie the aprons together. These aren’t always visible but help prevent shifting over time.
Optional Add-Ons for More Functionality
Connor briefly discusses how the base could be modified to include drawers. This adds functionality without changing the main structure much, especially if shallow drawers are added under the aprons.
It’s a great option if the table will be used for homework, mail sorting, or as a multifunctional space. A simple drawer layout also complements the farmhouse style without being too busy.
A Durable Table That’s Built to Last
This table base is a reminder that strength and style don’t have to be complicated. With careful milling, clean joinery, and a little patience, it’s possible to build a piece that will serve a family for years to come.
Connor’s focus on traditional techniques, smart tool use, and precision pays off in a final product that looks clean and feels rock-solid. Once the top is added, this table becomes a true centerpiece for any dining space.
Please support Connor by visiting his website: https://www.shopfix.services/.

Matt’s Take
These are my personal thoughts and tips based on my own experience in the shop. This section is not written, reviewed, or endorsed by the original creator of this project.
The mortise and tenon joints Connor uses here really are the gold standard for table construction. When done right, they create a mechanical lock that actually gets stronger over time as the wood moves and settles. The key is getting that fit just right—you want resistance when assembling, but not so tight that you risk splitting the wood or creating stress points that could fail later.
One thing I really appreciate about this approach is starting with rough lumber. Yeah, it’s more work upfront with the milling, but you end up with much better grain orientation and can avoid those twisted boards that look fine in the store but cause headaches once you get them home. That reference face marking system Connor mentions is crucial—once you lose track of your orientation, it’s easy to end up with boards that don’t play nice together.
The support rail running between the long aprons is smart engineering. Tables take a beating over the years—kids climbing on them, heavy holiday meals, people leaning on the edges. That extra triangulation prevents the dreaded wobble that develops when joints start loosening up. The pocket holes for tabletop attachment are a nice modern touch too, giving you a secure connection that’s still removable if needed.
Pine gets a bad rap sometimes, but for a painted farmhouse piece like this, it’s actually perfect. It’s stable, affordable, and takes finish well. Just make sure to seal any knots properly if you’re going with a natural finish—pine knots love to bleed through lighter stains.