

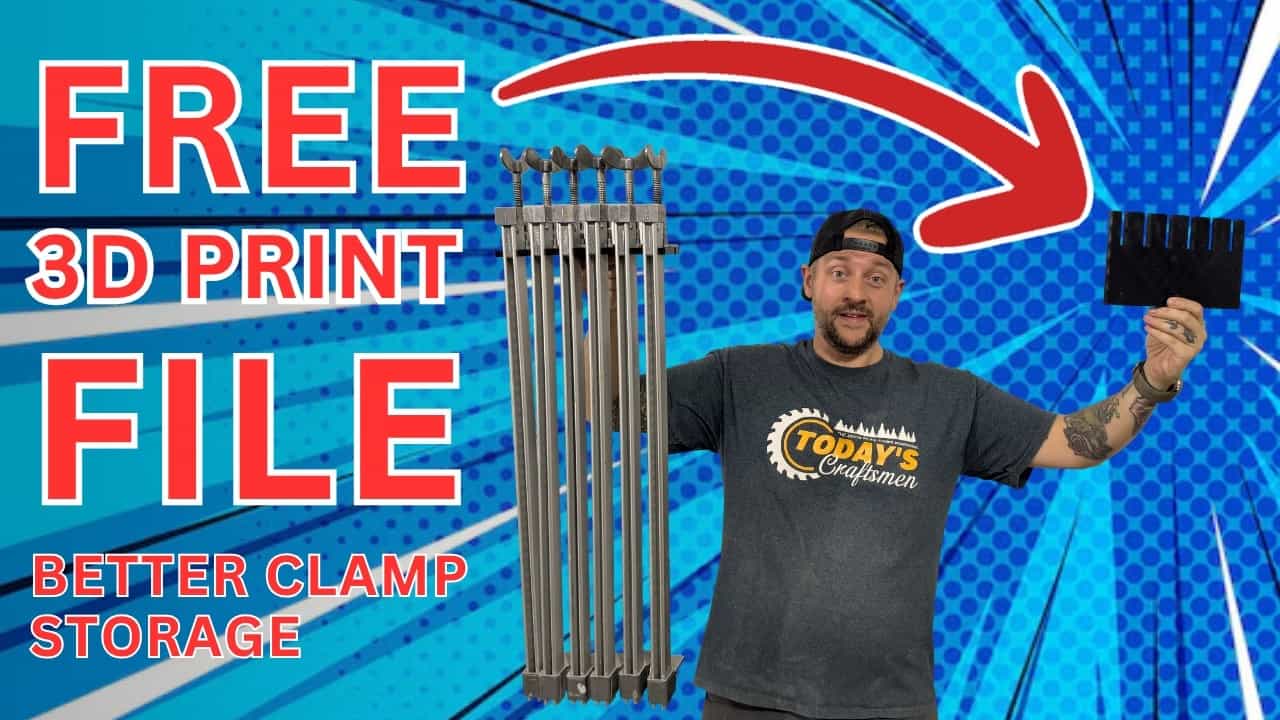
Jeff and Jon from TodaysCraftsmen shared the project featured in this video.
After years of accumulating clamps, Jeff and Jon decided it was time to overhaul their storage setup and thin out their collection. What started as a simple wall rack rebuild turned into a full review of every clamp type in their shop, plus a clever 3D-printed solution for organizing them neatly against the wall.
Watch the full video and subscribe to TodaysCraftsmen:

Downsizing the Collection
The old storage setup used an angled A-frame rack that stuck out from the wall and ran the length of the shop, taking up a surprising amount of floor space. After acquiring a large batch of additional clamps through a trade with a retiring local woodworker, Jeff and Jon realized they had far more clamps than they actually needed.
Rather than keep everything, they sorted through their entire inventory and let go of a large number of duplicate and rarely used clamps. In the end, they settled on six core clamp styles that cover nearly every task in their shop, proving that a smaller, well-chosen collection can be more useful than a massive assortment.
Lightweight Parallel Clamps
One style stood out as the clear favorite: a lightweight parallel clamp brand made by a small manufacturer in Iowa. These clamps are prized for being light enough to hold one-handed even at long lengths, which makes a big difference when working solo on large glue-ups.
Despite the light weight, they clamp down with impressive force thanks to a smooth-turning acme-style screw. Jeff and Jon noted joints that other clamps couldn’t fully close were squeezed tight and glue-starved using this style. The one downside is that they don’t stand upright well on their own, which limits their usefulness for certain flat panel or door glue-ups.
Parallel Clamps for Vertical Storage
To fill that gap, a heavier parallel clamp brand comes into play. These clamps can stand upright on their own, which allows doors or panels to be stored vertically in a row rather than laid flat, saving a significant amount of workbench and floor space.
These heavier clamps also double as a stabilizing base for large cabinet assemblies. When building tall, narrow cabinet units that can become top-heavy, clamping one of these to the floor and the cabinet base adds extra footprint and prevents tipping. Since most of their door builds use single-panel construction rather than five-piece doors, this style sees lighter, more occasional use compared to the lightweight parallel clamps.
C-Clamps and Auto-Adjusting Clamps
A deep-jawed C-clamp remains a valuable tool for reaching into the middle of a workpiece, even though it isn’t the strongest option for heavy-duty clamping. Keeping a small handful on hand covers those occasional situations where reach matters more than raw clamping force.
Auto-adjusting clamps serve a similar niche role. They self-adjust to material thickness and allow quick tension changes like a wrench, making them handy for installing face frames or securing filler strips before fastening. They aren’t used constantly, but having a few in reserve speeds up quick, one-off clamping tasks.
Deep-Reach Clamps for Heavy Work
For serious clamping power, a set of deep-throated clamps in varying depths gets used constantly. Their sturdy build and large handles allow for strong, confident clamping, and their reach makes them ideal for holding panels flat during glue-ups or securing pieces to a benchtop.
This style is described as indispensable in the shop, largely because of the combination of depth and strength. It’s a good reminder that having a few clamps built specifically for demanding glue-ups can save a lot of frustration compared to relying on lighter-duty options.
Spring Clamps for Everyday Use
Rounding out the collection are quick-action spring clamps, including a couple of larger sizes and a much larger supply of smaller ones. These get used constantly for small parts, temporary positioning, or acting as a stop while working on a piece.
Keeping a set within arm’s reach on a cart makes them ideal for fast, no-fuss clamping tasks, while the larger sizes stay reserved for bigger work. Their simplicity and speed make them one of the most frequently reached-for tools in the shop.
Designing a 3D-Printed Storage Rack
With the collection finalized, the focus shifted to organizing everything efficiently on the wall. Every clamp was measured and mapped out to figure out how tightly they could be spaced while still being easy to remove and replace.
Instead of hand-cutting a comb-style spacer on a band saw, which would be time-consuming with dozens of slots to cut, the shape was modeled digitally and produced on a 3D printer. This let them dial in tight, consistent spacing between each clamp with far less manual labor than traditional methods would require.
The printed pieces were mounted onto a simple frame built from dimensional lumber and plywood, with the plywood providing extra clearance for the wing nuts on the smaller clamps and acting as a stop for the printed piece. The rack was fastened to the wall with a small spacer behind it to minimize wobble.
Adapting the Design for Different Clamp Sizes
Because the heavier parallel clamps are bulkier, a deeper printed piece was needed to accommodate them. An early prototype was printed as a lightweight test piece to check spacing accuracy before committing to a stronger final version.
The final printed components were designed with enough thickness to hold up structurally while still fitting clamps with minimal gaps between them. The files were created as simple STEP files, imported directly into standard slicing software, and printed with default settings, making the process approachable even for those without extensive 3D printing experience.
Each printed piece takes several hours to produce, so batching prints is necessary when outfitting a whole wall of clamps. Despite the time investment, the result is a clean, tightly spaced storage row that keeps the shop organized and visually satisfying.
Simple Wooden Brackets for Flexibility
For the areas using the lightweight parallel clamps, small L or Z-shaped wooden brackets were cut from leftover plywood and screwed into a mounting board. This simple design lets clamps be lifted off and set back in place easily.
Because the wall backing spans a wide area, brackets can be repositioned at any time to accommodate a growing or changing clamp collection. This flexibility means the shop can continue evolving its layout without needing to rebuild the entire storage system from scratch.
Building an Extended-Reach Clamp
As a bonus tip, Jeff and Jon demonstrated a custom extended-reach clamp made by combining parts from several standard parallel clamps using a commercially available extension kit. By combining components from a couple of clamps, they created several clamps nearly double the length of their standard long clamps.
Having a few extra-long clamps on hand is valuable for occasional oversized glue-ups, especially as an alternative to pipe clamps, which they find far less convenient to use. Keeping a couple of spare parts in storage means they can quickly reconfigure clamps into this extended format whenever a larger project calls for it.
Why a Thoughtful Clamp System Matters
This project is a good reminder that clamp storage isn’t just about tidiness, it directly impacts how much usable space a shop has. By trimming down to a smaller, well-rounded set of clamps and building a tightly organized rack, Jeff and Jon reclaimed valuable wall and floor space while keeping every tool within easy reach.
The use of 3D printing here shows how accessible technology can solve practical shop problems without requiring advanced design skills, offering a template that other woodworkers can adapt to their own clamp collections and available wall space.
See Jeff’s and Jon’s plans here: https://todayscraftsmen.com/collections/frontpage

Matt’s Take
These are my personal thoughts and tips based on my own experience in the shop. This section is not written, reviewed, or endorsed by the original creator of this project.
What Jeff and Jon put together here really highlights something a lot of woodworkers overlook: clamp storage is workflow, not just tidiness. If your clamps are hard to grab or put away, you’ll avoid using enough of them during glue-ups, and that leads to weak joints. Having a system where every clamp has a dedicated spot you can see at a glance makes it way more likely you’ll actually reach for the right one instead of settling for whatever’s closest.
On the clamp selection side, it’s worth remembering that clamping force isn’t just about brand or price, it’s about matching the tool to the joint. Deep-throated clamps are great for panel glue-ups because they distribute pressure across a wider span, while something like a spring clamp is really more about holding position than generating serious force. If you’re newer to the hobby, you don’t need six styles right away. Start with a handful of quality parallel clamps and a set of spring clamps, then add specialty types as you run into situations where your current lineup falls short.
The 3D-printed rack is a smart use of the technology. If you don’t have a printer, you can get a similar result with a comb-style spacer cut on a bandsaw or scroll saw using a copy of your clamp’s jaw thickness as a template. Just take your time measuring gaps so clamps don’t bind against each other when you’re pulling them off the wall.
One safety note worth keeping in mind with wall-mounted racks: make sure you’re anchoring into studs or solid blocking, especially with heavier parallel clamps. A loaded rack can get surprisingly heavy, and you don’t want it pulling off the wall.