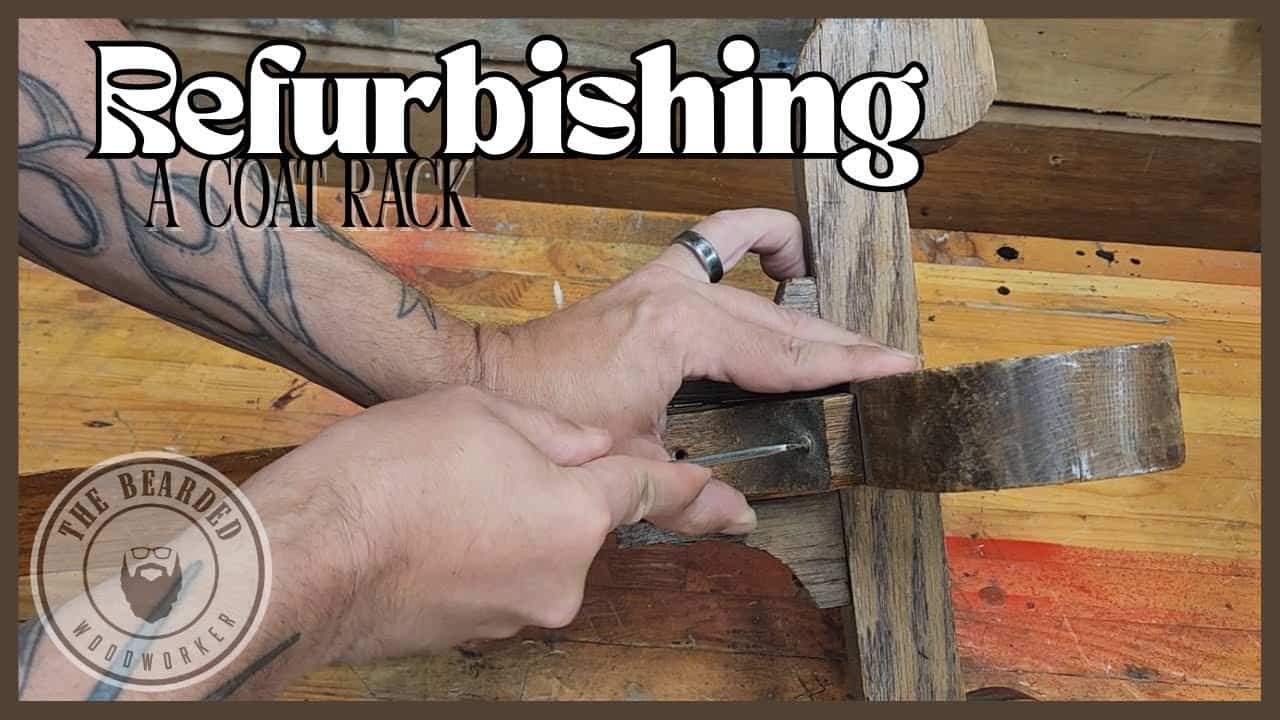
This project is by Gary Herd, better known as The Bearded Woodworker.
It’s a thoughtful restoration of an old coat and hat rack, originally built from oak and full of vintage character despite years of wear.
Gary takes a careful approach to bring the rack back to life—preserving its design, upgrading missing hardware, and honoring the original craftsmanship throughout the process.
Watch the full video and subscribe to Gary’s channel:
Assessing the Condition
The original rack showed signs of age and heavy use. Some hooks were missing, others were mismatched, and many of the screws used for repairs over the years didn’t match or fit well.
Even with these issues, the rack had a solid oak structure, decorative feet, and interesting lines that made it worth restoring.
Gary’s goal was to improve stability and update the hardware while keeping the charm intact.
Disassembly and Prep Work
The first step involved taking the rack apart. Gary removed all of the hardware—some of which was glued, broken, or stripped—and noted where repairs would be needed.
A broken dowel was found inside one joint, which he replaced to improve the rack’s strength.
He then sanded the entire surface, carefully preserving chamfers and decorative edges to maintain the original shaping of the piece.
Choosing the Finish
Rather than painting the rack or using heavy stains, Gary wanted to highlight the grain of the oak. He tested several stain samples on scrap pieces to decide what would bring out the best contrast and warmth.
In the end, a reddish oak stain was chosen, adding color while letting the natural wood figure show through.
After sanding and filling minor imperfections with an eco-friendly wood filler, Gary applied the stain and let it dry fully before sealing.
Applying Protective Coats
Multiple layers of clear finish were brushed on after staining. This gave the wood a gentle sheen and added durability for long-term use.
The finish helped protect against moisture and wear while enhancing the depth of the wood grain.
Even after the clear coats, the character and texture of the original oak remained fully visible.
Finding New Hardware
One of the biggest challenges was replacing the coat hooks. The originals were likely brass-plated cast iron, but finding an exact match proved difficult.
Gary eventually chose new brass hooks that were close in style but slightly smaller.
These new hooks came with smaller screws, so the old holes were filled before new ones were drilled to keep the layout neat and consistent.
Installing the Hooks
Each hook was installed with care to maintain symmetry and avoid damage to the surrounding finish. The brass color worked well with the reddish stain and added a touch of shine to the completed rack.
By spacing them evenly and aligning them to the original layout, Gary kept the design true to the piece’s vintage feel while refreshing its appearance.
Additional Restorations for the Client
This project was one of several Gary completed for the same client. Along with the coat rack, he also restored a metal-legged table and a decorative sun piece featuring a face and mustache.
Those items required rust removal, cleanup with an angle grinder and wire wheel, and new paint or clear coat.
Together, these refinished pieces brought new life into a collection of well-loved but worn home decor.
Assembly and Final Details
Once the finish cured, Gary reassembled the rack and installed the new hooks. In areas needing extra strength during gluing, he used temporary screws to hold parts in place as they dried.
The final piece was solid, cleanly finished, and ready for use again—blending vintage style with improved structure and refreshed details.
Why Vintage Restorations Matter
Restoring older furniture is more than a weekend project—it’s a way of preserving history.
Each scratch or detail tells a story, and Gary’s method respects that while making the item usable and beautiful once again.
By choosing to stain and finish the oak rather than cover it with paint, Gary allowed the natural look of the wood to come through. This kind of attention to material makes a difference in the final product.
Restoration Tips from the Project
- Assess original hardware to determine if anything can be salvaged or matched.
- Test multiple stain options before committing to a color.
- Avoid sanding away important shaping details like chamfers or molded edges.
- Use sustainable fillers and finishes when possible.
- Take your time during gluing and finishing to let each layer set properly.
A Meaningful Restoration with Lasting Results
This coat rack restoration shows what can be done with patience, attention to detail, and a deep respect for original craftsmanship.
Gary’s work highlights the quiet satisfaction of reviving old wood while giving it a second life.
If you enjoy thoughtful woodworking projects and detailed restoration work, The Bearded Woodworker’s channel is worth following.
His step-by-step process makes each build educational and inspiring.
Watch the full video and subscribe to Gary’s channel:

Matt’s Take
These are my personal thoughts and tips based on my own experience in the shop. This section is not written, reviewed, or endorsed by the original creator of this project.
Restoration work like this hits differently than building something new. There’s something satisfying about taking a piece with good bones and bringing it back to life. That solid oak construction is exactly why this rack was worth saving — modern coat racks often use particle board or thin veneers that just don’t have the same longevity.
Gary’s approach to the hardware replacement is spot-on. Finding exact matches for vintage hardware can be nearly impossible, so going with something that complements the style while being readily available makes total sense. Filling those old screw holes before drilling new ones is crucial — it prevents the wood from splitting and keeps everything looking intentional rather than patched up.
The stain testing phase is where a lot of folks rush and regret it later. Oak can take stain unpredictably depending on grain density, so those test pieces are worth their weight in gold. That reddish tone Gary chose probably brings out the natural warmth in the oak while still letting the grain patterns tell their story.
One thing I always keep in mind with restorations is that patience pays off in the finish work. Those multiple clear coats and proper drying times between applications make the difference between a finish that lasts years versus one that starts showing wear in months. It’s tempting to rush, but the wood has waited this long — it can wait a bit longer for the job to be done right.