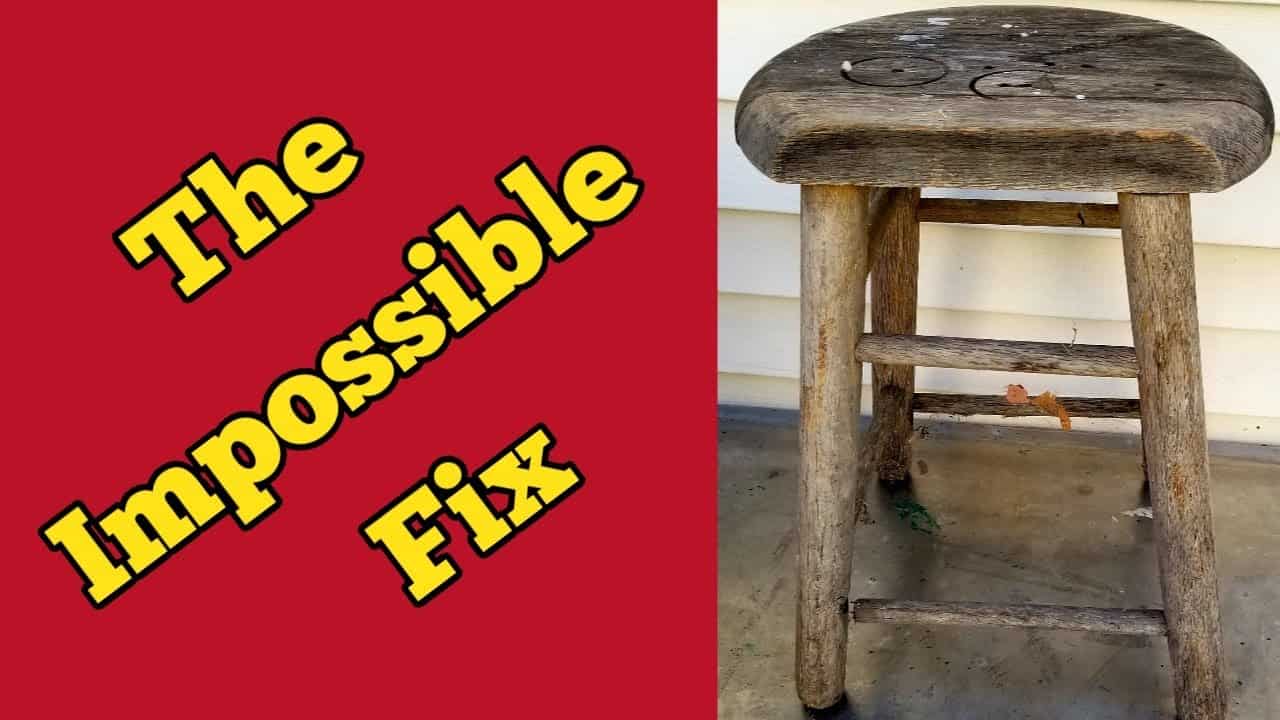
This project was built and designed by Tom from Alley Picked. It’s a full restoration of a damaged wooden stool pulled from an alley—an ambitious fix that turned out to be a rewarding and skill-building experience.
At first glance, the stool looked beyond repair, with cracked joints, missing pieces, and deep holes. But Tom took it on anyway, showing that even the most neglected items can be brought back to life with the right tools, creativity, and persistence.
Watch the full video and subscribe to Tom’s channel:
Assessing the Damage
Tom started by carefully evaluating the stool’s condition. It wasn’t just worn out—it had structural issues, missing parts, and several random holes drilled through the seat.
What changed his mind about tossing it was discovering the stool was made of oak. A quick sanding test revealed a durable hardwood underneath the grime, offering hope that it was worth salvaging despite the flaws.
Cleaning Up and Breaking It Down
Once the seat was removed, Tom began surface cleanup using a belt sander. However, dried glue on the wood caused problems. Rather than fight with it, he adapted by running the edges through a table saw, getting clean surfaces for the next steps.
For the broken parts, he laminated pieces of thicker oak to recreate missing sections. Dowels weren’t used for everything—Tom instead relied on high-strength wood glue, a good choice given how well it bonds under pressure.
Repairing Cracks and Filling Gaps
Next came fixing the cracks. To strengthen them, Tom thinned wood glue with water so it could seep deep into the damaged areas. He then filled the cracks with sawdust before letting everything dry—an old-school technique that worked well.
To address several unsightly drill holes in the seat, Tom used a carving wheel on an angle grinder to reshape the surface into a shallow concave. This leveled things out while preserving the overall shape. For deeper holes, he created plugs using a plug cutter from matching oak rather than using off-the-shelf dowels, ensuring a cleaner, more seamless repair.
Sanding and Surface Prep
With the structural work done, it was time to prepare for finishing. Tom started with coarse grit sandpaper and gradually moved to finer grits, working the surface until it was smooth and uniform.
On the end grain areas, he wiped the wood with paint thinner to help control stain absorption. This technique reduces blotchiness and keeps those areas from becoming overly dark.
Choosing the Finish
Tom selected a dark walnut oil-based stain, a good match for the oak and a smart way to blend minor imperfections into the final look. The dark tone added richness while enhancing the wood grain without overpowering it.
Every surface was carefully wiped clean before staining. Once the stain dried, he applied several coats of polyurethane to protect the piece. Rather than shaking the can, Tom stirred the polyurethane gently to avoid introducing bubbles, which could ruin the smooth finish.
Handling One Last Problem
Just before final assembly, Tom encountered a new issue—one of the legs had a loose dowel joint due to a widened hole. Instead of filling and re-drilling, he came up with a clever solution.
He shaved a thin piece of oak, soaked it in water to make it pliable, and wrapped it around the dowel before inserting it. The soaked oak expanded and filled the gap tightly, securing the leg without the need for additional glue or hardware.
Assembly and Final Touches
With all the joints repaired and parts replaced, Tom moved on to final assembly. Everything was clamped together and allowed to dry thoroughly before applying the topcoats of finish.
The result was a restored stool that looked clean and cohesive, with solid joinery and a durable protective layer. It’s the kind of piece that would be easy to overlook on the curb, but thanks to Tom’s skills, now serves as a fully functional piece of furniture again.
Why Restoration Is Worth It
This project is a great reminder that woodworking isn’t always about starting fresh—it can also be about preserving what already exists. Restoring an old stool takes time, but it teaches valuable lessons about patience, adaptability, and respect for the materials.
Projects like this also reduce waste and highlight the craftsmanship that went into older furniture. With a little creativity and effort, items that look beyond saving can often be turned into something you’re proud to use and display.
Watch the full video and subscribe to Tom’s channel:

Matt’s Take
These are my personal thoughts and tips based on my own experience in the shop. This section is not written, reviewed, or endorsed by the original creator of this project.
This restoration really highlights why oak was such a popular choice for furniture back in the day. Even after sitting in an alley with structural damage, that wood grain and durability were still there underneath all the grime. When you’re evaluating whether a piece is worth saving, a quick sanding test like Tom did is always your first move — it’ll tell you immediately if you’re dealing with solid hardwood or just veneer over particle board.
That technique of thinning wood glue with water to get it into cracks is old-school smart. The glue penetrates deeper into the damaged fibers, and when you pack it with sawdust, you’re essentially creating a custom wood filler that matches your material perfectly. Just make sure you’re working in thin layers and giving each one time to fully cure — rushing this step will come back to bite you later.
The wet oak shim trick for the loose dowel joint is brilliant problem-solving. Wood movement works in your favor here — as that thin piece dries and shrinks, it actually tightens the connection. It’s a good reminder that sometimes the simplest solutions are the most effective, especially when you’re working with traditional joinery methods.
One safety note worth mentioning: when you’re using that angle grinder with a carving wheel like Tom did, always wear proper eye protection and keep a firm grip. Those tools can grab unexpectedly, especially on end grain or when hitting a knot.