This project was built and designed by Brett from Brett’s Basement Woodshop. It’s a small-shop build that turns reclaimed barn wood into a clean, miter-fold box beam mantel packed with rustic character and thoughtful technique.
Working in limited space, Brett demonstrates how patience, planning, and precision can come together to produce a standout focal point. Using salvaged red oak, the project blends old materials with refined joinery for a fireplace mantel full of warmth and history.
Watch the full video and subscribe to Brett’s channel:
Starting with the Right Material
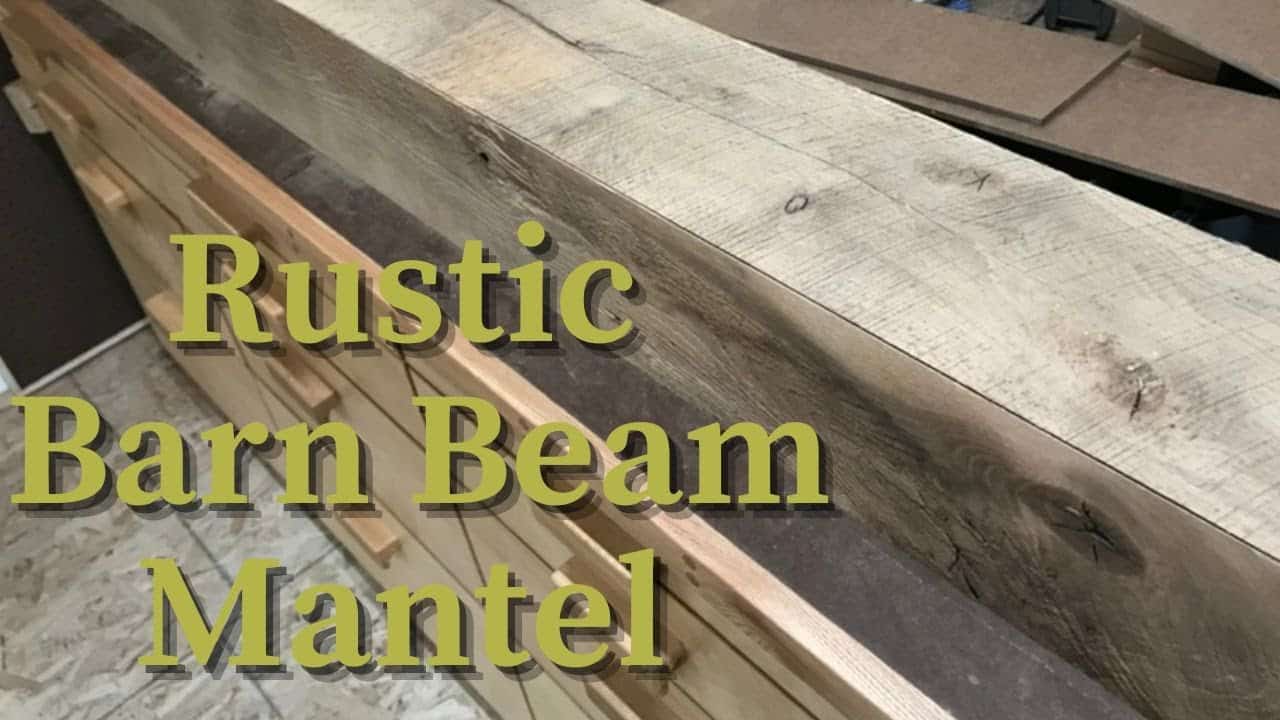
Brett begins by selecting boards from a batch of reclaimed red oak. The wood came from an old barn, full of nail holes, worm trails, and weathered patina that add authentic charm to the final piece.
Reclaimed lumber like this brings more than just visual appeal. It supports sustainable woodworking practices, making use of material that would otherwise go to waste—while offering texture and story you can’t replicate with new stock.
Cleaning and Prepping the Boards
Before any cutting or joinery, the boards need to be cleaned and made safe for tools. Brett first uses a metal detector to locate any hidden nails left behind in the wood.
Once identified, nails are removed with pliers or a hammer. This step is critical—not just for preserving saw blades, but also for safety when running boards through machines like the planer or jointer.
To finish prep, Brett uses a nylon brush to remove dust and loose debris from the surface. This helps get a better sense of the grain and makes future gluing more effective.
Milling in a Small Shop
Space limitations are always a consideration in a small shop, and Brett adapts accordingly. When some of the reclaimed boards are too long to fit through the planer, he simply moves the tool to a new position, showing how a flexible setup can solve common challenges.
The goal of milling here is to create boards with uniform thickness and square edges, ready for joinery. Brett uses a planer sled to flatten warped or bowed boards while preserving their unique character.
This extra effort during milling ensures that each part of the mantel will line up cleanly when the box is assembled.
Cutting Clean Mitered Edges
Next, Brett sets up the table saw for miter cuts. These precise angled cuts are what give the box beam its seamless, wraparound look—so getting them right is essential.
He makes a few test cuts before committing to the real boards, dialing in the blade angle and fence spacing until everything lines up. This step is especially important when working with reclaimed wood, which may vary slightly in size or straightness.
Consistency is key: Brett checks that all sides are the same width and that miters match perfectly from board to board. The more care taken here, the cleaner the final assembly will be.
Dry Fitting for Accuracy
With all three mitered pieces cut, Brett assembles a dry fit of the box beam. This lets him check how the corners come together and whether any adjustments are needed before gluing.
Dry fitting is a simple step that prevents headaches later. It’s much easier to tweak an angle or length now than after glue has been applied.
Even in a tight workspace, Brett finds a way to clamp the dry fit securely so he can evaluate the alignment and seams up close.
Final Assembly and Gluing
Confident in the fit, Brett applies glue along the mitered edges and begins final assembly. He uses corner clamps and long pipe clamps to pull everything together evenly.
Because of the long miter joints, even clamping pressure across the entire beam is crucial. Brett takes time to check for gaps and readjusts clamps as needed until the seams are tight.
Once the glue dries, the beam is strong, light, and ready for finishing. The result is a hollow mantel that looks like a solid beam, but is far easier to install and manage.
A Small Shop Success Story
This box beam mantel is a great example of how reclaimed wood and limited space don’t have to limit results. With smart planning and a few key tools, Brett creates a high-end feature piece that would work in any home.
His workflow shows how adjusting tool placement and working in phases can make complex projects manageable, even when space is tight.
A Fireplace Mantel with History
Every mark in the wood tells a story—from nail holes to worm trails—and Brett preserves those details while elevating the material with crisp joinery and careful assembly.
The miter-fold technique adds a refined edge to the rustic material, proving that reclaimed wood doesn’t mean rough or unfinished. It can be elegant, too—especially when joined with intention.
Please support Brett by visiting his website: https://www.brettsbasementwoodshop.com/.

Matt’s Take
These are my personal thoughts and tips based on my own experience in the shop. This section is not written, reviewed, or endorsed by the original creator of this project.
The miter-fold technique Brett uses here is one of my favorite ways to create clean, professional-looking box beams. Those mitered corners eliminate the need for visible fasteners and give you that solid beam appearance while keeping the weight manageable for installation. Getting those miters perfect takes patience, but the payoff in the final look is worth every test cut.
Working with reclaimed barn wood always presents unique challenges that new lumber doesn’t. That metal detector step is absolutely critical — I can’t stress enough how important it is to find every piece of hidden metal before it meets your planer knives or saw blade. Beyond just tool preservation, hitting a nail at high speed can send dangerous fragments flying. Take the time to be thorough with that detection and removal process.
The planer sled approach Brett uses is a smart solution for dealing with twisted or cupped reclaimed boards. It’s one of those techniques that really opens up your material options, letting you work with character-rich wood that might otherwise be unusable. Just remember to take light passes and keep your hands well clear of the cutterhead.
For anyone considering a similar mantel project, think about your installation method early in the design process. Hollow box beams like this are much easier to mount securely than solid timber, especially when you’re dealing with drywall anchors or need to hit specific stud locations.