This project was built and designed by Tim from Casual Builds. It’s a compact, mobile workbench that’s perfect for tight spaces, offering flexibility, organization, and a professional finish.
Designed for small workshops and garages, this build focuses on functionality and mobility without sacrificing strength. Tim walks through each step of the process, showing how thoughtful design can make a major difference in shop workflow.
Watch the full video and subscribe to Tim’s channel:
Why a Mobile Workbench Matters
A good workbench is more than just a place to put your tools—it’s the foundation of your workspace. Tim’s version is especially useful for smaller shops because it features locking casters that allow it to be repositioned easily.
Having a mobile setup means you can clear space when needed or bring the bench closer to other tools. This kind of flexibility can dramatically improve your efficiency during any build.
Clearing Out the Old Setup
Before the build begins, Tim clears his old outfeed table, which had served him for over 15 years. Clearing the area gives a clean slate and helps identify what features should be carried into the new bench.
Scrap wood and clutter are removed, and the space is reorganized. This early step might seem minor, but it sets the tone for a smoother and more productive build process.
Constructing the Frame
The frame is built using 2x4s for strength and ease of construction. Tim cuts the pieces to size and uses a stop block to speed up repeated cuts. Each piece is measured carefully to avoid errors during assembly.
As he assembles the frame, he marks screw placements ahead of time to maintain clean lines. Pocket hole screws are used to pull joints tight and create a rigid structure.
Making It Square and Stable
Checking for square is critical once the frame is dry-fit. Using a speed square ensures the legs are perpendicular, which prevents wobble and supports long-term stability.
Even in a garage with an uneven floor, this step helps the workbench stand solid and true. If needed, shims can always be added later, but a square frame is essential from the start.
Installing Casters for Mobility
Casters turn this bench into a mobile workstation, making it ideal for smaller shops where space is limited. Tim uses heavy-duty locking casters, installed with washers and screws for a strong hold.
Screw positions are carefully marked to avoid conflicts with other fasteners in the frame. Once installed, the workbench can easily move into position or roll out of the way when not needed.
Building the Work Surface
The top is made from plywood, cut to match the frame dimensions. Tim secures it with wood screws after pre-drilling and countersinking each hole to prevent splitting.
A smooth, flat surface is crucial for accurate assembly and finish work. This plywood top offers both the durability and replaceability needed for a high-use surface.
Adding Trim and Details
To clean up the appearance, a trim is added around the plywood’s edge. This not only hides exposed layers but also reinforces the perimeter and gives the bench a polished look.
Though not strictly necessary, these small touches help the bench look intentional and well-crafted. It’s a detail that separates rough utility builds from projects you’ll be proud to use every day.
Built-In Features for Workflow
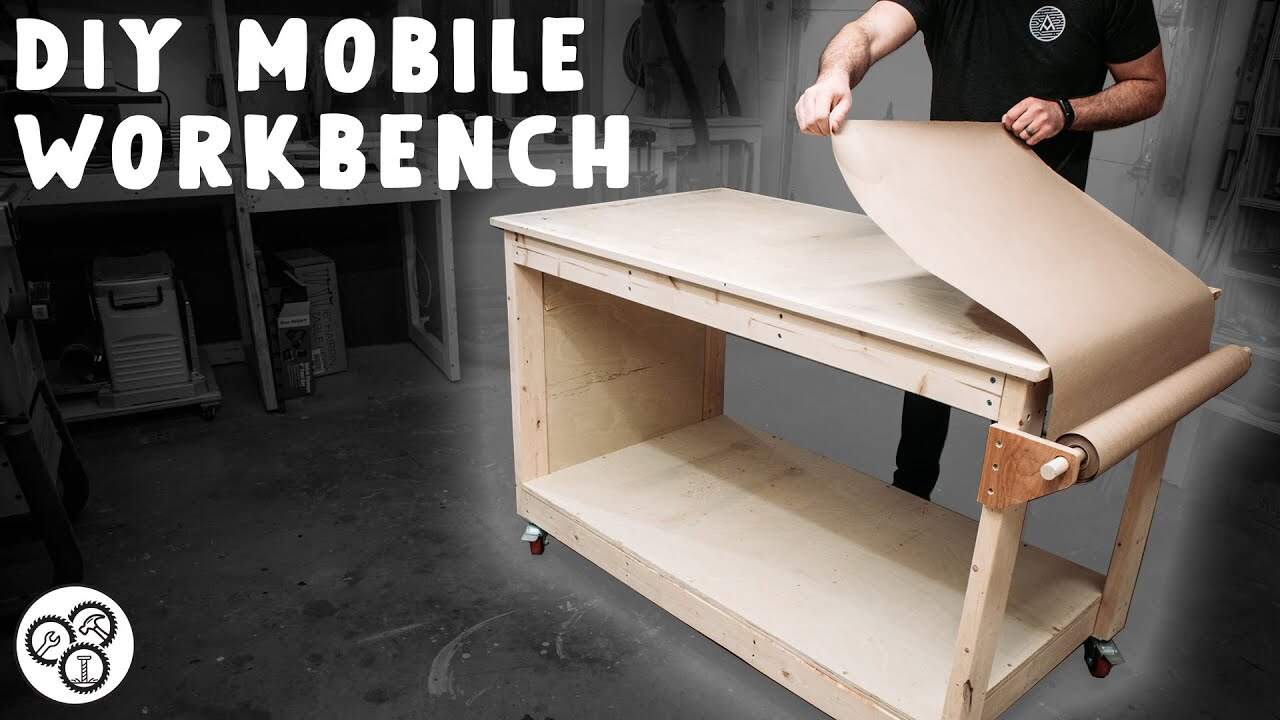
Tim integrates a few smart extras into the build. One standout addition is a paper roll holder mounted below the work surface. This allows construction paper to be pulled over the top for messy glue-ups or finishing tasks.
There’s also a side-mounted caddy for glue bottles and other small items. Keeping supplies within reach helps maintain focus and reduces the time spent looking for materials mid-project.
Sanding and Finish
After everything is assembled, Tim sands down the surface and edges to remove sharp corners and prepare for finish. He applies polycrylic in several coats, sanding between applications for a smooth, durable topcoat.
This not only protects the bench from moisture and spills but also makes it easier to clean. It’s a simple step that adds years of life to the project.
A Flexible, Shop-Ready Upgrade
This mobile workbench hits the sweet spot between functionality and simplicity. It offers everything needed for everyday woodworking tasks while remaining easy to move and adjust to your space.
Tim’s version is especially helpful for garage setups or multi-purpose rooms where space is limited. It’s sturdy, versatile, and packed with small features that make a big difference.
Please support Tim by visiting his website: https://www.casualbuilds.com/.

Matt’s Take
These are my personal thoughts and tips based on my own experience in the shop. This section is not written, reviewed, or endorsed by the original creator of this project.
Mobile workbenches are game-changers for anyone dealing with limited shop space. The ability to roll your work surface wherever you need it — or completely out of the way — opens up so many possibilities. I’ve found that even in larger shops, having one mobile station can be incredibly useful for bringing work closer to specific tools or creating temporary assembly areas.
Tim’s choice to use heavy-duty locking casters is spot-on. Cheap casters will frustrate you every time, especially when you’re trying to do precision work. The bench needs to lock solid when you’re working and roll smoothly when you need to move it. Also worth noting: those locking mechanisms take some abuse over time, so investing in quality hardware upfront saves headaches later.
The paper roll holder is one of those simple additions that you don’t realize you need until you see it. Having a disposable work surface for glue-ups, finishing, or messy operations keeps your bench top in good shape. That polycrylic finish Tim applied will help too — it makes cleanup so much easier when you inevitably spill something on the surface.
One thing I really appreciate about this build is how it balances utility with a clean appearance. Those trim details might seem optional, but they make the difference between something that looks like a temporary solution and a permanent shop upgrade you’re proud to use every day.