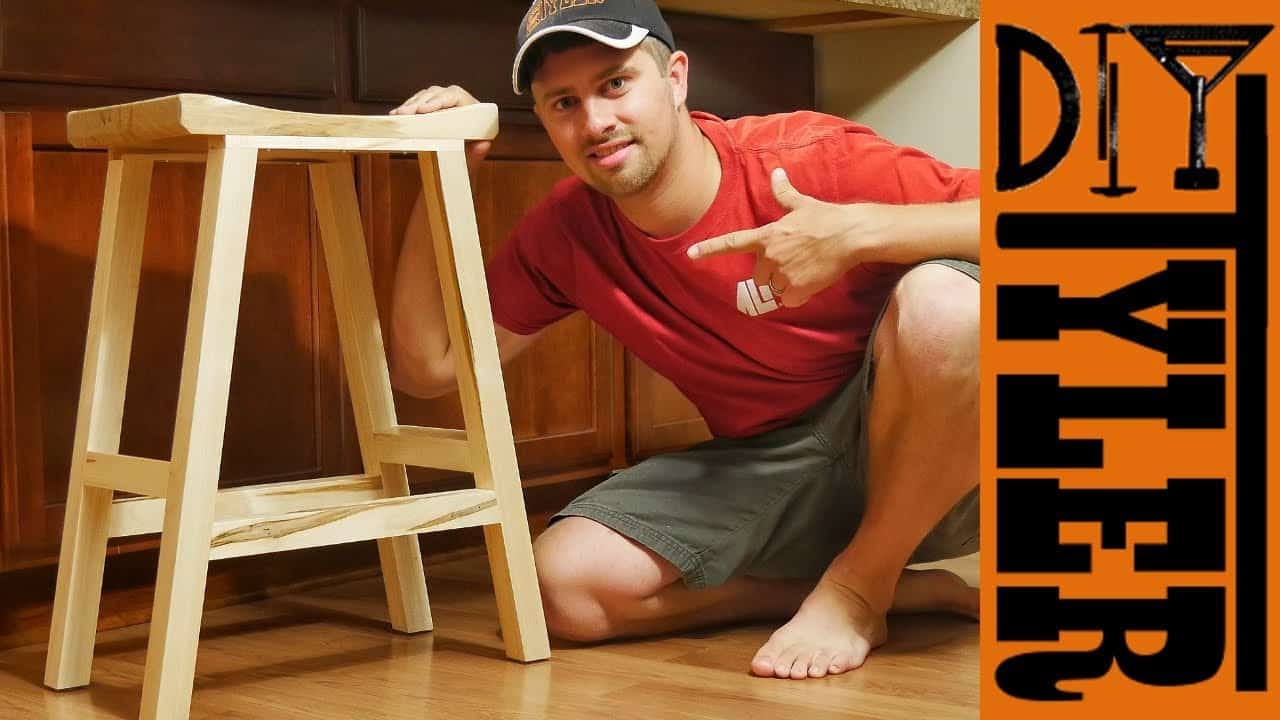
This project was built and designed by Tyler from DIYTyler. Using solid maple and clean joinery techniques, Tyler creates a matching set of bar stools that are both sturdy and visually refined.
The build showcases the power of precision joinery using loose mortise and tenon connections, along with Tyler’s custom-made Domino-style tool. It’s a great example of how thoughtful design and careful preparation can result in high-end furniture from rough sawn lumber.
Watch the full video and subscribe to Tyler’s channel:
Why Maple and What Inspired the Design
Tyler set out to make three bar stools for his kitchen using rough sawn maple. The goal was to achieve a continuous grain look across the stool tops while keeping the structure strong enough for daily use.
Maple was chosen for its hardness, subtle color, and grain consistency. While working with slabs introduced challenges around width and yield, Tyler made smart material selections to balance function with appearance.
Breaking Down the Lumber
The build starts by rough cutting the slabs into manageable sections. Larger boards were ripped down using the bandsaw, while smaller ones were trimmed with a cordless circular saw before refinement.
After breaking down the pieces, the next step was flattening one face on the jointer. That reference surface was critical for consistent planing, which brought all components to uniform thickness ahead of layout and joinery.
Cutting and Shaping the Legs
Each stool has four legs, all cut with a subtle outward angle. This design choice not only gives the stool a slightly modern silhouette but also improves stability and comfort while sitting.
Tyler used his bandsaw and miter saw to dial in the shape and angle. With everything marked and test-fit ahead of joinery, the prep phase helped minimize issues later during glue-up.
Loose Mortise and Tenon Joinery
To join the legs to the seat and cross supports, Tyler used loose mortise and tenon joinery. Each mortise was cut with his homemade Domino machine, a tool he’s known for refining and using across many builds.
Careful layout ensured that each joint lined up precisely. The floating tenons add serious strength and keep the joints aligned without visible hardware—ideal for seating where rigidity is key.
Smoothing, Sanding, and Dry Fits
After cutting the mortises and fitting the tenons, Tyler did several dry assemblies to test the structure. He made small tweaks where needed and sanded each part before glue-up to avoid trying to clean up tight corners later.
The sanding process began with a lower grit to remove tool marks and rough edges, then moved up to finer grits for a smooth finish. This step is especially important on seating surfaces that get daily use.
Glue-Up and Clamping
With all pieces prepped and test-fit, glue-up began. Tyler applied glue to each tenon and mortise, ensuring a clean bond without excessive squeeze-out.
Strategic clamping kept all the angles tight and square while the glue cured. Because the tenons were a perfect fit, very little force was needed to bring the joints together—just steady pressure from well-placed clamps.
Shaping and Installing the Seat
The seat was cut from a larger maple board and shaped to include a gentle curve on the front edge. Tyler used the bandsaw to follow a marked curve, then refined the shape with a sander to make it both attractive and comfortable.
Once shaped, the seat was secured to the leg assembly using glue and screws. The screws were countersunk and placed strategically for strength without disrupting the clean look of the final piece.
Applying a Protective Finish
To protect the surface and enhance the grain, Tyler used a water-based polyurethane. This finish dries clear and resists yellowing over time, making it ideal for a light-toned wood like maple.
Multiple coats were applied to high-contact areas like the seat and footrests. Between each coat, a light sanding helped smooth the surface and improve adhesion for the next layer.
Tools That Made It Happen
Tyler leaned on several key tools to complete this build efficiently: a bandsaw for rough shaping, a jointer and planer for milling, and his custom-built Domino-style machine for mortise and tenon joinery.
His homemade tool performed flawlessly, cutting accurate mortises that made assembly fast and reliable. It’s a reminder that with the right setup—even if it’s DIY—you can produce high-quality joinery on a budget.
A Sturdy and Stylish Addition to the Kitchen
The finished stools turned out beautifully. With a smooth finish, strong construction, and elegant proportions, they’re built to last and look great in a modern kitchen.
Tyler’s methodical approach and focus on quality made this project a success from start to finish. Each detail—from wood selection to joinery—was handled with care, and it shows in the final result.
Please support Tyler by visiting his website here: diytyler.com

Matt’s Take
These are my personal thoughts and tips based on my own experience in the shop. This section is not written, reviewed, or endorsed by the original creator of this project.
Loose tenon joinery is one of my favorite methods for furniture like bar stools because it gives you incredible strength without the complexity of traditional mortise and tenon work. The beauty is that you’re essentially creating two mortises and connecting them with a separate tenon piece—much more forgiving than trying to cut a perfect tenon on the end of your rail. Tyler’s homemade Domino-style machine is a brilliant example of how you can achieve professional results without breaking the bank on expensive tools.
When working with maple for seating, that water-based poly finish choice is spot-on. Maple can yellow over time with oil-based finishes, so keeping things clear and neutral preserves that clean, contemporary look. I always recommend building up multiple coats on high-wear surfaces like seat tops—three to four coats isn’t overkill when you’re dealing with daily use and potential spills.
The angled legs deserve a mention too. That subtle outward splay isn’t just for looks—it creates a much more stable base and prevents that tippy feeling you get with perfectly vertical legs. It’s one of those details that makes the difference between furniture that feels solid and furniture that feels sketchy. Getting those angles consistent across multiple stools takes patience, but it’s worth the extra layout time.