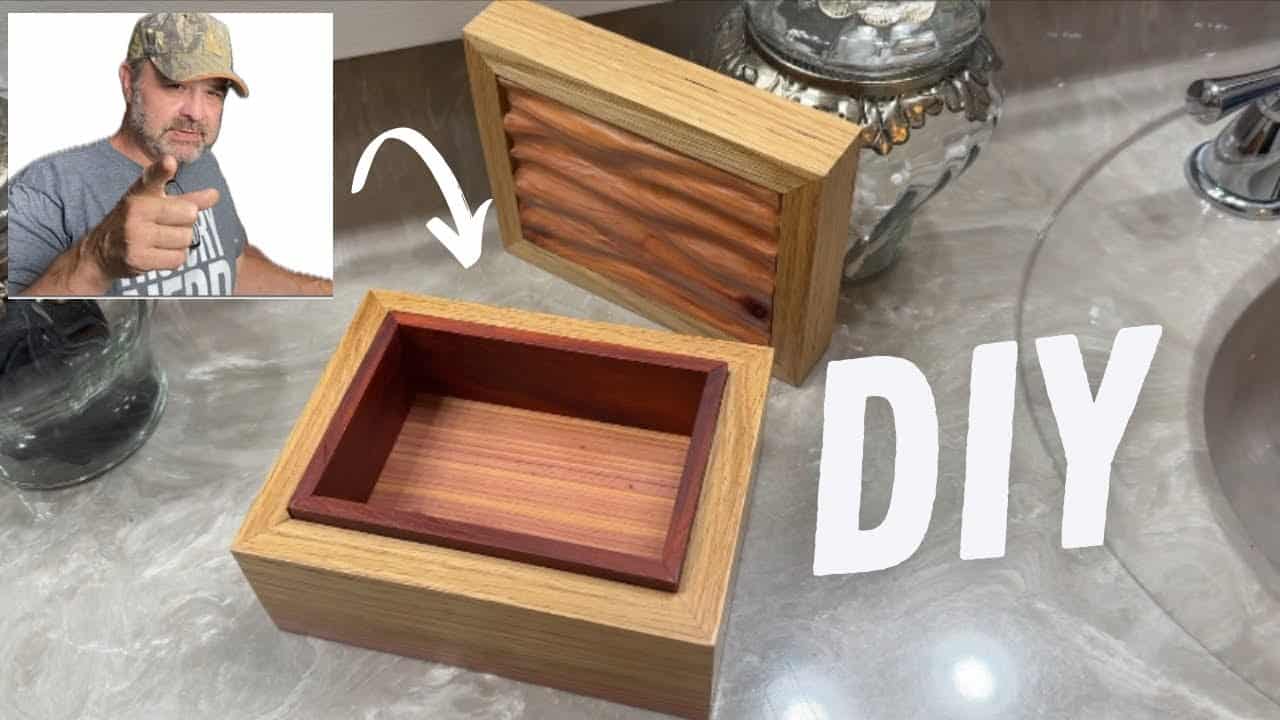
This project was built and designed by Joe Heide from Woodworkers DiyLemma. It’s a decorative and functional keepsake box that blends basic carving, simple joinery, and a clean finish—perfect for both beginners and experienced woodworkers.
Joe’s approach emphasizes careful preparation, detailed shaping, and smart use of tools to create a personalized storage box for meaningful items. Whether you’re practicing new techniques or crafting a gift, this project delivers strong results with a thoughtful design.
Watch the full video and subscribe to Joe’s channel:
Choosing the Right Materials
The first decision is selecting the right wood. Joe recommends using hardwoods like oak, maple, or padauk for strength, stability, and visual appeal.
Whichever species you choose, the boards should be free from cracks or knots, especially along the edges where precise cuts and clean glue-ups are essential. A smooth, straight grain also helps enhance the finished look.
Tools for Clean, Precise Results
While not overly tool-intensive, the project benefits from having a reliable set of shop basics. Joe uses a miter saw for accurate angle cuts and a jointer to create flat reference faces.
A planer helps bring boards to consistent thickness, and a router is used to carve grooves and decorative edges. Sanders are needed for cleanup and smoothing, and wood glue is the main adhesive for joining corners.
Milling and Cutting the Box Parts
Preparation begins with flattening one face of the lumber using the jointer. This face serves as a reference for all other cuts and ensures the rest of the build stays square.
After jointing, each piece is cut to size on the miter saw. The sides of the box are mitered at 45 degrees for clean corner joints, and Joe uses a marking knife and straight edge to lay out cuts with precision.
Adding a Carved Detail to the Lid
To add visual interest, Joe uses a Dremel tool to carve a wave pattern into the lid. This carving step is a chance to add personality to the project, and it can be as simple or complex as you like.
Marking the pattern beforehand with pencil ensures a cleaner result. Slow, steady passes help prevent tear-out and make the carving easier to control.
Assembling the Box with Glue and Tape
Once all pieces are cut and carved, the sides are glued together. For a small box like this, painter’s tape can be used in place of clamps to hold the joints tight as the glue dries.
Joe checks each corner for square and adjusts as needed. If a corner gap forms, a slight trim or sanding adjustment can bring things back into alignment.
Optional Grooves and Joinery Enhancements
If you want to add grooves or insets, a router can be used at this stage. Joe sometimes adds shallow grooves for lid seating or to define base edges, depending on the design.
This step is optional and requires careful measurement, as it’s easy to cut too deep or off-center. Mistakes here can usually be corrected with filler or sanding, so there’s room for learning.
Smoothing and Final Surface Prep
After the glue dries, the box is sanded thoroughly. Joe begins with a medium grit to remove any dried glue or rough patches, then progresses through finer grits to polish the surface.
The corners are softened slightly to make the box more comfortable to handle, and the carved lid receives extra attention to ensure clean transitions between carved and flat surfaces.
Applying the Finish
Joe uses lacquer to finish the box, spraying it in light, even coats. Each coat is allowed to dry and then lightly sanded to level the surface before applying the next layer.
This gradual approach helps prevent drips and builds up a durable, glossy finish. It also enhances the natural grain of the wood, giving the box a high-end appearance.
Final Assembly and Use
After the final coat dries, the box is ready for use. It can be used to store keepsakes, jewelry, or small gifts, and it makes a thoughtful present when paired with a personal note.
Joe’s finished box reflects both solid craftsmanship and a touch of personal style. It’s simple, elegant, and made to last for years to come.
Watch the full video and subscribe to Joe’s channel:

Matt’s Take
These are my personal thoughts and tips based on my own experience in the shop. This section is not written, reviewed, or endorsed by the original creator of this project.
This type of project is a great way to practice several fundamental skills in one build. The combination of miter joints, basic carving, and finishing gives you a chance to work on precision while creating something genuinely useful. I really appreciate how Joe approaches the carving with the Dremel — that wave pattern adds just enough visual interest without overwhelming the clean lines of the box.
The tape clamping method is clever for smaller boxes like this. It distributes pressure evenly and lets you see all the joints as the glue sets up, which is especially helpful when you’re still getting comfortable with miter joint assembly. Just make sure your tape has good adhesion — the cheap stuff can let go at the worst possible moment.
One thing I always remind folks about when working with lacquer: ventilation is critical, and a dust-free environment makes a huge difference in the final finish quality. If you don’t have a spray booth, even hanging a damp sheet nearby can help settle airborne dust. Also, that progressive sanding between coats that Joe mentions is what separates a good finish from a great one — it’s tedious but worth every minute.
This project hits that sweet spot of being approachable for newer woodworkers while still offering room to add your own creative touches through the carving and wood selection.