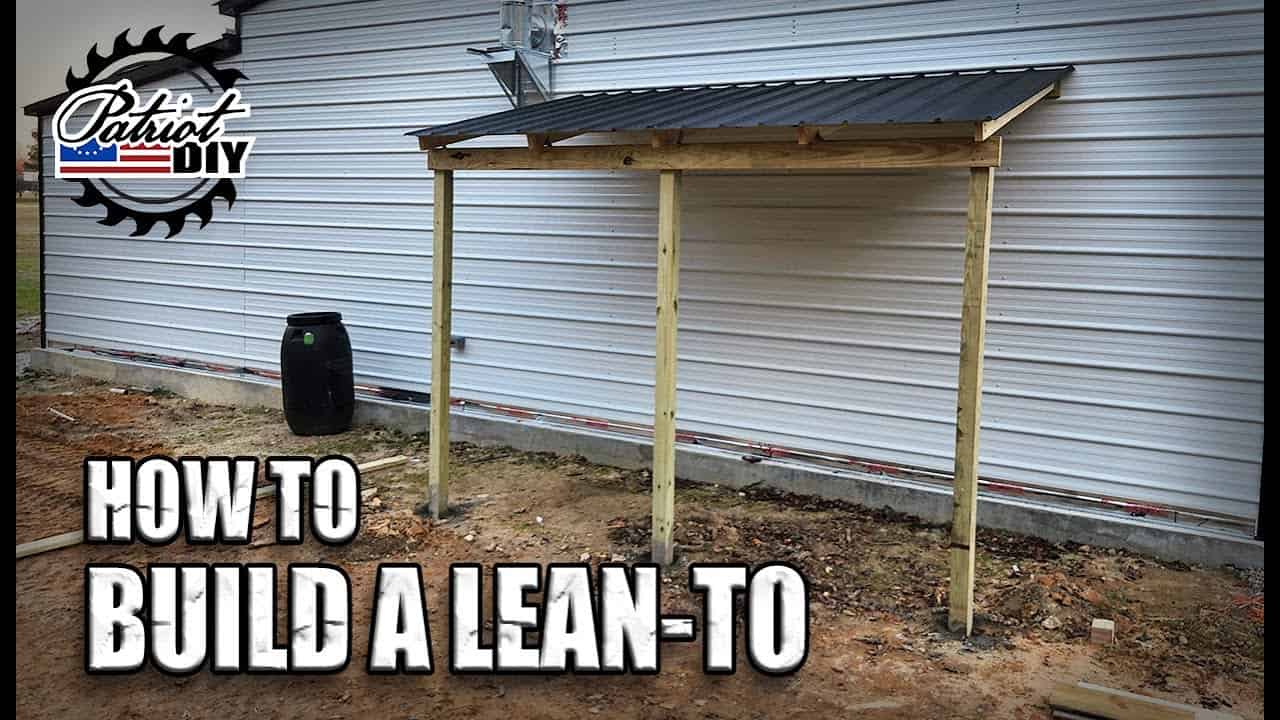
This project was built and designed by Jason from PatriotDIY. It’s a practical lean-to built onto the side of an existing shop, creating extra storage space with a clean, efficient design.
The build is ideal for anyone needing more room for firewood, tools, or equipment. Jason’s approach keeps things straightforward, using common materials and methods that are easy to follow for most DIYers.
Watch the full video and subscribe to Jason’s channel:
Why Build a Lean-To?
A lean-to is one of the most cost-effective ways to expand storage without constructing a standalone structure. It uses one wall of an existing building as part of its frame, which cuts down on materials and labor.
Jason built his lean-to to store firewood, but the design can be adapted for many other uses. Whether it’s extra tool space, lawn equipment storage, or a weather-protected work area, this simple structure is a highly functional solution.
Planning the Layout
Before starting construction, Jason emphasized the importance of planning. He considered the size of the lean-to based on what he planned to store and ensured the location allowed for easy access and runoff from the roof.
Keeping the new addition visually consistent with the main building was also a priority. That meant using similar siding, roofing, and colors to make the lean-to feel like a natural extension of the shop.
Starting the Frame
The build begins by attaching a horizontal beam to the side of the existing building. This top beam acts as the main support for the rafters and determines the roof’s slope.
Using a level to install this beam is key—it must be perfectly horizontal for the roof to shed water properly. Jason took time to make sure it was both level and tightly secured to the shop wall before moving on.
Setting the Posts
Next, Jason marked out and dug the post holes along the edge of the lean-to area. Even spacing is important for strength and appearance, but the depth of each hole doesn’t have to be exact.
After the holes were dug, vertical posts were set in place and stabilized with concrete. Once the concrete cured, he trimmed the tops of the posts to line up with the roof slope, allowing the rafters to sit evenly across the structure.
Building the Roof Structure
With posts and the top beam in place, the rafters were the next focus. Jason used a practical technique—holding a rafter board in position against the top beam to mark the correct angle cut. This ensured a tight fit without complex calculations.
Each rafter was cut and then attached between the top beam and the front posts. Jason made sure they were evenly spaced and securely fastened to carry the load of the roof.
Adding Purlins and Roofing Material
Purlins, or horizontal slats running across the rafters, were installed next. These boards help distribute weight and provide a solid surface for attaching the roofing material.
Jason used leftover siding from the original shop as roofing, giving the lean-to a cohesive look while keeping costs low. Reusing the siding also reduced waste and made the new structure blend naturally with the existing building.
Final Assembly and Adjustments
Once the roof was installed, temporary bracing was removed, and Jason checked all joints and connections for stability. He emphasized the importance of this final inspection step, making sure everything was locked in place before considering the build complete.
For an extra polished look, he painted the siding to match the original shop, tying everything together visually. Even though the structure is simple, these finishing touches make it look purposeful and well-integrated.
Practical Uses and Versatility
Jason built this lean-to with firewood storage in mind, but the structure is flexible by design. Its open front and solid roof make it useful for a wide range of storage needs, from garden tools to seasonal equipment.
It could also be modified with siding or doors to create an enclosed workspace or tool shed. The core design remains the same—just adjust the size and materials based on your needs.
A Great Project for Any Skill Level
This lean-to project is approachable, even for woodworkers or DIYers without extensive experience. Jason’s method keeps the steps clear and avoids overly complex joinery or layout work.
With basic tools, pressure-treated lumber, and careful planning, this kind of project can be tackled over a weekend. The payoff is long-term functionality and better use of your shop or barn’s footprint.
Please support Jason by visiting his Etsy Store: https://www.etsy.com/shop/patriotdiy.

Matt’s Take
These are my personal thoughts and tips based on my own experience in the shop. This section is not written, reviewed, or endorsed by the original creator of this project.
This type of lean-to construction is a smart approach that really maximizes your building investment. The key insight here is using that existing wall as your structural backbone — it eliminates a ton of framing work and material costs while creating a rock-solid connection point. When you’re planning something like this, spend extra time thinking about drainage and snow load if you’re in a cold climate, since that single-slope roof will shed everything in one direction.
The technique of holding a rafter board in place to mark your cuts is one of those practical shop tricks that beats measuring and calculating angles every time. Your cuts end up more accurate because you’re working directly from the actual structure rather than theoretical measurements. Just make sure you’re using a good, straight board as your template — any bow or twist will get replicated across all your rafters.
Setting those posts is where a lot of DIYers can run into trouble if they rush it. Take your time with the layout and double-check your measurements before you start digging. A string line between corner stakes will help keep everything aligned, and don’t forget to call for utility markings if you’re anywhere near buried lines. The concrete doesn’t need to be perfect, but those posts need to be plumb and properly spaced.
For anyone considering a similar build, think about your local building codes early in the planning stage. Many areas have specific requirements for structures attached to existing buildings, and getting a permit upfront can save headaches later. The investment in proper planning and materials will pay dividends in both durability and peace of mind.