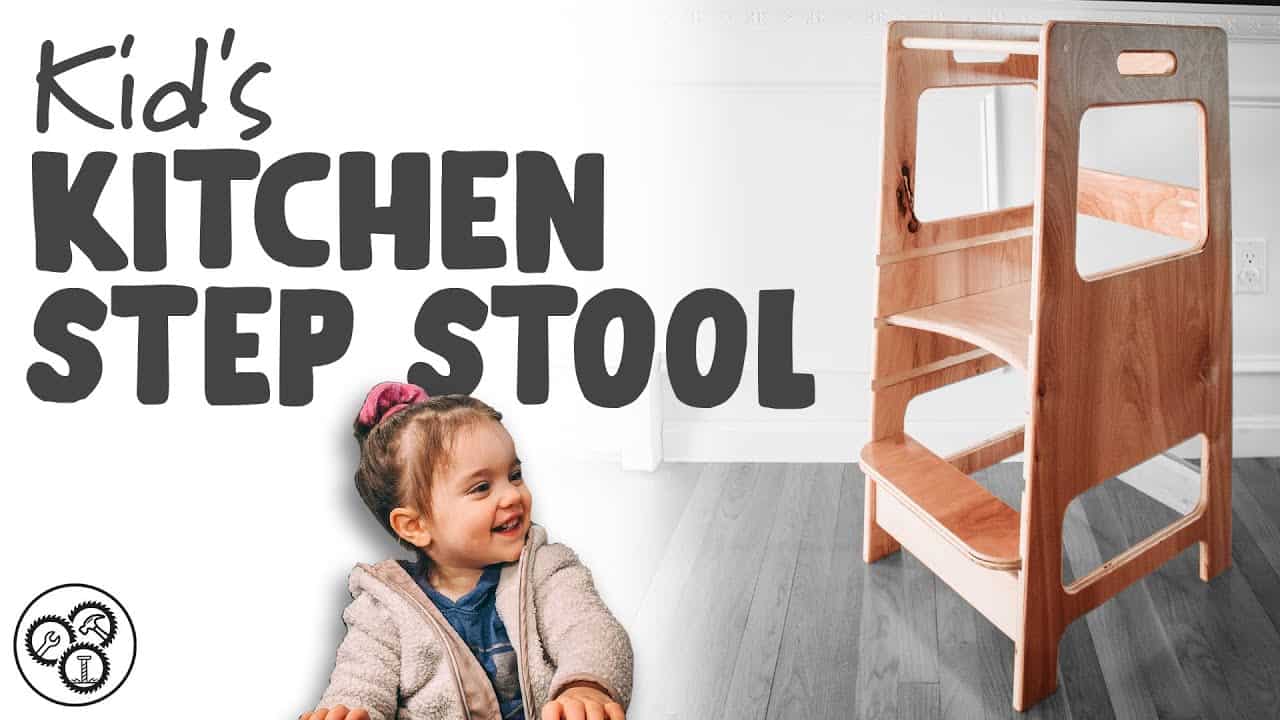
This project was built and designed by Tim from Casual Builds. It’s an adjustable kitchen step stool, also known as a learning tower, designed to give kids a safe way to participate in kitchen activities while building confidence and independence.
Made from plywood and built with thoughtful joinery, this project is a great weekend build for parents or grandparents. The final result is strong, good-looking, and practical for any family kitchen.
Watch the full video and subscribe to Tim’s channel:
Why a Learning Tower Is Useful
Learning towers help young kids get involved in cooking, baking, and other hands-on tasks. Instead of climbing onto unsafe chairs or stools, this project gives them a steady platform built to their height.
Tim’s version is adjustable, making it easy to raise or lower the steps as your child grows. It’s also lightweight enough to move around the kitchen but sturdy enough to feel secure once in place.
Designing the Side Panels
Tim starts by designing the side panels, which give the learning tower its shape and structure. He uses a CNC machine to cut a template from half-inch MDF, which makes it easy to trace the design onto plywood.
If you don’t have a CNC, this part can still be done by hand. You can sketch the design directly onto plywood or create a template with basic tools and a little patience.
Choosing and Preparing the Materials
Plywood is used for the build because it offers strength and stability without being too heavy. After encountering some veneer issues with one sheet, Tim switches to a better-quality piece to ensure a cleaner final finish.
This small adjustment highlights the importance of material selection in any woodworking project. Choosing a quality sheet up front can save time later in sanding and finishing.
Making the Cuts
With the design traced, Tim uses a jigsaw to rough cut the side panels. To reduce tear-out, he applies painter’s tape along the cut lines—an easy trick that makes a big difference with plywood.
After the rough cuts are done, a flush trim router bit is used to clean up the edges. This ensures both sides are identical and helps the learning tower come together with a clean, symmetrical look.
Cutting Dados for Adjustable Steps
One of the standout features of this design is the ability to adjust the step height. Tim routes four dados into the side panels—one fixed dado for the bottom step and three for the adjustable top step.
To make sure each dado is identical, he builds a simple jig and clamps it in place. The router rides against this jig to make consistent cuts, which is key for safety and ease of use.
Assembly and Joinery
With all the components ready, Tim uses pocket hole joinery for the main assembly. This method is beginner-friendly but strong enough for a project that will see daily use.
He uses a plywood spacer to help align everything and keep the structure square. To avoid mistakes, Tim marks out the stretcher positions before flipping the frame during glue-up—a smart move that helps maintain accuracy.
Sanding and Finishing
Sanding is especially important on a project meant for kids. Tim uses a sanding sponge to get into corners and smooth the edges, rounding them slightly to eliminate sharp spots.
For the finish, he goes with spar urethane, which adds water resistance and durability. Applying several light coats with sanding in between gives the project a clean, professional look that holds up over time.
A Great Addition to Any Kitchen
This kitchen step stool offers a way to bring kids into daily routines while keeping them safe. It’s compact, easy to move, and durable enough to last through years of family use.
Tim’s approach is straightforward and practical, with little touches that improve both usability and appearance. The adjustable step makes it flexible for different ages, and the overall design is clean and timeless.
Resources to Build Your Own
Plans for this project are available through Tim’s website, linked in the video description. For parents looking to try their hand at woodworking or DIYers wanting to create something useful, this is a great first or second project.
It’s a rewarding way to spend time in the shop—and even more rewarding when you see it in use.
Please support Tim by visiting his website: https://www.casualbuilds.com/.

Matt’s Take
These are my personal thoughts and tips based on my own experience in the shop. This section is not written, reviewed, or endorsed by the original creator of this project.
Learning towers like Tim’s design are some of my favorite shop projects because they get such heavy use. The adjustable step feature is brilliant—it’s the kind of thoughtful detail that makes a project truly useful long-term rather than something kids outgrow in six months.
That flush trim router technique for matching the side panels is spot-on for plywood work. When you’re dealing with curves and need perfect symmetry, there’s really no substitute for routing to a template. The painter’s tape trick for reducing tear-out is one of those simple shop habits that makes a huge difference in the final result, especially on visible edges.
Safety-wise, those rounded edges and multiple coats of durable finish are essential for anything kids will be using daily. Spar urethane is a solid choice here—it’ll handle spills and sticky fingers much better than regular poly. The pocket hole joinery keeps things simple while still being plenty strong for the loads this thing will see.
If you’re considering this as a first plywood project, it’s a great introduction to working with sheet goods. The techniques Tim uses—template routing, dados for adjustability, and thoughtful assembly—are skills that carry over to tons of other shop projects.