This project was built and designed by Joe Heide from Woodworkers DiyLemma. It’s a quick and charming holiday build that turns leftover materials into a festive gnome perfect for decorating your home or giving as a handmade gift.
Joe walks through the entire process of creating this cheerful project using scrap beadboard and a few basic tools. It’s a simple build with plenty of room for creativity, making it ideal for woodworkers of all skill levels.
Watch the full video and subscribe to Joe’s channel:
Why Build a Gnome for the Holidays?
Gnomes have become a popular staple in seasonal decor thanks to their whimsical style and cozy, handmade look. Creating one yourself adds a personal touch that you won’t find in store-bought decorations.
This project also gives woodworkers a chance to make use of scrap materials that might otherwise go to waste. The result is a low-cost, fun-to-build holiday accent that’s both decorative and meaningful.
Materials and Tools You’ll Need
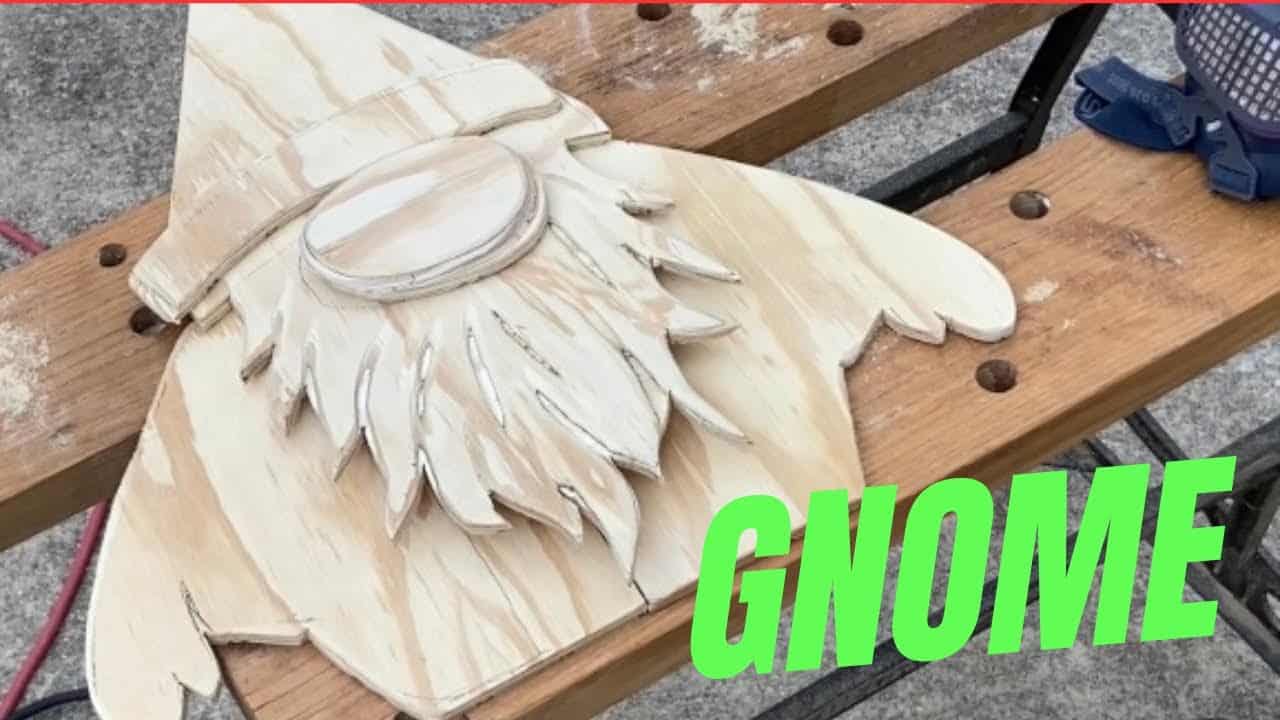
The star of this build is a piece of scrap beadboard paneling, which serves as the body of the gnome. Using reclaimed materials not only saves money but adds a unique texture and personality to the piece.
Other essentials include a saw for cutting out the shape, a grinder for smoothing and detailing, and optional paint or stain for finishing. Joe emphasizes that perfection isn’t the goal—character and creativity are what make this gnome special.
Shaping the Body
The first step is cutting out the gnome’s body from the beadboard. Joe chooses a symmetrical, cone-like shape that forms the core structure. The outline is basic but leaves plenty of room for personal variation.
With the body shape cut, the project quickly takes on its form. This part is simple and can be modified easily to suit different sizes or design preferences depending on where you want to display it.
Adding the Nose and Beard
To give the gnome a whimsical face, Joe cuts out two small wooden pieces for the nose. Using two pieces rather than one adds depth and makes the nose stand out a bit more, giving the gnome a slightly exaggerated but friendly expression.
The beard is cut from the same beadboard, shaped into a subtle curve and attached below the nose. Keeping the material consistent gives the gnome a rustic, handmade look while keeping the build process efficient.
Adding Shoes and Support
For the bottom of the gnome, Joe adds two small wooden shoes. These aren’t just for decoration—they help stabilize the gnome so it stands securely on any surface.
Cutting and attaching the shoes is quick work and adds to the overall personality of the piece. The slightly uneven, handmade quality is what gives these gnomes their charm.
Smoothing and Detailing
After the main parts are assembled, Joe sands the edges to remove any roughness. He also uses a grinder to shape and refine certain details, particularly around the beard and nose areas.
This stage isn’t about perfect symmetry. Instead, Joe encourages letting the natural character of the wood shine through and embracing any quirks that come with hand shaping.
Painting and Personalizing
Once the shaping is complete, it’s time to paint or stain the gnome. Joe opts for holiday colors like red and green, but any palette can work depending on your own decor style.
Whether you keep it simple with natural tones or go bold with bright colors, this step is a fun opportunity to make each gnome unique. Families can even make a group of gnomes together, each with their own personality.
Helpful Tips from the Build
Joe shares a few practical insights throughout the project that make things easier:
- Use scrap materials: It keeps costs down and gives your gnome added character.
- Don’t rush: Take time with shaping and layout, especially if you’re using hand tools.
- Avoid chasing perfection: The handmade look is what makes this project special.
He also points out that daylight can slip away quickly when working outdoors, so keep an eye on the clock to avoid finishing in the dark.
A Fun Holiday Project for All Skill Levels
This DIY gnome is more than just a seasonal decoration—it’s a great way to spend time in the shop, repurpose materials, and enjoy a relaxing woodworking session. It also makes a thoughtful gift that feels more personal than anything store-bought.
Joe’s easygoing style and straightforward approach make this an enjoyable project to follow, even for beginners. The result is a festive piece that’s sure to bring smiles all season long.
Watch the full video and subscribe to Joe’s channel:

Matt’s Take
These are my personal thoughts and tips based on my own experience in the shop. This section is not written, reviewed, or endorsed by the original creator of this project.
This type of project is exactly what I love about woodworking — taking scraps that might hit the burn pile and turning them into something that brings joy. Beadboard is particularly great for this since it already has that rustic, textured look that gives character without any extra work. Plus, those grooves help hide any imperfections in your cuts, making it very forgiving for newer woodworkers.
When working with small detail pieces like the nose and shoes, I always keep my fingers well away from the blade and use push sticks or hold-downs when possible. Those little cuts can be tricky, and it’s easy to get complacent with “just a quick cut.” Taking your time with the layout is solid advice too — measuring twice really does save you from having to remake parts.
The grinder work Joe mentions is a nice touch for adding organic curves, but if you don’t have one, a rasp or even coarse sandpaper wrapped around a dowel can achieve similar results. The key is embracing those slight irregularities that make handmade pieces special. Store-bought perfection is overrated anyway.
Projects like this are perfect for getting kids involved too. They can help with sanding, painting, and assembly while you handle the cutting. Nothing beats the pride on a kid’s face when they help create something that becomes part of the family’s holiday decorations.