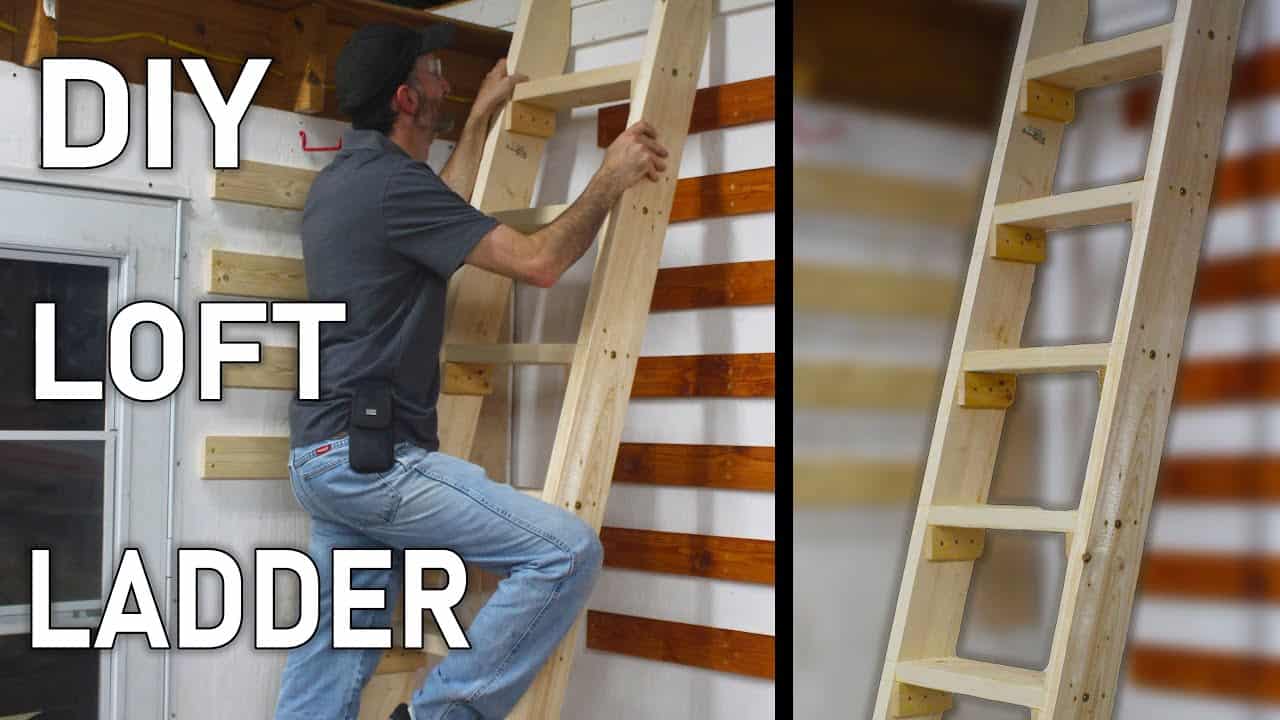
This project was built and designed by Clinton from Specific Love Creations. It’s a custom-built, heavy-duty wooden ladder made to safely access overhead storage in a workshop or metal building.
Designed with strength and mobility in mind, the ladder is a smart solution for anyone looking to maximize vertical space while keeping safety a priority. Clinton’s process highlights practical planning and construction techniques that make this project accessible to most woodworkers.
Watch the full video and subscribe to Clinton’s channel:
Planning Around the Space
Before building the ladder, Clinton evaluated the space where it would be used. A nearby door needed to swing open fully, so the ladder’s footprint couldn’t interfere with its path. On top of that, the floor was slightly sloped—something that had to be factored into the build to keep the ladder secure.
Mobility was also a consideration. Clinton wanted the option to move the ladder when needed, so the design had to be stable yet not permanently attached to the wall. This early planning ensured the final ladder would meet both structural and practical needs.
Choosing the Right Lumber
Instead of using standard 2x4s, Clinton opted for 2×6 boards for the side rails. This thicker lumber offers more strength and rigidity, especially for taller ladders that may experience more flex under load.
The choice to overbuild the structure reflects a long-term mindset—this ladder isn’t just about temporary access but daily use. Selecting quality lumber is key to safety, particularly when weight-bearing components are involved.
Cutting and Angling the Side Rails
With the loft height in mind, Clinton cut the side rails to length and adjusted for angle. Most ladders lean at around 15 degrees, but because of the floor’s slope, he added a slight increase to 17 degrees for better stability.
To lay out the cuts consistently, Clinton built a simple jig using scrap wood. This jig helped him mark and cut steps quickly and accurately, ensuring each one would be consistent in angle and length across the frame.
Installing the Steps
Each step, or rung, was cut to 16 inches in width—a bit wider than standard ladder treads for increased comfort and footing. As the steps were installed, Clinton checked that their front edges were flush with the side rails, keeping the alignment clean and even.
Pre-drilling each hole helped prevent the wood from splitting, especially important when working with structural components like ladder rungs. Clamping each step in place allowed for adjustments to account for slight warping in the boards.
Final Fit and Notching the Top
Once the frame was assembled, Clinton tested it in place and made final adjustments. At the top, he cut shallow notches into the side rails to nest them securely against the edge of the loft.
This extra detail adds to the stability of the ladder without requiring permanent attachment. While Clinton left the ladder freestanding in his own shop, he noted that in other settings, securing it to a wall with brackets would be a smart safety upgrade.
Attention to Safety and Durability
The completed ladder is noticeably more stable and reliable than the old one it replaced. Each step sits level, and the structure remains solid even when fully loaded.
For anyone building a similar ladder, Clinton recommends always wearing proper safety gear and taking time to double-check angles and cuts. A small mistake early in the build can affect how the entire structure sits and performs.
Maximizing Shop Storage
Loft ladders are a great way to safely access overhead storage in garages, sheds, and workshops. Rather than relying on a flimsy step stool or a metal extension ladder, a custom-built wooden version gives you peace of mind and long-term usability.
This project shows how simple tools and a few thoughtful decisions can result in a major improvement to your space. Better access means better organization, and the added confidence when climbing is well worth the time invested.
A Great Example of Practical Woodworking
Projects like this don’t just look good—they solve real problems in real workspaces. Clinton’s ladder adds function without clutter and blends safety with simplicity.
For woodworkers with a loft or attic space to access, this is a great weekend build with lasting benefits. The ability to adjust the design based on your own ceiling height or floor angle makes it flexible for nearly any setup.
Watch the full video and subscribe to Clinton’s channel:

Matt’s Take
These are my personal thoughts and tips based on my own experience in the shop. This section is not written, reviewed, or endorsed by the original creator of this project.
This type of ladder build really showcases the value of custom over store-bought. Those metal extension ladders might seem convenient, but they’re awkward to position and never feel quite right against a loft edge. A wooden ladder like this one becomes a permanent part of your shop setup — stable, comfortable, and built exactly for your space.
The 2×6 rail choice is smart thinking. I see a lot of folks try to save a few bucks with 2x4s, but when you’re talking about something you’ll be climbing regularly with tools or materials in hand, that extra thickness makes a real difference in rigidity. Same goes with those 16-inch wide steps — your feet will thank you for the extra room, especially when you’re carrying something up or down.
That angled jig approach is a great example of taking time upfront to save time later. Consistent angles and cuts are crucial for ladder safety, and a simple shop-made jig beats trying to eyeball each cut. The floor slope consideration is something many people would overlook until the ladder’s already built and wobbling.
Safety-wise, those notches at the top are a nice touch for keeping everything positioned correctly. While Clinton kept his freestanding, adding wall brackets is worth considering if you’ve got kids in the shop or just want that extra security. A ladder that shifts unexpectedly is no joke.