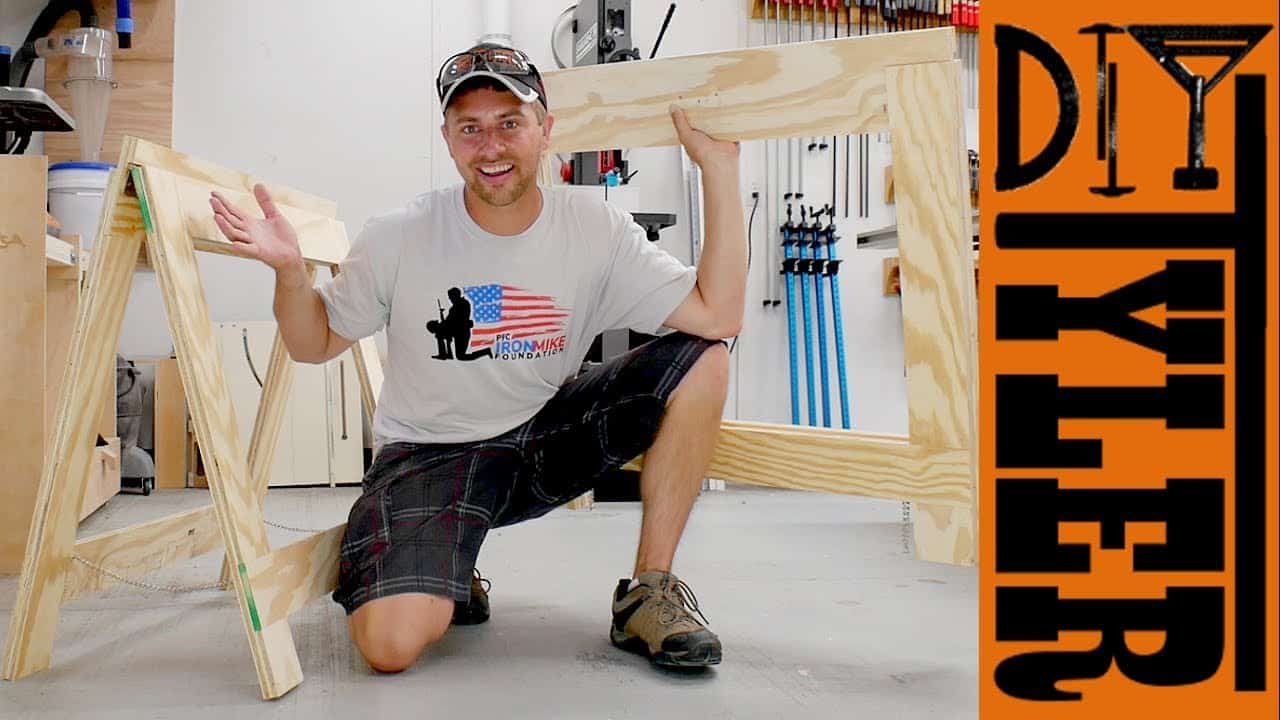
This project was built and designed by Tyler from DIYTyler. It’s a creative twist on the traditional sawhorse—lightweight, foldable, and built entirely from plywood, hinges, and a bit of chain.
Inspired by a design from John Heisz, Tyler adapts the build with a few personal touches, turning this workshop staple into something easy to store, strong enough for daily use, and perfect for tight spaces.
Watch the full video and subscribe to Tyler’s channel:
Why Rethink the Classic Sawhorse?
Standard 2×4 sawhorses get the job done but often come with trade-offs—they’re heavy, bulky, and don’t always stack or store easily. Tyler was looking for something more streamlined for his workspace.
John Heisz’s approach stood out thanks to its faux half-lap joints and clever folding structure. Tyler decided to give it a try, not only to simplify his shop setup but to pass on smart building methods to others in the woodworking community.
Starting with the Plywood Breakdown
Tyler begins by breaking down a sheet of ½-inch plywood into long strips using a table saw. These strips will make up the legs, top supports, and inner framing pieces for two identical sawhorses.
Because the plan calls for mirrored pieces, he doubles the cut quantities upfront. This planning helps streamline the rest of the build, especially when working with identical parts.
Cutting Pieces with Precision
Once the strips are ready, they’re crosscut down to final lengths using a miter saw with a stop block in place. This ensures every piece is identical, which is critical for both alignment and long-term durability.
Even minor variations in length can affect the way the legs fold and the stand balances. Tyler keeps the cuts clean and consistent to avoid future headaches during assembly.
Clever Use of Faux Half-Lap Joinery
One standout feature of the sawhorses is the use of layered plywood to simulate half-lap joints. By staggering layers, Tyler creates strong, interlocking frames without the need for complex cuts or router work.
This faux joinery increases both strength and stability while keeping the sawhorses lightweight and easy to fold. It’s a smart technique that anyone working with plywood can learn from.
Glue, Nails, and a Helping Hand
For assembly, Tyler uses Titebond III glue along with 18-gauge brad nails. The glue provides long-term holding power, while the nails hold everything in place as the adhesive sets.
As a bonus, Tyler brings his son into the shop to help with the build. It’s a reminder that woodworking isn’t just about projects—it’s also about passing along knowledge and building memories.
Folding Mechanism and Hinge Setup
Each sawhorse leg is assembled in two parts, with hinges at the top allowing them to fold inward. A shorter crosspiece at the top holds the hinges and legs together while still allowing for smooth movement.
Since the plywood is only ½-inch thick, Tyler pays close attention when driving screws to avoid piercing through the opposite side. He also uses an angle grinder to clean up rough edges, improving the safety and appearance of the finished pieces.
Using Chain for Stability
A clever addition to the folding design is a small length of zinc-coated chain. Tyler attaches one to each leg, keeping the sawhorses from overextending or collapsing during use.
This feature solves a common issue with folding designs—legs splaying out under pressure—and the chains can often be repurposed from other builds. It’s a low-cost solution that adds a lot of value.
Optional Changes for Nesting
Tyler mentions plans to tweak the design in future builds by removing the lower cross braces. This would allow the folded sawhorses to nest together for even more compact storage.
He isn’t certain if the modified version will maintain the same level of strength, but it’s a solid example of how woodworking often involves experimenting and refining ideas.
A Practical, Portable Shop Upgrade
Once complete, these plywood sawhorses are both sturdy and easy to store. They fold down flat, stack neatly, and can be tossed in the truck or leaned against a wall without taking up much space.
Despite being made from relatively thin plywood, the layered joints and thoughtful hardware choices result in a tool that holds up well under weight. Whether for jobsite use or shop support, they’re a worthy addition.
Final Thoughts
Tyler’s build combines smart design with practical execution, all while keeping the process approachable. With simple materials and tools, he turns a basic concept into something better suited for real-world use.
The project also highlights the power of sharing knowledge in the woodworking space—building on others’ ideas while adding personal refinements. It’s functional, thoughtful, and a great shop upgrade for any woodworker.
Please support Tyler by visiting his website here: diytyler.com

Matt’s Take
These are my personal thoughts and tips based on my own experience in the shop. This section is not written, reviewed, or endorsed by the original creator of this project.
The faux half-lap joint approach Tyler uses here is really clever for plywood construction. Traditional half-laps require precise depth cuts that can be tricky to nail consistently, but this layered method gives you similar strength without the fuss. The key is keeping your plywood strips uniform in thickness and width — any variations will show up as gaps or misalignment in the final assembly.
That chain detail is one of those simple solutions that makes a huge difference. Without some kind of stop, folding sawhorses have a tendency to rack out under load, which can be both unstable and hard on the hinges over time. Chain is perfect because it’s adjustable, inexpensive, and won’t break like a rigid stop might if you accidentally over-extend the legs.
When working with ½-inch plywood and small hardware like this, pre-drilling becomes even more important than usual. The thin material doesn’t give you much margin for error with screw placement, and a blown-out edge can compromise the whole joint. A simple drill/countersink bit makes quick work of the prep and helps ensure your screws sit flush without over-driving.
The nesting idea Tyler mentions is worth exploring if shop space is tight. Even losing some rigidity might be acceptable for lighter-duty work, and the storage benefits could be significant. Sometimes the best shop projects are the ones that solve multiple problems at once.