This project, created by Fisher’s Shop, offers a unique approach to crafting a push stick that not only looks good but functions exceptionally well. Below is a detailed guide to making Drew’s push stick, complete with materials, tools, and step-by-step instructions.

Materials and Tools
- Ash, Bird’s Eye Maple, and Mahogany
- Walnut (for the base)
- Craft adhesive
- 5-minute epoxy
- Graphite shavings
- Danish oil
- Router with 1/8″ round over bit
- Band saw
- Miter saw
- Crosscut sled
- Spindle sander
- X-Carve for engraving logos
- Sanding block
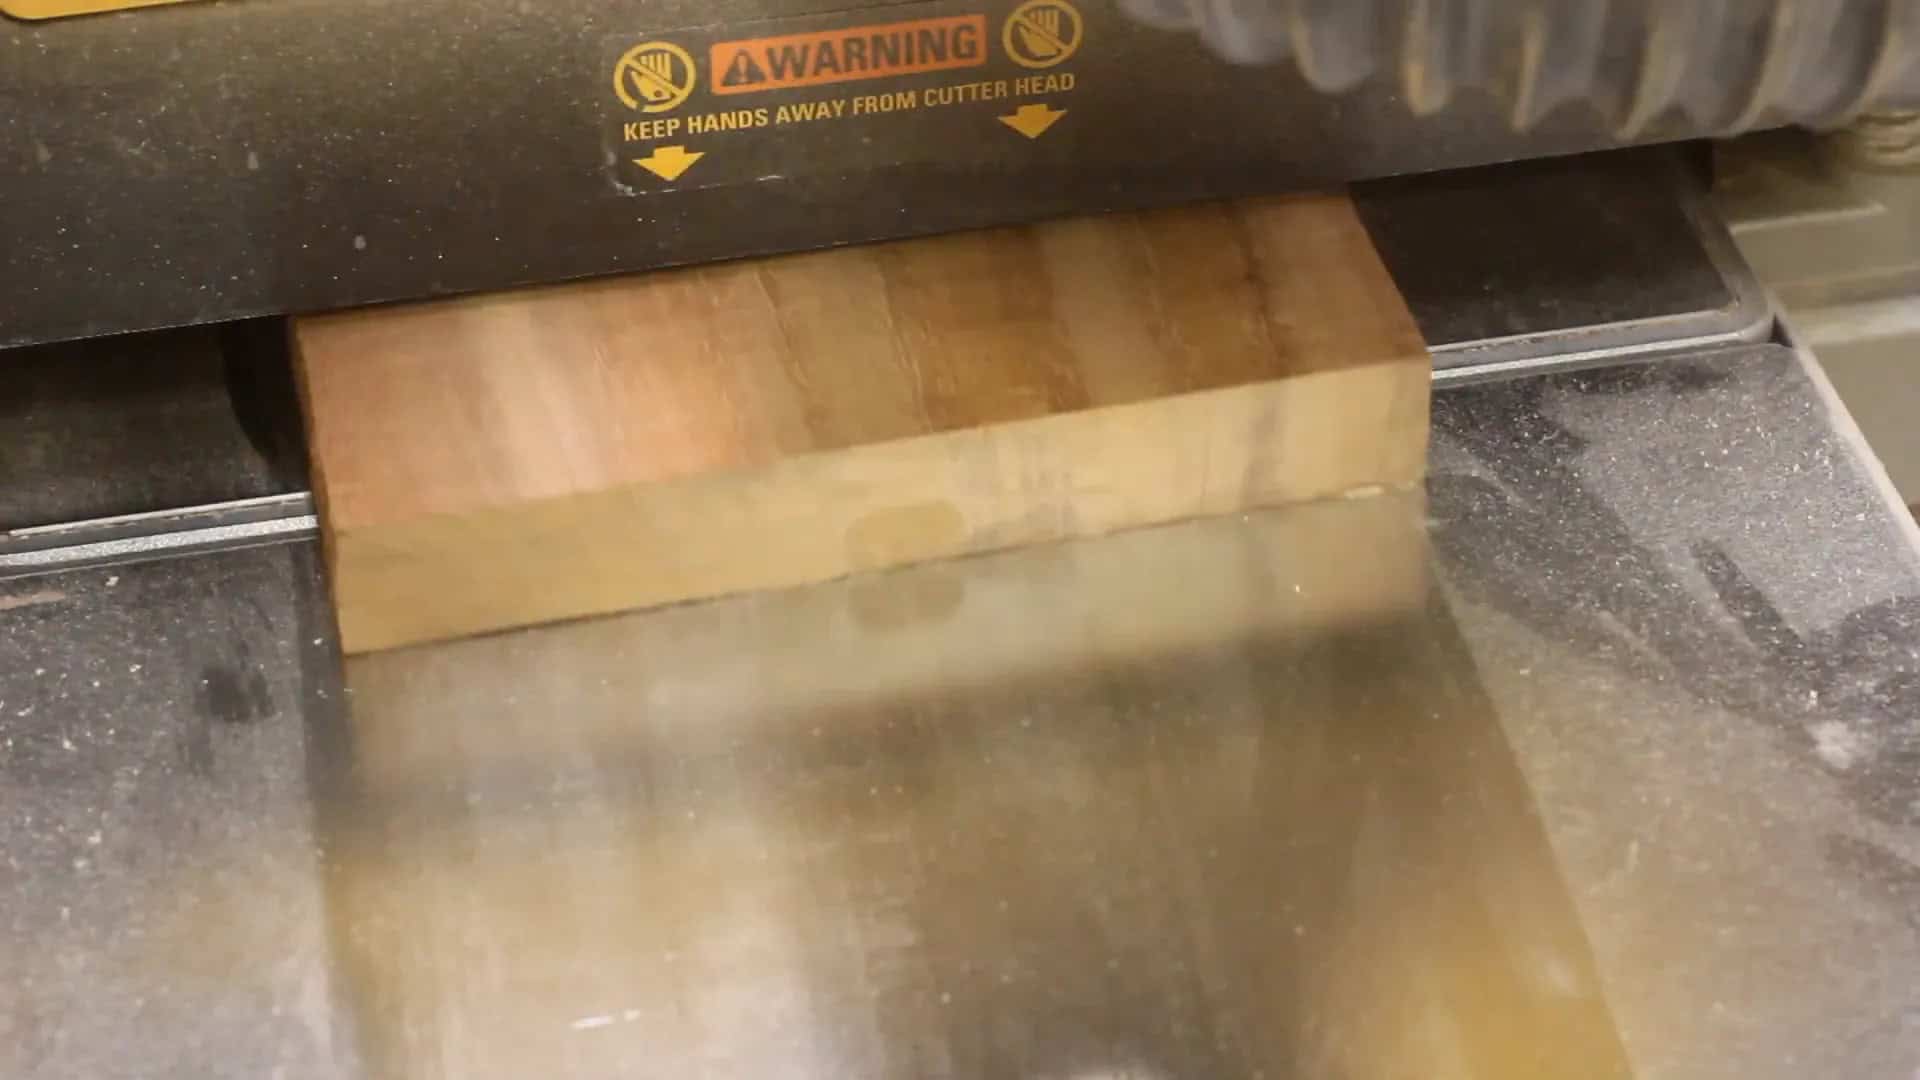
Step 1: Dimensioning the Wood
The first step is to dimension down the wood. Drew starts with some ash, Bird’s Eye Maple, and mahogany, which adds character to the push sticks. Next, he prints off a template multiple times and cuts out the shape for about half a dozen push sticks.
Step 2: Cutting the Shapes
Once the shapes are cut out, Drew applies craft adhesive to stick them onto the boards, maximizing the use of each piece. He then moves over to the band saw to cut out the shapes. He reassures that any wonky cuts can be cleaned up later, so there’s no pressure to be perfect right away.

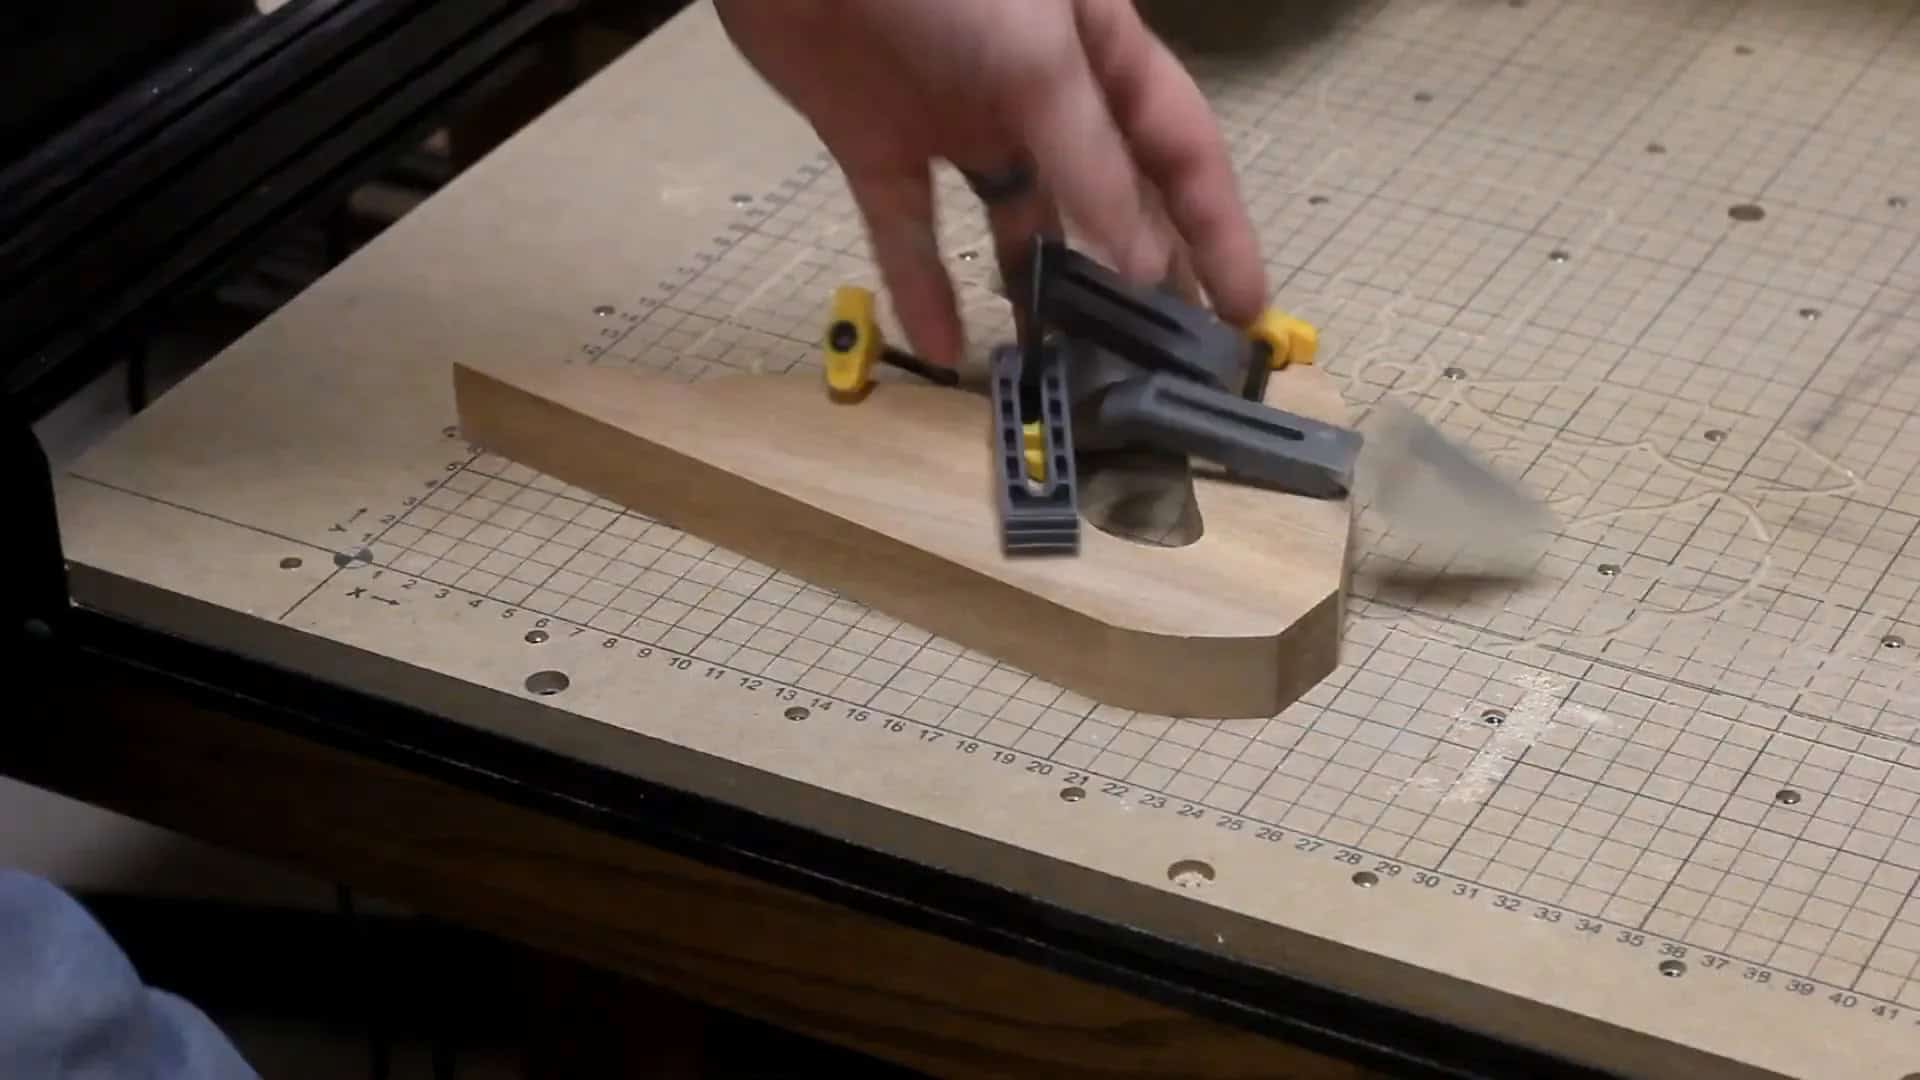
Step 3: Trimming and Smoothing
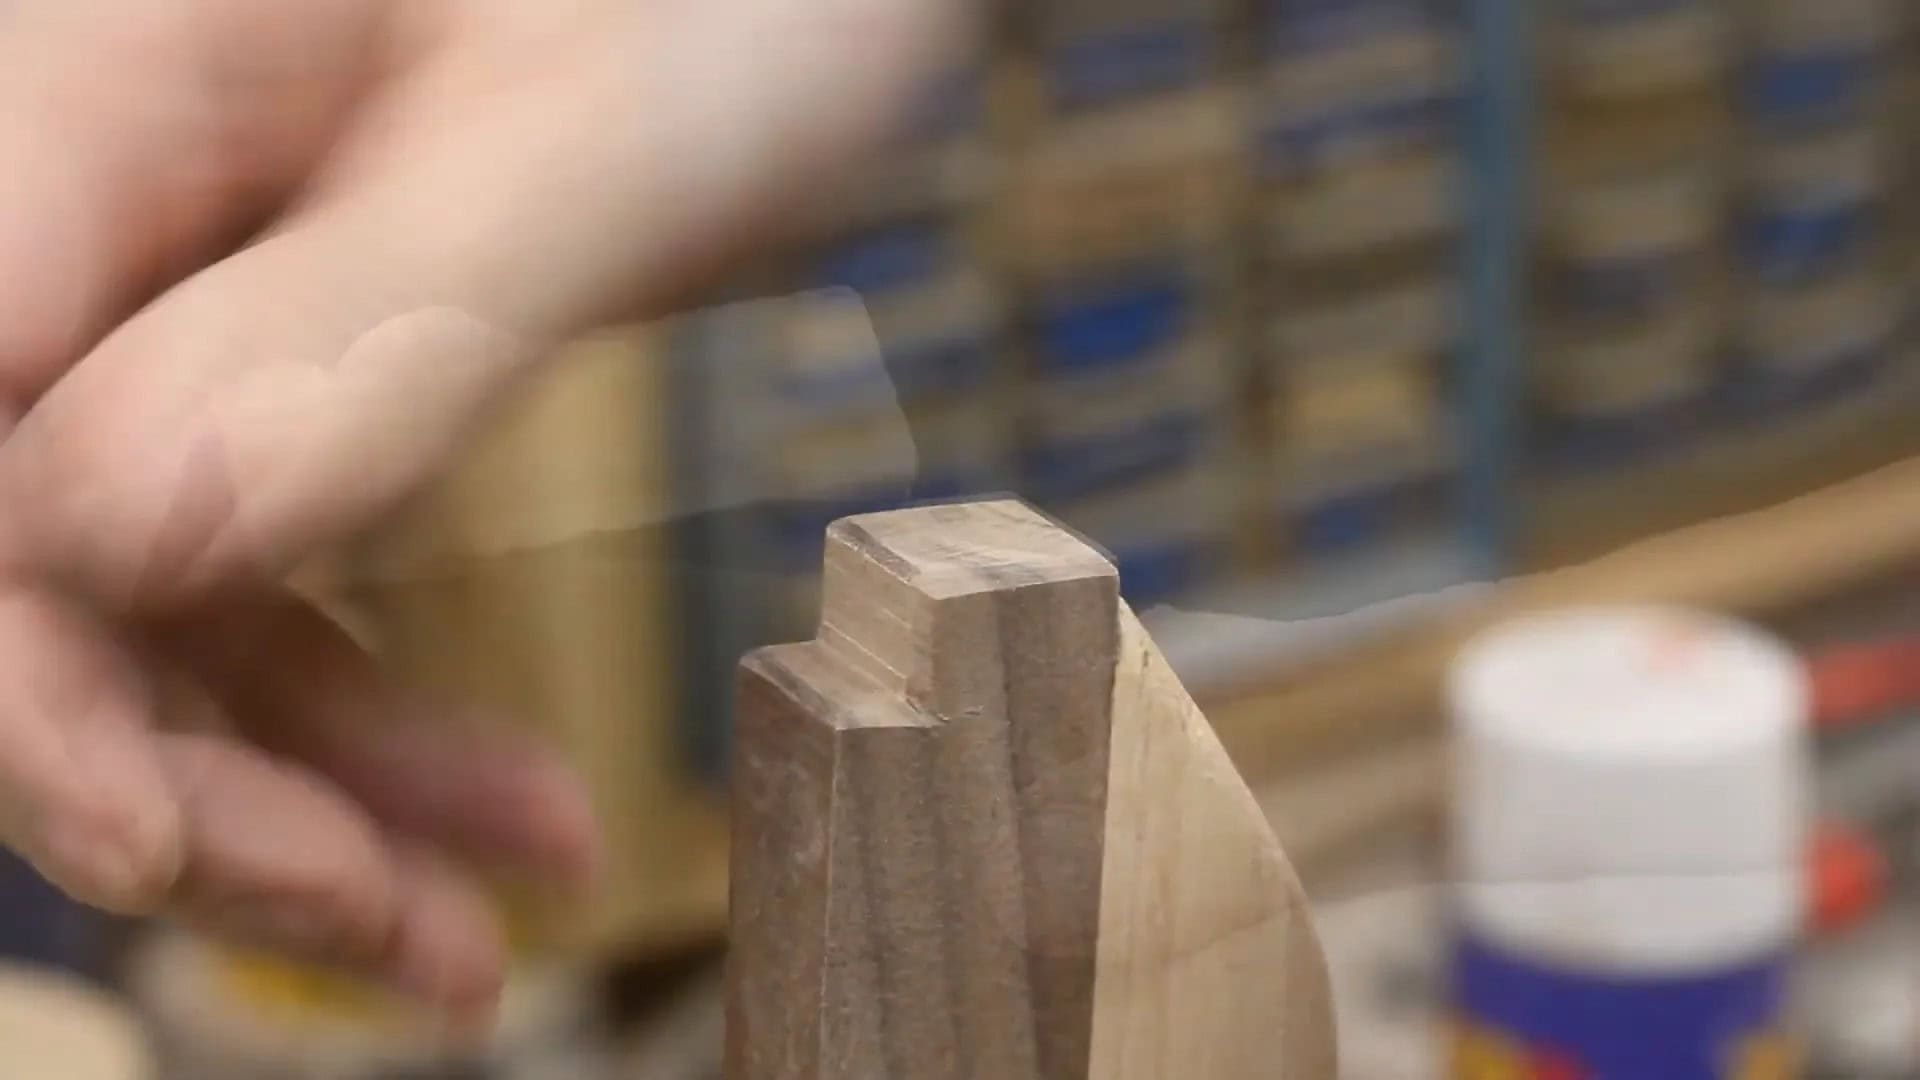
After cutting, Drew uses the miter saw to nip off the back side of each stick, creating a flat surface. He then clamps the sticks on his crosscut sled to trim the bottom. The next task is to smooth things out using a spindle sander, removing any band saw marks.
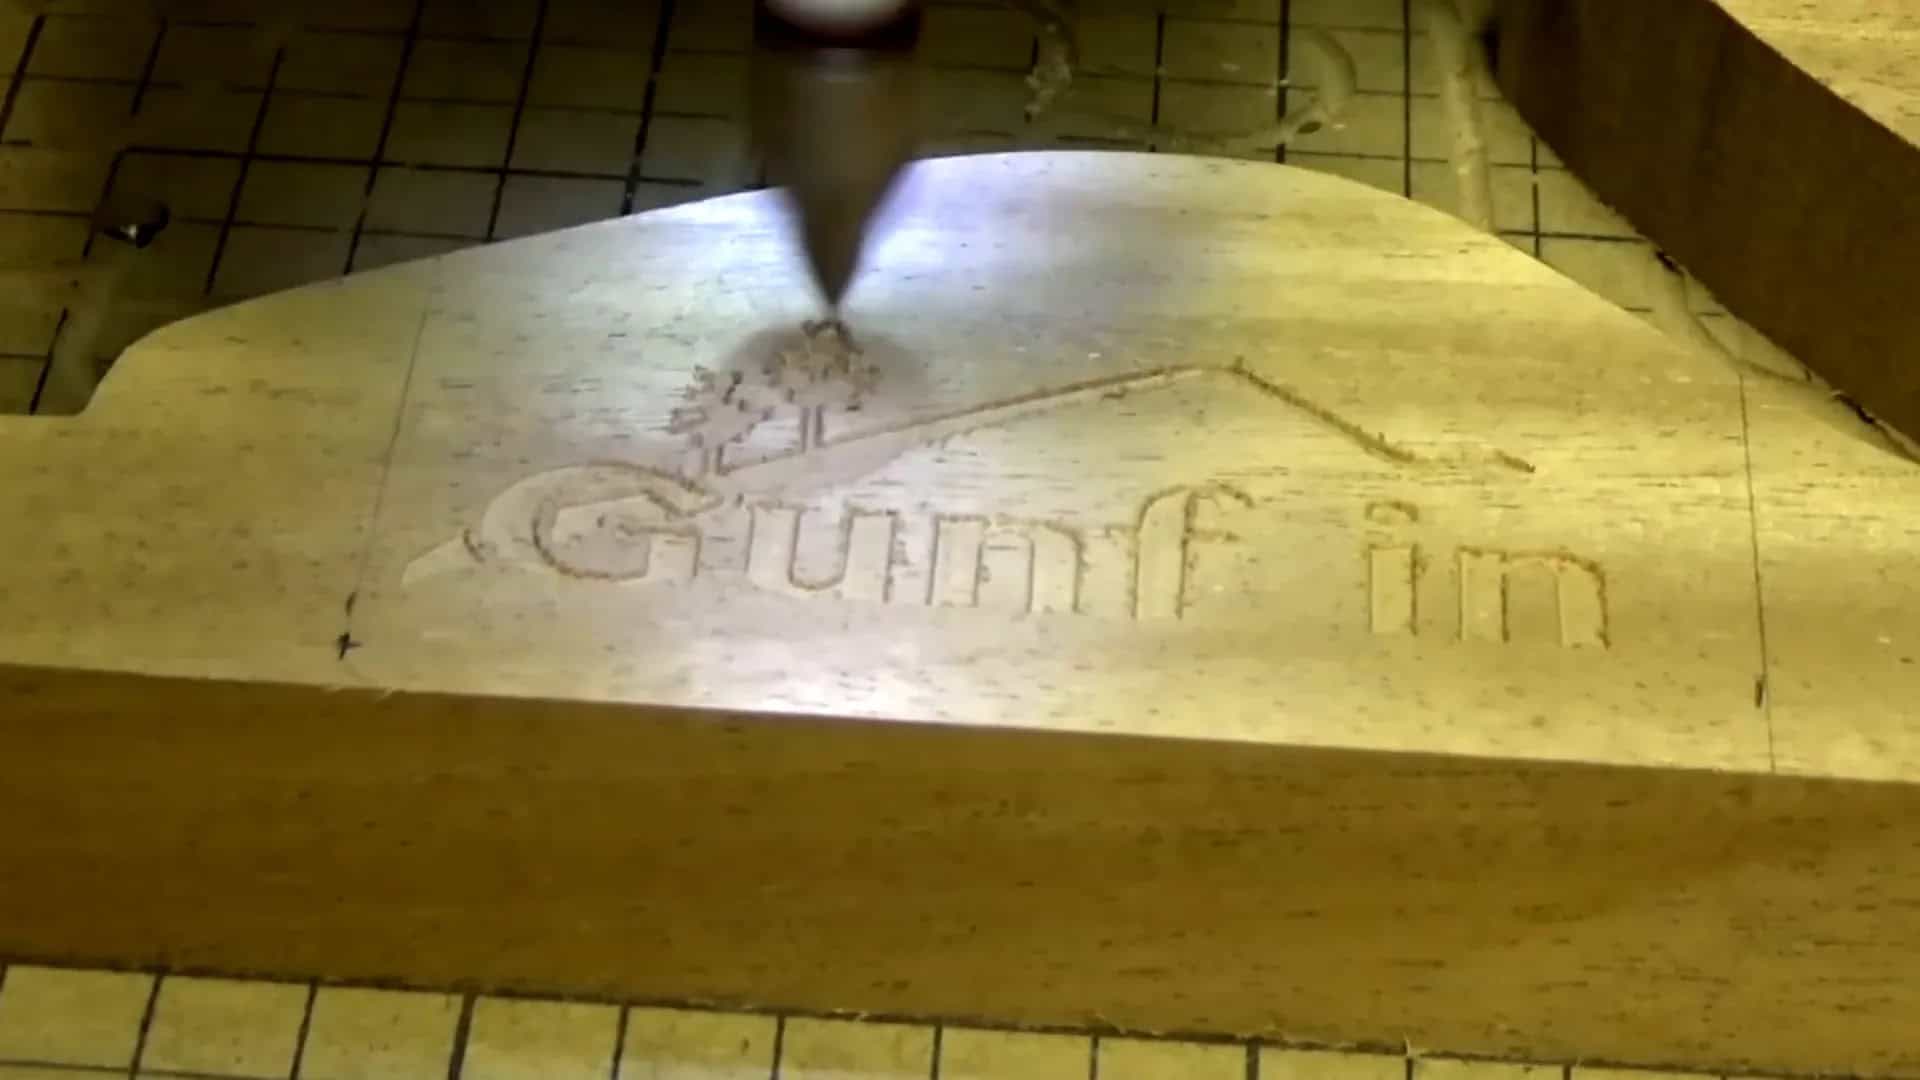
Step 4: Personalizing the Sticks
To add a personal touch, Drew engraves his friends’ logos into the sides using the X-Carve. He carefully measures the size of each logo and positions it before starting the engraving process. After a successful first logo, he proceeds to engrave his logo and his podcast logo on the remaining sticks.
Step 5: Applying Epoxy
Next, Drew squirts out some 5-minute epoxy and mixes in a tiny bit of graphite shavings for color. He applies the epoxy into the engraved logos, ensuring it fills all the cracks. He humorously notes the importance of timing, as the epoxy sets quickly. If bubbles arise, a blowtorch can help pop them.

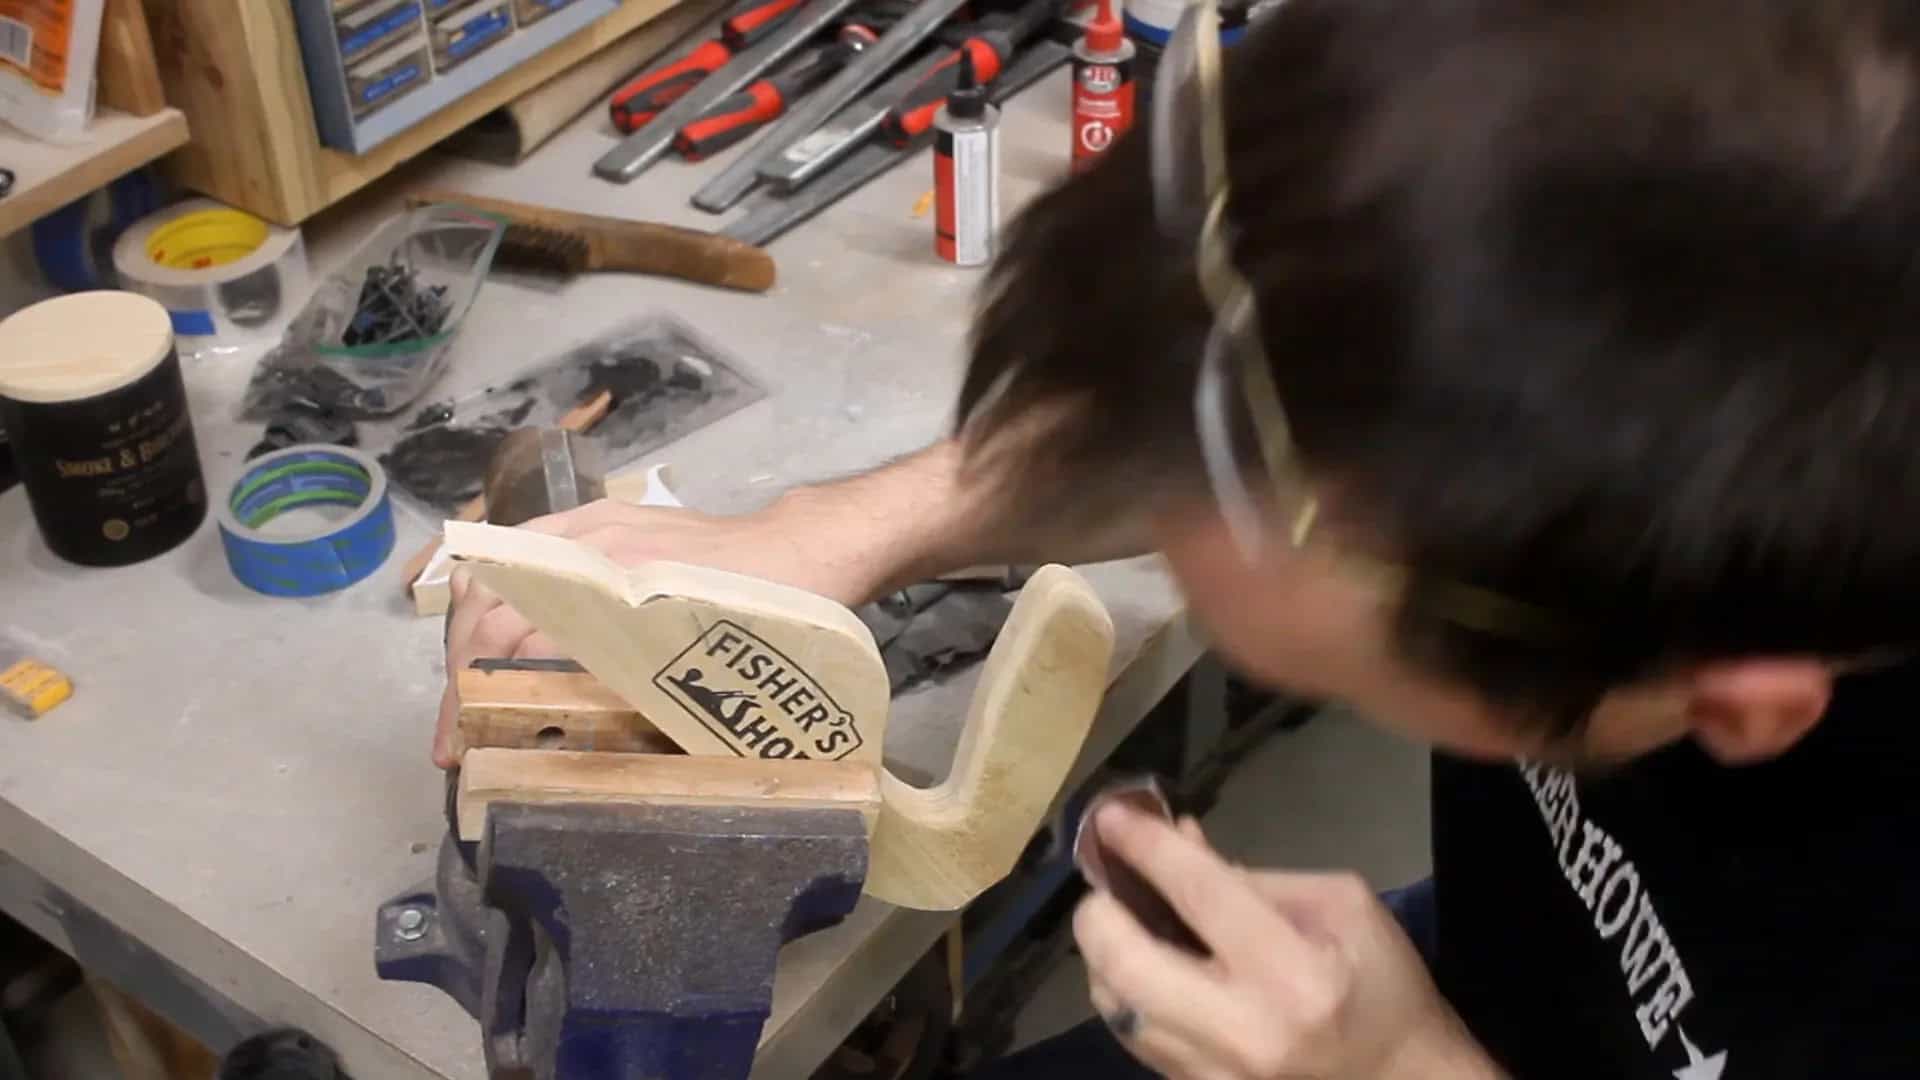
Step 6: Sanding and Finishing
Once the epoxy cures overnight, he sands each stick lightly with 120 grit sandpaper, careful not to sand off any logos. He uses a router with a round over bit to soften the edges, while leaving the bottom and back square for better grip.
Step 7: Creating the Bases
Drew then cuts down pieces of walnut for the bases, ensuring they look sharp since these sticks are gifts. He spreads glue on the back edge, squares it up, and clamps it while drying. After the glue sets, he cuts a bird’s mouth into the tip of each stick to make it more functional.

Step 8: Adding the Catch Block
The upward curve at the back of the push stick allows for easy attachment of a new catch block. Drew emphasizes that this design helps replace the catch block easily as it gets worn out, adding to the longevity of the push stick.
Step 9: Final Touches
To enhance the aesthetics and feel, he adds a small chamfer to some edges with a sanding block, making them more aerodynamic. He finishes with several coats of Danish oil, which not only protects but also makes the wood grain pop.
Step 10: Using the Push Stick
Drew wraps up by demonstrating how the design allows for easy reuse. When the base and back catch get chewed up, simply clamp it down and clean off the bottom edge to glue on a new catch. This ensures the push stick remains functional over time.

This push stick design not only provides safety while working with saws but also allows for personal touches that make each stick unique. If you’re interested in making your own, Fisher encourages downloading the free template available on his website. Happy woodworking!
Video

Matt’s Take
These are my personal thoughts and tips based on my own experience in the shop. This section is not written, reviewed, or endorsed by the original creator of this project.
These push sticks are a great example of how you can turn a simple safety tool into something really special. Drew’s approach with the laminated different species creates visual interest while still maintaining the functionality you need. The combination of ash, bird’s eye maple, and mahogany gives each stick its own character, and that walnut base adds a nice contrasting element.
The replaceable catch block design is really smart from a practical standpoint. Push sticks take a beating, especially that front edge and the back hook, so being able to swap out just the worn parts instead of making a whole new stick saves both time and materials. The bird’s mouth cut at the tip is a nice touch too — it gives you better control when guiding stock through cuts.
Safety-wise, having multiple push sticks around the shop is never a bad idea. Different cuts sometimes call for different approaches, and having them within arm’s reach means you’re more likely to actually use them. The personalized logos are a fun addition, but the real value here is in the thoughtful design that balances durability with replaceability.
If you’re thinking about making some of these, remember that the finish matters for grip. Danish oil gives you that nice tactile feel without being too slippery, which is important when you’re relying on the tool for safety around spinning blades.