This project was built and designed by Caleb from YouCanMakeThisToo. It features a striking blend of live edge walnut, blue epoxy resin, a custom metal base, and LED lighting—a project that combines woodworking, metalwork, and modern tech.
The design builds on a previous epoxy project and was requested by a viewer looking for a larger version. From careful slab prep to final LED placement, Caleb shares each step in detail, showcasing both craftsmanship and creativity.
Watch the full video and subscribe to Caleb’s channel:
Designing a One-of-a-Kind Table
The build begins with a digital mock-up. Using Photoshop, Caleb presents several design concepts to the client and finalizes a layout that balances bold color with natural texture.
This stage shows how helpful it can be to visualize before cutting. Small design tweaks early on can save materials and time later, and client feedback plays a big role in shaping the final piece.
Preparing the Walnut Slabs
Once the design is finalized, Caleb selects two live edge walnut slabs and a center filler piece. One of the slabs features a natural split, which becomes part of the visual composition.
Rather than using a planer sled, Caleb face joints the slabs to establish flat reference surfaces. This approach works well for oversized pieces that don’t fit standard jointers, especially when paired with a planer to create parallel faces.
Building the Epoxy Mold
To pour the epoxy, Caleb builds a custom form using melamine, which resists sticking to resin. Since melamine can be flimsy, he glues it to MDF for extra rigidity.
He seals all the joints with tape to prevent leaks during the pour. A clean mold is essential for crisp edges and easier removal later, so this stage involves extra care and attention.
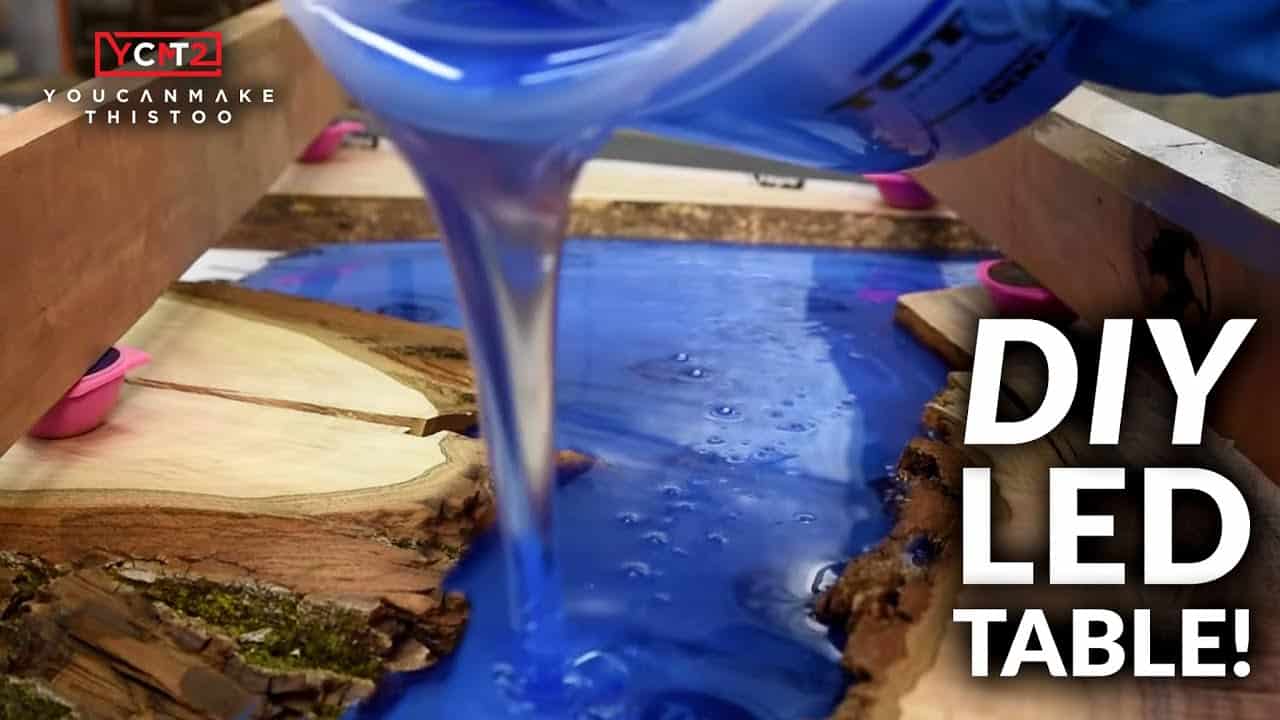
Mixing and Pouring the Resin
Before mixing epoxy, Caleb calculates the volume needed using a simple trick to avoid waste or shortage. For color, he combines blue pigment with a hint of gray, creating a deep, water-like tone that complements the walnut.
The resin is thoroughly mixed and poured slowly into the mold. To prevent the wood from floating, Caleb clamps each slab in place, ensuring they stay exactly where he wants them during the cure.
Revealing the Tabletop
After curing, the mold is removed carefully, revealing the solidified epoxy and embedded wood. Caleb’s prep pays off—the table lifts cleanly with minimal touch-up required.
From there, the surface is sanded in stages. Caleb tests a new sanding system that improves dust collection and extends abrasive life. He takes extra care around the bark edges, blending the natural curves into the finished surface.
Building the Metal Base
The base design is a minimal open cube, welded from metal tubing. It provides both stability and contrast, letting the rich walnut and epoxy stand out while giving the piece a modern industrial touch.
Each cut is carefully measured and squared before welding. Caleb emphasizes the value of keeping corners true—accuracy here means no rocking and a clean, professional appearance.
After welding, the joints are ground smooth and the entire base is cleaned and prepped. The result is a sturdy, sleek structure ready for final assembly.
Assembling the Table and Adding LEDs
The walnut slab is attached to the base using threaded inserts, ensuring a strong, repeatable connection. This allows for easy disassembly if needed, and gives the table a polished, built-to-last feel.
To finish things off, LED strip lights are installed on the underside of the tabletop. Caleb positions them carefully to illuminate the epoxy and edges without being too flashy. The wiring is kept hidden, and battery packs are accessible for simple operation.
Final Result and Reflections
The completed coffee table blends rustic natural wood with the sleek look of colored resin and steel. With ambient lighting and high-quality joinery, it becomes more than furniture—it’s a centerpiece that draws attention in any room.
From planning to finishing, Caleb balances visual appeal with solid construction techniques. It’s a build that demonstrates how modern woodworking often goes beyond just wood and nails—it’s about combining materials, tools, and ideas to create something special.
Please support Caleb by visiting his website: https://www.ycmt2.com/.

Matt’s Take
These are my personal thoughts and tips based on my own experience in the shop. This section is not written, reviewed, or endorsed by the original creator of this project.
Working with epoxy and live edge slabs is one of those projects that looks deceptively simple until you’re actually doing it. The prep work Caleb shows here—especially that careful mold construction—really makes or breaks the whole build. When you’re dealing with resin, any gap or imperfection in your form will show up in the final piece, and trust me, fixing epoxy mistakes after it’s cured is nobody’s idea of fun.
That face jointing approach for oversized slabs is solid thinking. When you’re dealing with pieces too big for your jointer, sometimes you have to get creative. Just remember that hand-planing or using a router sled are other options worth considering if you don’t have a big enough jointer. The key is getting one true face to reference everything else from.
The LED integration is a nice touch that really makes the epoxy pop. If you’re thinking about adding lighting to a similar project, plan the wiring early—running those strips and hiding the connections is much easier when you think it through during the design phase rather than trying to retrofit later. And always test your LED setup before final assembly, because troubleshooting electrical issues with everything glued and finished is a headache you want to avoid.