This project was built and designed by Billy from Newton Makes.
It’s a small, refined gift box featuring wraparound walnut grain, clean mitered corners, and a brass coin accent—perfect for sharpening multiple woodworking skills in one focused build.
The box may be compact, but it offers a deep range of techniques from joinery to finishing.
It’s a great project for makers looking to challenge themselves with precision work while keeping material needs and time investment low.
Watch the full video and subscribe to Billy’s channel:
Why This Box Stands Out as a Gift
This small box checks several boxes for a great gift. Its size makes it easy to ship, wrap, or tuck into a stocking.
The design is clean and classic, and the subtle enhancements—like the contrasting base and coin detail—give it a handmade look that feels high-end.
More than that, it’s an ideal learning project. The build includes grain matching, miter joints, hinge installation, embedded magnets, and basic metal finishing—all in a format that can be repeated and refined.
Material Selection and Design Choices
Billy keeps the design intentionally minimal so the material can take center stage.
A figured walnut board is selected for the main body, and a much darker wood is used for the base to create contrast and a subtle shadow line.
The lid is cut from the same walnut board to preserve grain flow. By resawing the board and rotating the faces, Billy achieves wraparound grain that visually connects all four corners and the top.
Preparing for Wraparound Grain
Achieving seamless grain flow at the corners depends on layout and accurate resawing. A board with continuous grain is sliced and flipped, then joined so that the pattern flows uninterrupted across each edge.
Alignment is critical. The pieces must stay in sequence and be handled carefully after cutting.
Billy uses an air-dried walnut board for better figure and color transition, though the technique can be applied to many species.
Mitered Joinery and Cleanup
Mitered corners give the box a crisp, geometric look but demand precision. Billy uses tight-fitting miters held together with painter’s tape during glue-up—a common technique for small boxes that avoids clamping pressure that could shift the parts.
Cleanup is done using card scrapers and fine sanding. A scraper works especially well in corners and on squeeze-out without softening the sharp miter edges.
Thin Lid and Shadow Line Base
The box has a thin lid and base that give it a sleek profile. The base, made from a darker hardwood, creates a floating effect when the box is resting on a surface. This visual trick adds depth without complicating the build.
Both top and bottom are glued on and trimmed flush.
Careful sanding ensures the lid sits evenly and the shadow line remains sharp and consistent across all sides.
Installing Barrel Hinges
Billy uses miniature brass barrel hinges that are nearly invisible from the outside. Because of their small size, installation requires precision.
He drills the hinge holes first, followed by a small chamfer to seat the hinge cups. This order reduces bit wandering and helps align the barrel hinges without shifting the center point.
Embedding Magnets for a Clean Closure
Tiny rare-earth magnets are recessed into the lid and base corners for a hardware-free closure. They create a satisfying “snap” when closing and hold the lid securely in place.
Using metric-sized bits helps match the magnet diameter for a snug fit.
Billy glues them in and checks alignment before the adhesive fully sets to avoid misalignment.
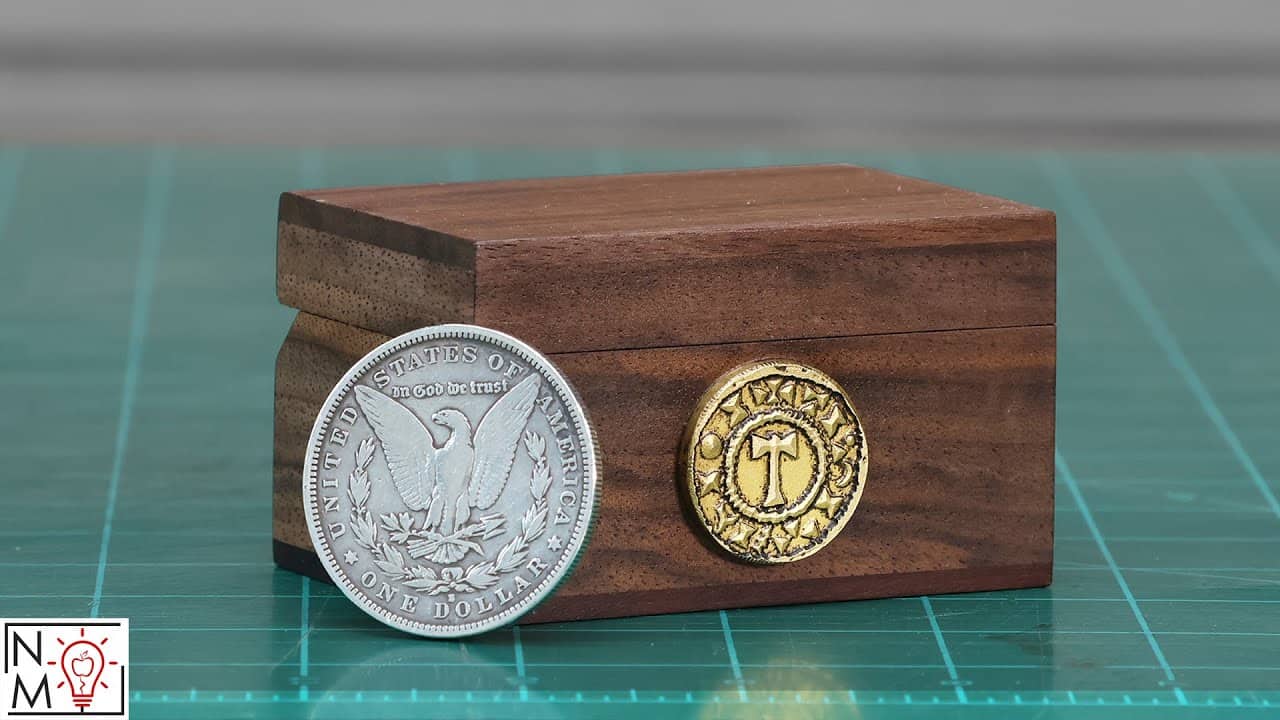
Brass Coin Accent for a Custom Touch
One standout feature is a brass coin embedded in the front face of the box. Billy cuts the blank from a brass rod and engraves it with a Norse-inspired design using a CNC machine.
He adds a patina to darken the brass and buffs the high points, giving the coin an antique look. It’s a small, striking detail that sets the box apart and adds a handcrafted focal point.
Spray Lacquer Finish for Clarity and Protection
The box is finished with multiple thin coats of spray lacquer. This approach enhances the grain while keeping the overall sheen light and controlled.
Light sanding between coats ensures a smooth, dust-free surface.
The final look is clean and crisp—perfect for a project where edge definition and grain continuity are key features.
A Skill-Building Project with Big Payoff
This build covers an impressive range of woodworking skills: resawing, mitering, hardware installation, inlaying magnets, and even basic metalwork. It’s a short project with a big return, especially for anyone looking to improve precision and fine-tune their techniques.
With just a small board and a few hours in the shop, this box becomes a memorable gift and a satisfying personal achievement.
Get Billy’s plans here: https://www.newtonmakes.com/shop/p/small-wood-box-project-plans.

Matt’s Take
These are my personal thoughts and tips based on my own experience in the shop. This section is not written, reviewed, or endorsed by the original creator of this project.
The wraparound grain technique Billy demonstrates here is one of those shop skills that really separates careful work from rushed work. Getting that continuous flow around all four sides requires thinking through your cuts before you make them — once you resaw that board, there’s no going back. I keep a piece of chalk handy for marking the sequence on boards like this, because it’s surprisingly easy to lose track of which piece goes where.
Those tiny barrel hinges are beautiful when they’re installed right, but they’ll punish you for being even slightly off. Drilling the pilot holes with a brad point bit helps prevent wandering, and I always test-fit everything before committing to glue. The magnet placement is equally critical — if they’re not perfectly aligned, you’ll get that annoying offset every time someone closes the lid.
What I really appreciate about this build is how it teaches precision without being intimidating. The material cost stays low, but you’re still working through real challenges like grain matching and hardware installation. It’s the kind of project where you can afford to make a mistake and start over if needed, which makes it perfect for pushing your skills without the pressure of working on a big piece.
The brass coin detail really elevates this from a simple box to something special. Even without CNC capability, you could achieve a similar effect with hand stamping or simple geometric patterns. Sometimes it’s these small custom touches that turn a woodworking project into a meaningful gift.