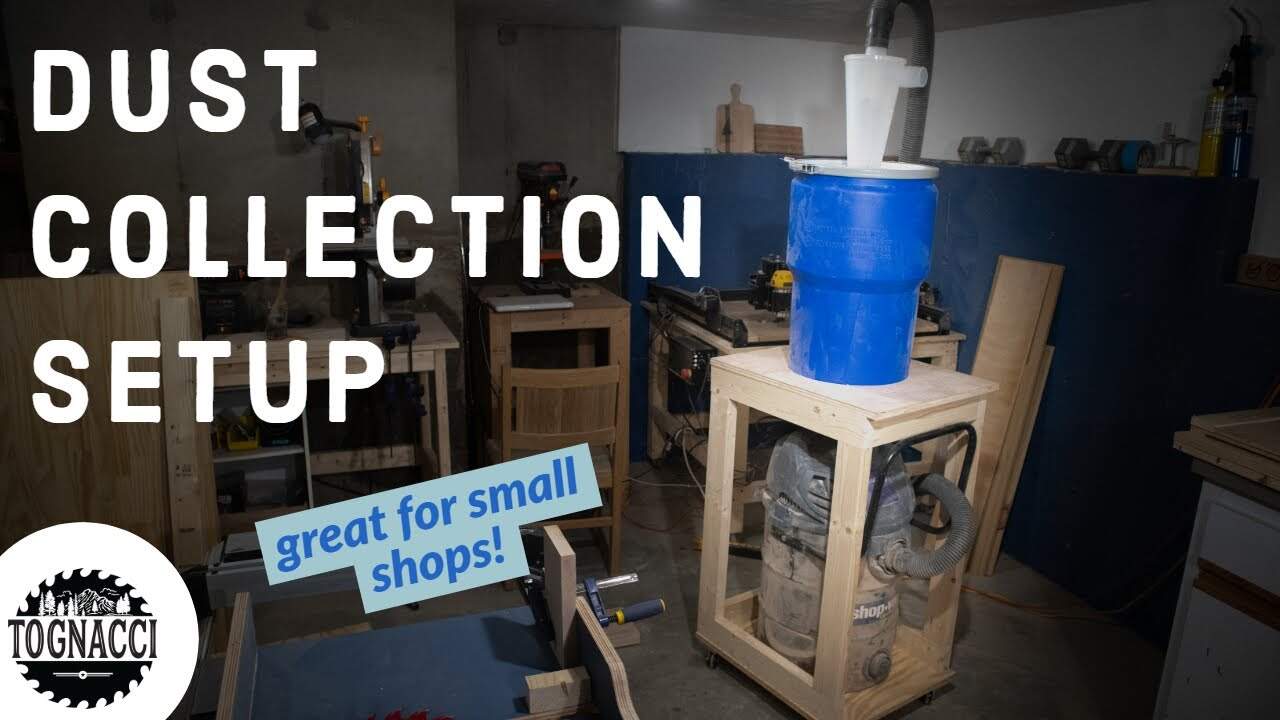
This project was built and designed by Tim from Casual Builds. It features a compact, mobile dust collection system using a Dust Deputy cyclone paired with a shop vac, all mounted on a custom storage cart for added efficiency.
Ideal for smaller workshops, this project helps improve suction, reduce filter changes, and streamline shop cleanup. The design is beginner-friendly and shows how thoughtful layout and joinery can make a big impact.
Watch the full video and subscribe to Tim’s channel:
What Is the Dust Deputy Cyclone?
The Dust Deputy is a cyclone-style dust separator that captures sawdust and debris before it reaches your shop vac. This helps preserve vacuum suction and extends the life of your filters.
Tim starts by assembling the Dust Deputy unit using the included kit. The process begins by marking the screw holes and centerline on the lid, then cutting out the necessary opening for the cyclone to fit in place.
A key tip during this step is not to overtighten the screws. Doing so can warp the lid and reduce the cyclone’s performance. Once secured, the system is ready to be connected to the shop vac using standard hose fittings.
Designing the Mobile Cart
With the cyclone in place, Tim turns his focus to the mobile cart that will house both the shop vac and cyclone bucket. The goal is to keep the footprint compact while allowing easy access for cleaning and movement.
He uses a piece of plywood as a template to visualize the layout. This approach helps determine the dimensions needed for the frame and where to position each component for balance and convenience.
Cutting and Prepping the Wood
The build begins by flattening and cutting the wood for the cart. A jointer is used to square one face, which makes it easier to get accurate cuts on the table saw later.
A planer is used next to bring each piece to consistent thickness. These steps may feel like overkill for a shop cart, but they ensure a better overall fit and sturdier final assembly.
Building the Frame and Stretchers
Tim builds two identical frame sections and connects them using horizontal stretchers. Pocket holes are used for the joinery, offering a strong connection with simple technique.
Each stretcher is measured, marked, and cut to final length. After drilling the pocket holes, Tim assembles the frame with screws, making sure everything stays square and flush.
Installing the Plywood Base
The base is made from a single sheet of plywood cut to size. It acts as a platform for both the shop vac and cyclone bucket. Before attaching it, Tim drills pilot holes to prevent splitting when the screws go in.
He also installs spacer blocks at each corner where casters will be mounted. These small additions make the cart mobile, allowing it to move freely around the workshop without tipping.
Creating the Cyclone Mount
To house the cyclone securely, Tim cuts a circular hole in the cart’s top panel. This hole allows the bucket and cyclone to sit inside the cart rather than on top of it, lowering the center of gravity.
This design reduces the unit’s overall height and helps keep it from tipping when pulled across the shop floor. It’s a smart adjustment that also looks more streamlined and intentional.
Adding a Hinge for Accessibility
To make cleaning easier, Tim adds a hinge to the top platform. This allows it to lift up for direct access to the shop vac without having to disconnect hoses or remove the entire setup.
This step is especially useful for tight spaces or when the vacuum needs to be emptied often. The hinge makes everything more accessible without sacrificing stability.
Finishing and Function
Once the top is in place and the components are secured, the cart is fully functional. The Dust Deputy captures nearly all the dust before it hits the shop vac, helping maintain consistent suction.
The mobile base keeps everything together and off the floor, reducing clutter in the workspace. It’s a great example of how basic materials and joinery can lead to a huge quality-of-life upgrade in the shop.
A Useful Project for Any Workshop
Tim’s approach makes this project approachable for anyone looking to improve their dust collection setup. With a few sheets of plywood, common tools, and some careful planning, it’s possible to build a system that’s effective and easy to maintain.
This setup is especially valuable for beginner woodworkers working in garage shops or tight spaces. It keeps tools accessible and the work area clean without requiring expensive or oversized equipment.
Please support Tim by visiting his website: https://www.casualbuilds.com/.

Matt’s Take
These are my personal thoughts and tips based on my own experience in the shop. This section is not written, reviewed, or endorsed by the original creator of this project.
I’ve been running a Dust Deputy in my shop for years now, and I can’t overstate how much of a game-changer these cyclone separators are. The difference in suction power is immediately noticeable — your shop vac doesn’t have to work nearly as hard when it’s not constantly clogging filters with fine dust. Plus, you’ll go from changing filters every few projects to maybe once or twice a year.
Tim’s mobile cart design really nails the practical side of things. Having everything on casters makes a huge difference when you’re working on different projects around the shop. That hinged top is brilliant too — being able to flip it up for quick access to the shop vac saves so much time during cleanup. I particularly like how he recessed the cyclone bucket into the cart rather than mounting it on top, which keeps the whole unit more stable and less likely to tip over rough shop floors.
One thing worth mentioning about the Dust Deputy setup is getting your hose routing right. The shortest, straightest path between your tools and the cyclone will give you the best suction. Also, make sure to ground everything properly if you’re dealing with fine dust — static buildup can be a real issue with plastic components. A simple grounding wire between metal parts will handle that.