This project was built and designed by Tim from Casual Builds. It’s a simple yet effective mortising jig that helps woodworkers cut precise hinge recesses using basic tools and leftover materials.
The jig is adjustable, sturdy, and easy to make—making it a smart addition to any shop. Whether you’re upgrading a door or building one from scratch, this project makes sure your hinges fit cleanly and function smoothly.
Watch the full video and subscribe to Tim’s channel:
Why a Mortising Jig is Worth Making
Installing door hinges by hand can be tedious and error-prone. Even a small misalignment can cause a door to bind or sag over time.
Tim’s jig allows you to make accurate and repeatable hinge mortises with a router. It speeds up the job and eliminates guesswork, especially when you’re replacing old doors or working on multiple installs.
Materials and Hardware
This project is built mostly from scrap plywood, which makes it affordable and accessible. The base, template, and support pieces are all cut from common offcuts.
Hardware like bolts, washers, and knobs can be picked up from any home center. These allow the jig to adjust slightly left and right, giving it flexibility without sacrificing precision.
Making the Hinge Template
The jig starts with a template that matches the size and shape of your door hinge. Tim outlines the hinge directly onto a piece of plywood and cuts the shape out using either a CNC machine or a jigsaw.
While a CNC offers dead-on accuracy, the jigsaw method works perfectly well with a steady hand and some patience. A bit of sanding around the inside edges helps create a smooth path for the router to follow.
Cutting the Jig Base
Next, Tim builds the base that supports the jig during use. This part holds the template flush against the door and keeps the router steady as it follows the pattern.
The base is wide enough to clamp easily and strong enough to resist flex during routing. Using thicker plywood or laminating two sheets together can help improve stiffness.
Adding Adjustability
One clever feature of this jig is its ability to slide slightly back and forth. This helps fine-tune the placement of the hinge mortise, especially helpful when dealing with older door frames or inconsistent layouts.
To make this possible, Tim drills holes in the base and template to accept bolts with washers and wingnuts. These act as sliding guides, letting the template move as needed before locking it in place.
Jig Assembly
To assemble the jig, Tim temporarily holds everything together with double-sided tape. This keeps the parts aligned while he drills the hardware holes.
Once bolted together, the jig can be clamped directly to the door. The assembly process is straightforward, but small tweaks—like adding a shim to raise the router—may be needed depending on your bit and material thickness.
Routing the Mortises
With the jig secured and adjusted, it’s time to make the cuts. Tim uses a router with a flush trim bit, which follows the interior edges of the template and removes material only where needed.
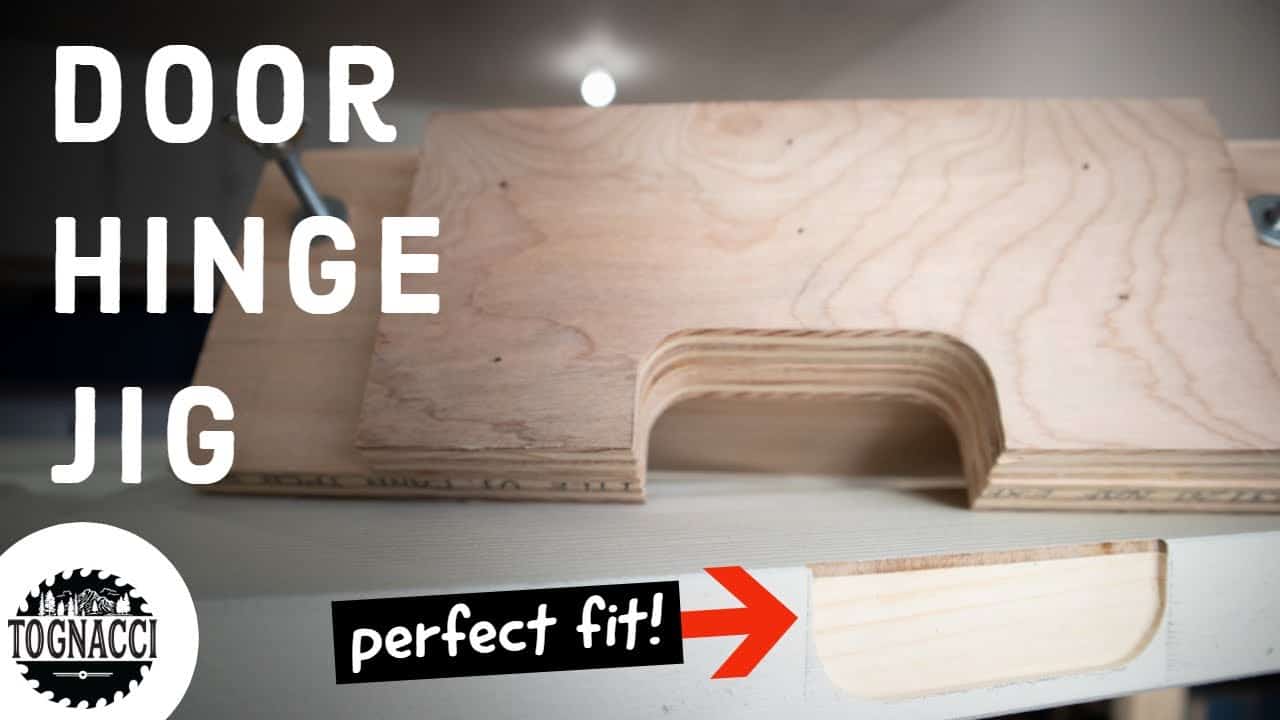
This results in a clean, consistent recess that matches the hinge perfectly. As always, moving the router slowly and keeping a steady grip helps produce smoother results.
Testing and Adjusting
After routing, Tim places the hinge into the recess to check the fit. If it’s too tight or shallow, the jig can be quickly adjusted for a second pass.
This ability to tweak the layout without remaking the jig is what makes it so versatile. It’s a tool you can reuse again and again for different doors, hinges, or even cabinet projects.
A Practical Shop Upgrade
This jig is a great example of a project that pays for itself in saved time and frustration. It’s built from scraps, uses simple tools, and solves a common challenge in door installations.
Tim’s build emphasizes customization—whether it’s hinge size, material thickness, or router depth, the jig can be tailored to suit your exact needs. Once built, you’ll likely find yourself using it for years to come.
Please support Tim by visiting his website: https://www.casualbuilds.com/.

Matt’s Take
These are my personal thoughts and tips based on my own experience in the shop. This section is not written, reviewed, or endorsed by the original creator of this project.
This type of jig is a perfect example of how a simple shop-made tool can transform a frustrating task into something straightforward. Routing hinge mortises freehand is asking for trouble—even experienced woodworkers can end up with wonky results that throw off the entire door installation. Having that template to follow makes all the difference.
One thing I really appreciate about this design is the adjustability built into it. Door work often involves dealing with existing frames that aren’t perfectly square or consistent, so being able to nudge the template position slightly can save you from having to remake the whole jig. When you’re routing, take your time with multiple shallow passes rather than trying to hog out all the material at once. Your router will thank you, and you’ll get cleaner edges.
The beauty of building this from scrap plywood is that you’re not out much if you need to modify it for different hinge sizes or door thicknesses. I’d suggest making the base a bit oversized if you have the material—extra clamping surface never hurts when you’re trying to keep everything rock-solid during routing. And don’t forget to check your router bit depth on some test material first. Nothing worse than routing too deep and having to start over with a new door.