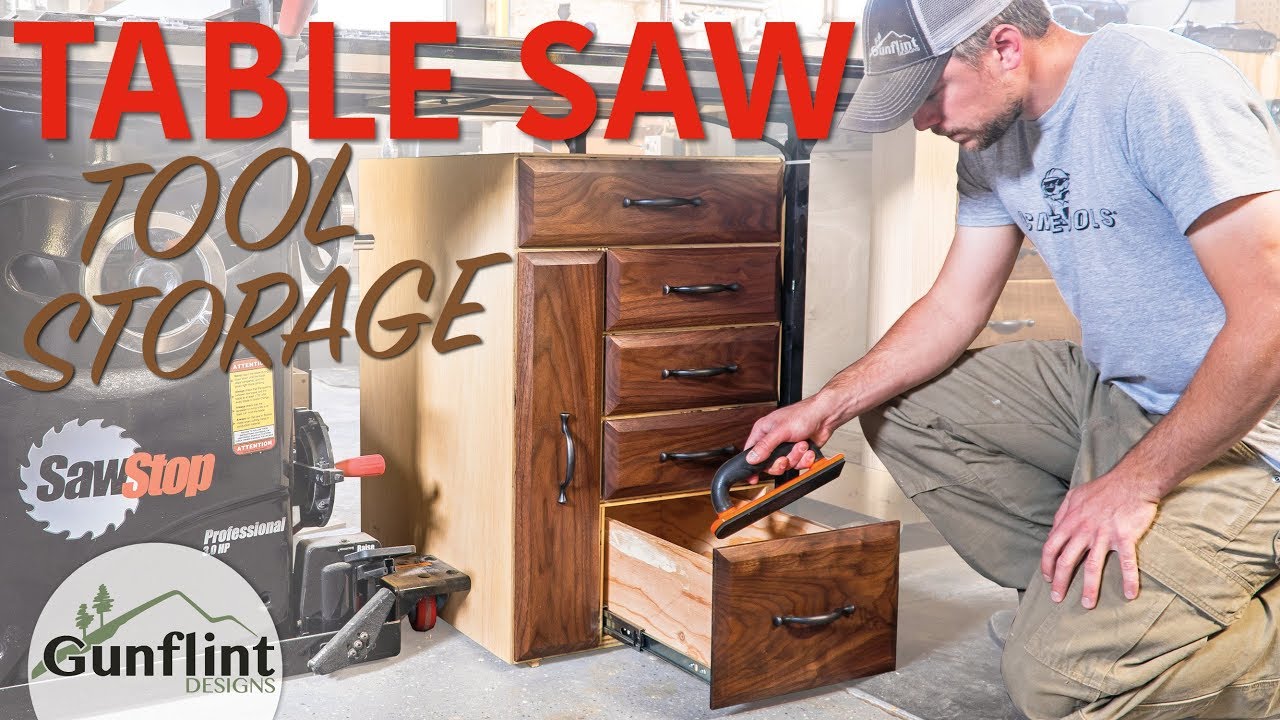
This project was built and designed by Mark from Gunflint Designs. It’s a custom tool storage cabinet built to fit snugly beneath the extension wing of a table saw, making use of dead space while adding functional drawer storage to any shop.
Mark’s build focuses on maximizing efficiency, experimenting with joinery, and solving real-world workshop problems—making it a useful project for both new and experienced woodworkers.
Watch the full video and subscribe to Mark’s channel:
The Value of Smart Shop Storage
A cluttered workspace slows down productivity and adds frustration to even the simplest tasks. Mark recognized this and set out to build a cabinet that would not only declutter his shop but also give him quick access to frequently used tools.
Over the last year, he’s tackled several cabinet designs, each one slightly different in layout and construction. These small builds offer woodworkers a great way to try new techniques without committing to a large project.
A Common Measuring Mistake
No matter how careful you are, mistakes happen. Early in the build, Mark discovered his side panels were two inches too short—an error traced back to the cut list.
Instead of starting over, he extended the panels using a cutoff piece and pocket hole screws. This solution was both functional and efficient, serving as a great example of how creative thinking can salvage a woodworking misstep.
Using a Dado Stack for Joinery
This project also marked the first time Mark used a dado stack, a tool that makes clean, wide grooves for stronger joints. The dado cuts helped him create interlocking joinery for the cabinet structure and drawer components.
Having a table saw that accepts dado blades was a priority when Mark selected his saw, and he encourages others to consider this capability if they plan to expand into more advanced joinery techniques.
Assembling the Cabinet Frame
After resolving the measurement issue, Mark moved on to assembling the main structure. Each panel was dadoed and fitted together to form a tight, box-like shape.
Slightly bowed plywood can be a challenge, but clamps were used throughout the build to maintain squareness and alignment. This simple step helped create cleaner joints and reduced the chance of future warping.
Drawer Construction and Fit
Drawer layout is one of the trickier parts of any cabinet build, but Mark approached it with precision. He measured the actual internal spaces—rather than relying solely on plans—to account for plywood thickness and drawer slide clearance.
Grooves were cut into the drawer parts using the dado stack, allowing the bottoms to slide in and be locked in place during glue-up. This method saves time, ensures consistency, and avoids the need for additional fasteners.
Stylish Walnut Drawer Fronts
For the drawer fronts, Mark selected a beautiful black walnut board that added visual contrast to the cabinet’s body. He shaped the edges with a bevel-cutting jig, which made quick work of the angled cuts while keeping everything safe and controlled.
Once the profiles were cut, he drilled clean holes for the handles and finished the walnut with a fast-drying polyurethane. This sealed the wood and highlighted the grain without slowing down the project timeline.
Installing Drawer Slides with Precision
Slide installation is one of those tasks where a small mistake can cause big headaches. Mark shared a helpful method for keeping everything level—using wooden spacers between each drawer to maintain even spacing and height.
The slides were installed smoothly, and all drawers moved freely with no rubbing or binding. This approach can be easily replicated in other projects and is a great habit to develop early on.
Final Assembly and Placement
With the drawers and cabinet complete, the unit was placed directly beneath the table saw’s extension wing. This space is often wasted in many shops, but Mark’s design turned it into a smart storage zone for tools, blades, and accessories.
Rather than putting the cabinet on wheels, he kept it stationary to gain extra vertical clearance for deeper drawers. The result is more storage without compromising the footprint of the saw.
A Functional Upgrade for Any Shop
This table saw cabinet adds real functionality and style to a workspace. It combines durable construction with clean design, making it a solid upgrade that doesn’t require a lot of material or complex tools.
Mark’s attention to detail—from drawer spacing to joinery and finishing—makes this build stand out. It’s a great way to test your skills while producing something that improves your everyday workflow.
Watch the full video and subscribe to Mark’s channel:
(Embed YouTube video here)
You can see all of Mark’s plans here: https://www.gunflintdesigns.com/project-plans.

Matt’s Take
These are my personal thoughts and tips based on my own experience in the shop. This section is not written, reviewed, or endorsed by the original creator of this project.
This type of cabinet build is a perfect example of making dead space work harder in the shop. That area under a table saw extension wing collects dust and maybe a few forgotten offcuts, but turning it into organized storage is a game-changer. The key is getting the measurements right the first time – something that’s easier said than done when you’re working around existing equipment.
Dado stacks really shine on projects like this where you need consistent, clean grooves for both the cabinet joinery and drawer construction. If you’re considering adding one to your arsenal, make sure your table saw can handle the wider blade stack and has enough power to cut through thicker material cleanly. The investment pays off quickly when you see how much stronger those dado joints are compared to simple butt joints.
The walnut drawer fronts add a nice touch that elevates the whole piece beyond basic shop storage. When you’re building something that’ll be visible in your workspace every day, those finishing details matter. A simple bevel and good hardware can transform utilitarian storage into something you’re actually proud to show off.
One thing I really appreciate about this approach is keeping the cabinet stationary rather than adding wheels. Sure, mobility has its place, but when you’re dealing with the tight clearances under a table saw, every inch of height matters. Sometimes the best solution is the simplest one.