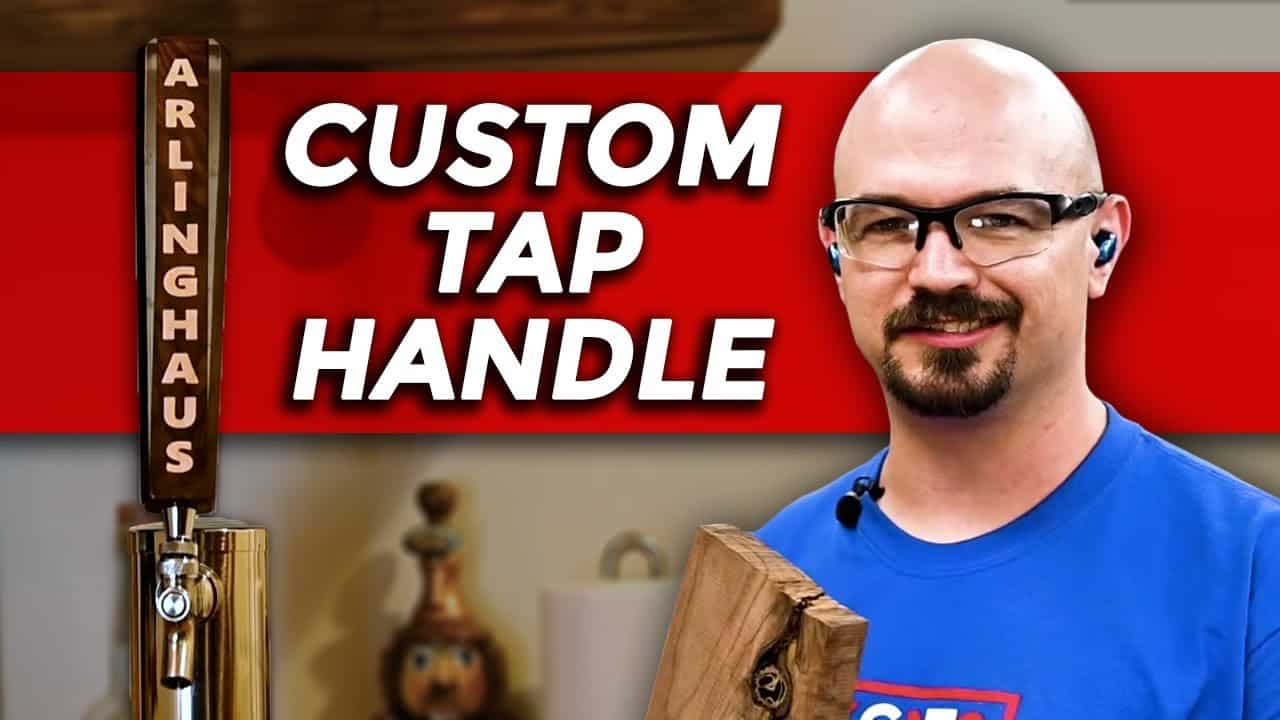
This project was built and designed by Caleb from YouCanMakeThisToo. It’s a personalized tap handle made from walnut and epoxy, featuring a CNC-carved inlay—perfect for home bars or as a unique handmade gift.
Caleb walks through the full process, from stabilizing imperfect wood to adding personal engraving. The result is a high-end look achieved with a manageable set of tools and techniques.
Watch the full video and subscribe to Caleb’s channel:
Choosing and Preparing the Wood
The project begins with a block of walnut—known for its rich grain and durability. Caleb selects a piece that has a few imperfections, which adds character but also requires reinforcement.
To stabilize the wood before casting, he applies penetrating epoxy. This hardens any soft spots, reduces the risk of air bubbles, and helps the wood hold up through later machining.
Cleaning Up for a Solid Start
Once stabilized, the walnut is squared up using a saw to clean the edges. Ensuring clean sides helps with both appearance and adhesion when casting the epoxy.
This prep step may seem basic, but it’s essential for creating a seamless bond between the wood and epoxy and for achieving clean lines in the final handle.
The Epoxy Casting Process
With the wood prepped, Caleb moves on to epoxy work. He pours penetrating epoxy over the walnut to let it soak into the grain and fill cracks. This first layer sets the stage for a stronger final cast.
To prevent floating during the pour, the walnut is secured in a mold using hot glue. Caleb takes care to use materials compatible with epoxy, making it easier to demold later without damage.
Solving Problems with Air Bubbles
Like many epoxy projects, this one isn’t without challenges. Caleb runs into air bubbles during his first pour, which can ruin clarity and weaken the casting.
To fix this, he shifts to pouring in layers—a method called lift pouring. Each thin layer is allowed to cure before the next is added, dramatically reducing trapped air and improving the finish.
Creating the Mold and Setting the Shape
A simple rectangular mold is used to cast the wood and epoxy into the desired form. Caleb’s goal is a smooth, functional handle that fits well in the hand and looks professional on any tap system.
The mold design includes small considerations like depth, clearance, and easy-release materials. Taking the time here helps avoid problems during demolding and shaping.
Shaping the Handle
Once cured, the epoxy and wood blank is removed and trimmed to final dimensions using the table saw. Caleb keeps the shape clean and ergonomic, adding a slight taper for better grip and aesthetics.
Small adjustments are made to ensure symmetry and balance. At this stage, the block begins to look like a finished tap handle, even before sanding and detailing.
Personalizing with a CNC V-Carve Inlay
To make the gift even more meaningful, Caleb adds a v-carve inlay with his friend’s name using a CNC machine. This type of detail gives the handle a custom feel and helps it stand out from mass-produced options.
The carved letters are later filled with epoxy to create a color contrast against the walnut. This process not only adds visual appeal but also seals and protects the engraving.
Sanding and Finishing
With the carving done, the handle is sanded through multiple grits for a smooth, glass-like surface. Caleb takes time to carefully round over edges and refine every face.
A high-gloss finish is applied to bring out the walnut’s natural beauty and to protect the handle from moisture and wear. The choice of finish complements both the wood and the clear epoxy.
Installing the Hardware
To make the tap handle functional, a threaded insert is installed at the base. This allows it to screw onto any standard tap system and ensures that the handle can be swapped out or replaced with ease.
Caleb drills the hole carefully and test fits the hardware before final assembly. Once it’s all together, the handle is not only decorative—it’s ready to use.
A Functional and Personal Gift
The final product is a striking combination of woodworking and epoxy artistry. It’s durable, ergonomic, and personal—everything you’d want in a handmade gift or home bar accessory.
Caleb’s process is a great example of how to handle imperfections, incorporate CNC details, and finish with precision. The lessons learned from mistakes and the creative adjustments along the way make this build even more valuable.
Please support Caleb by visiting his website: https://www.ycmt2.com/.

Matt’s Take
These are my personal thoughts and tips based on my own experience in the shop. This section is not written, reviewed, or endorsed by the original creator of this project.
Epoxy and wood projects like this tap handle really showcase how modern materials can enhance traditional woodworking. The penetrating epoxy approach Caleb uses is smart—it’s like insurance against future cracking or splitting, especially important for something that’ll see regular handling. When working with epoxy, temperature control in your shop makes a huge difference in working time and bubble formation.
That layered pouring technique is a game-changer for avoiding bubbles. I’ve found that even with a pressure pot, sometimes the simple approach of thin layers works better than trying to do everything in one pour. The key is patience—each layer needs to reach that tacky stage before the next goes on. A heat gun can help release surface bubbles, but keep it moving to avoid overheating the epoxy.
The CNC v-carve detail really elevates this from a basic turning project to something special. If you don’t have CNC access, a simple router with a v-bit can achieve similar results for lettering, though it takes more setup time. Either way, test your depth settings on scrap first—it’s easy to go too deep and hard to fix afterward.
For the threaded insert, pre-drilling is crucial. Those inserts can split even stable wood if you’re not careful, and with all the work that goes into a project like this, you don’t want to risk it at the final step.