This project was built and designed by Anthony from Wood Pack DIY, with shop support from his loyal assistant, Bob Barker. It’s a thoughtfully crafted stand designed to display a Japanese samurai helmet that’s been in Anthony’s family for decades.
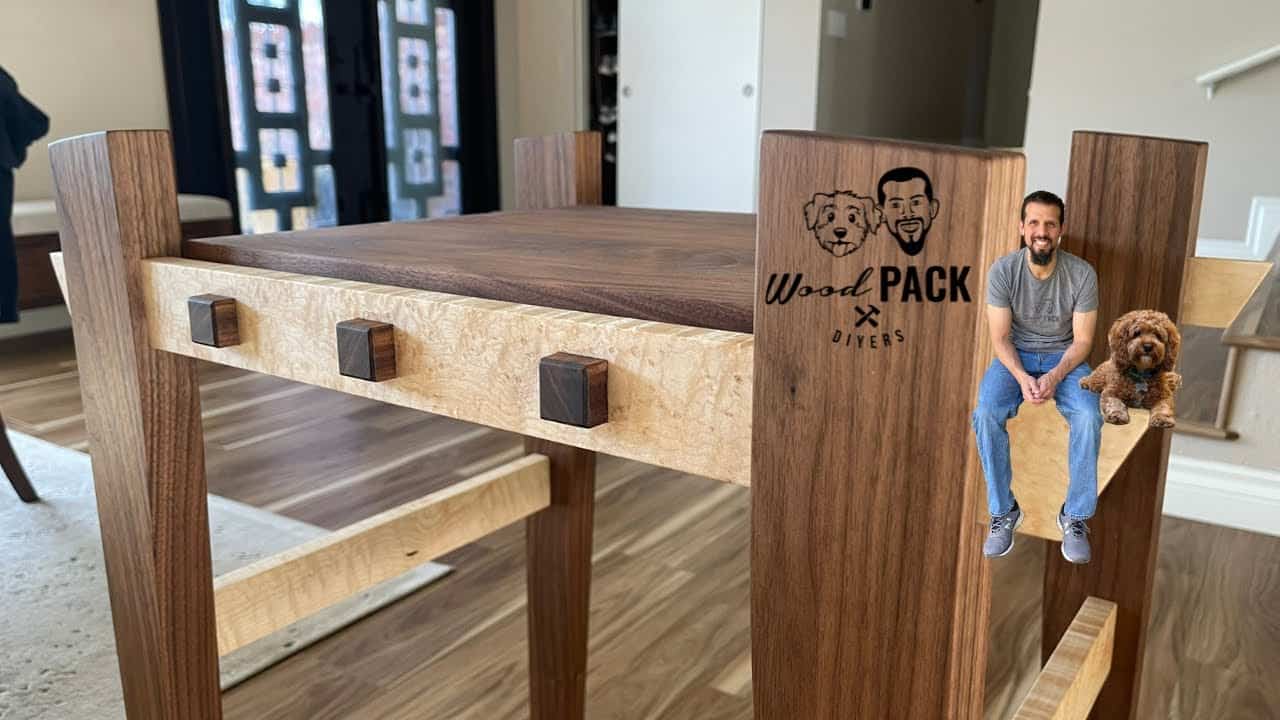
Blending traditional joinery with refined shaping, this project showcases the beauty of walnut and bird’s eye maple in a piece that feels authentic to the artifact it supports. It’s part furniture, part sculpture—and all heart.
Watch the full video and subscribe to Anthony’s channel:
Designing a Meaningful Display
The build started with a conversation about how to honor the helmet’s history. Instead of a simple base, Anthony designed a display that echoed traditional Japanese aesthetics while standing out as a woodworking piece on its own.
He selected walnut for its rich tone and bird’s eye maple for contrast. The combination feels balanced and respectful—highlighting the helmet without distracting from it.
Milling and Material Prep
Anthony began by milling down 8/4 walnut, pushing his equipment to the edge of its capacity. The material was thick and heavy, requiring careful handling and repeated passes to reach uniform dimensions.
Once milled, he cut the legs to rough size. These would eventually receive mortises, so starting with square and stable pieces made layout and chiseling easier later on.
Bob Barker kept a watchful eye from the corner of the shop, offering moral support and the occasional bark of approval.
Mortise and Tenon Joinery by Hand
This project was Anthony’s first time tackling hand-cut mortise and tenon joints—a bold move that paid off. He started by laying out the mortises on each leg and carefully chiseling them out, using a guide block to keep the cuts straight and true.
The tenons were then roughed out with a table saw after discovering that the hand saw wasn’t practical for the thick walnut. Each tenon was tested and adjusted until the fit was just right.
These through tenons would eventually become visual elements in the design, so their clean fit and tight shoulders mattered even more than usual.
Building the Apron and Cross Supports
With the leg joinery complete, Anthony moved on to the apron pieces, which added rigidity and style. These pieces were also mortised and connected to the legs using traditional techniques.
Cross supports were then added between the legs. Made from walnut, they were designed to contrast against the maple base and reinforce the visual theme. More hand joinery practice here helped develop consistency and confidence.
Tapering and Shaping the Frame
To give the stand a lighter, more elegant look, Anthony used a tapering jig to angle the legs. This detail, along with matching shaping on the apron, helped the frame feel intentional and refined.
Edges were eased with a small roundover, while a 45-degree chamfer on the tenon ends added both visual interest and a clean finish. These small touches pulled the piece together visually and made it more comfortable to handle.
Creating the Top Platform
For the top platform, Anthony opted not to use another heavy slab of walnut. Instead, he used a lighter scrap board and joined it with dominoes for alignment and strength.
Although he initially planned to include a plexiglass enclosure groove, that idea was set aside in favor of keeping the platform open and simple. This allowed the helmet to be the visual focal point, as originally intended.
Final Assembly and Finish
Assembly was straightforward but required attention to squareness. The tenons were glued into place, and clamps were applied to bring the structure together evenly.
Once dry, the stand was sanded and prepared for finishing. Anthony used Rubio Monocoat—two coats for the walnut and one for the maple—to bring out the grain and offer protection.
The contrast between woods and the subtle glow of the oil finish made the piece feel both modern and timeless.
A Personal and Purposeful Project
This wasn’t just a woodworking build—it was a chance to create something deeply personal. Anthony’s thoughtful design choices, combined with his growing hand joinery skills, led to a piece that not only supports a cherished heirloom but also reflects the respect it deserves.
Even Bob Barker seemed impressed when the stand was finally placed in its new home—silent approval from the most honest of shop assistants.
For Woodworkers at Any Level
What makes this project stand out isn’t just the final product—it’s the journey. From experimenting with hand tools to making design changes along the way, Anthony shows how woodworking is as much about adaptation as execution.
Whether you’re exploring traditional joinery or simply want to build a display for something meaningful, this project is a great example of blending heritage, skill, and creativity.
Please support Anthony (and Bob Barker) by visiting their website (he sells awesome plans): https://www.woodpackdiy.com/.

Matt’s Take
These are my personal thoughts and tips based on my own experience in the shop. This section is not written, reviewed, or endorsed by the original creator of this project.
Working with thick, heavy stock like 8/4 walnut can really push your planer to its limits. When you’re dealing with material this substantial, taking lighter passes and letting your machine rest between cuts helps prevent overheating and ensures cleaner results. The extra time spent on careful milling pays off in every joint that follows.
Hand-cut mortise and tenon joints are intimidating at first, but they’re incredibly rewarding once you get the rhythm down. Starting with a sharp chisel and taking your time with the layout makes all the difference. When you’re cutting through tenons that’ll be visible in the final piece, those clean shoulders and tight fits become both structural and decorative elements—double the reason to get them right.
The wood pairing here really works. Walnut and bird’s eye maple have enough contrast to define the structure without competing with each other. When you’re building a display piece, especially for something with cultural significance, restraint in your material choices often speaks louder than flashy combinations. Sometimes the best woodworking supports the story rather than stealing the spotlight.
Rubio Monocoat is a solid choice for a piece like this. It brings out the grain character without building up a thick film that might look out of place on traditional joinery. Plus, when you’re displaying family heirlooms, having a finish that’s easy to maintain and repair over time makes practical sense.