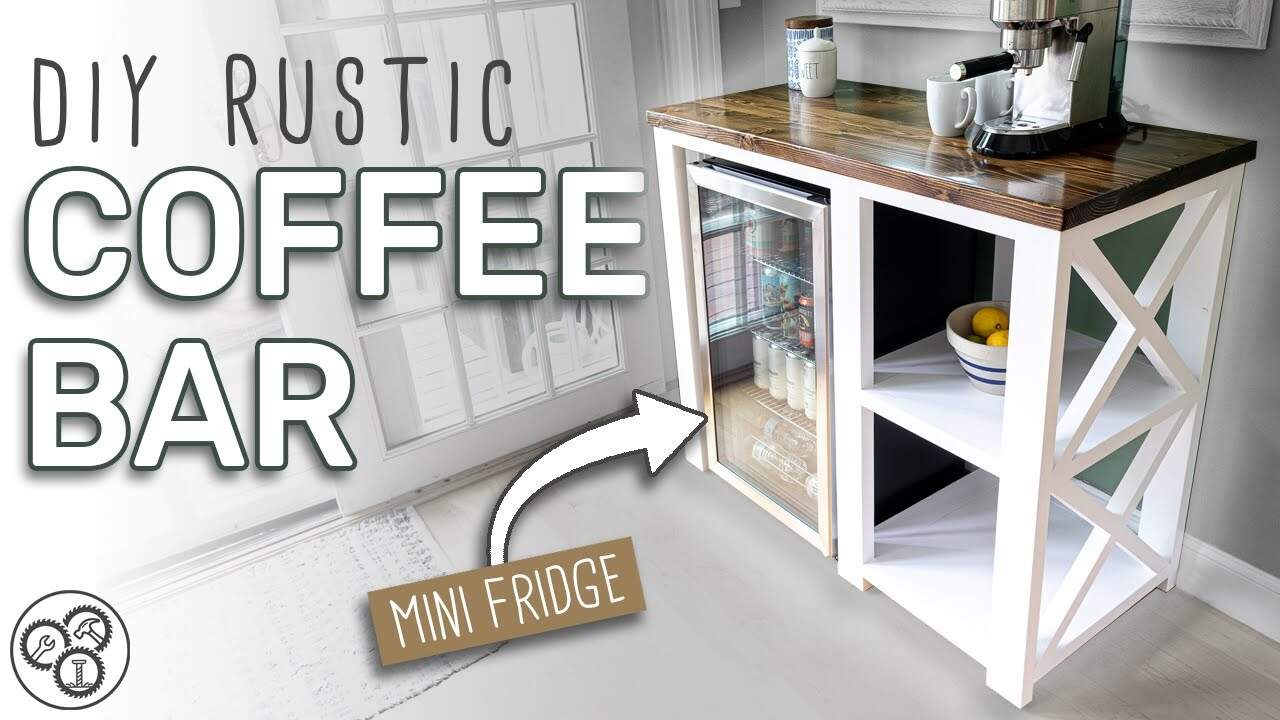
This project was built and designed by Tim from Casual Builds. It’s a practical and stylish piece of furniture that functions as both a coffee bar and a table for a mini fridge, making it a great fit for kitchens, apartments, or entertainment areas.
Designed with beginner woodworkers in mind, this project uses affordable materials and standard tools. It’s a rewarding build that’s approachable for newcomers but detailed enough to keep more experienced makers engaged.
Watch the full video and subscribe to Tim’s channel:
A Functional Idea with Stylish Inspiration
The project idea came from a message Tim received from a friend looking for a useful build. Inspired by a piece originally designed by Tyler from RawlingsWoodworks, Tim put together his own version—maintaining the function and charm while adapting it to fit his style.
The build is primarily made from 2×4 and 2×6 lumber, all readily available at any big box store. With a few careful cuts and clean finishing work, the result is a coffee bar that looks far more expensive than it actually costs to make.
Getting Started with Tools and Planning
Tim begins by discussing the importance of planning out your cuts and build sequence. While he uses tools like a jointer and planer for a more polished finish, he emphasizes that those are optional.
For most beginners, a circular saw, drill, and pocket hole jig are more than enough to complete this project. The design is straightforward, with repeatable cuts and forgiving joinery methods that help keep the build accessible.
Prepping and Milling the Lumber
The first step is breaking down the 2x4s and 2x6s to rough size. Tim mills each board to remove the rounded edges, square up the sides, and get consistent dimensions for easier assembly.
If you don’t have a jointer or planer, you can skip this step and use store-bought lumber as-is. Just make sure to account for the rounded edges when joining pieces together, as it can affect fit and screw placement.
Building the Base Frame
With the boards prepped, Tim assembles the base upside down on his workbench. This method helps keep everything square and flush during the build process.
The legs and stretchers are joined using pocket hole screws and wood glue. Clamps are used liberally to keep everything aligned, especially during the glue-up. Tim makes sure to mention that if you leave the edges rounded, you may need longer screws for secure joints.
Adding Decorative Cross Supports
To elevate the design, X-shaped supports are added to the ends of the table base. These require accurate angle cuts, which Tim marks and fits by hand before securing them with glue and brad nails.
This step adds a visual focal point to the piece without compromising its simplicity. It also ties in nicely with modern farmhouse and rustic decor styles, making the finished piece more appealing to a wider range of users.
Constructing and Installing the Shelves
The shelves are made from cut-to-size plywood and attached with pocket holes on the underside. Tim measures the openings carefully and dry fits each shelf before securing them in place.
This section provides additional storage and structural support while keeping the design light and open. The shelves are flush-mounted, giving the base a clean, built-in appearance.
Building and Gluing Up the Top
The tabletop consists of two long boards edge-glued together. Tim flattens the faces, trims to final length, and uses a biscuit joiner to help align the boards during glue-up.
Once the glue has dried, the top is trimmed and shaped with a router to soften the edges. Tim notes that he ran into some alignment issues during milling but adapted his process along the way—reminding viewers that it’s okay when things don’t go perfectly.
Staining, Painting, and Finishing
Tim applies a wood conditioner first, then follows up with a dark walnut stain to highlight the grain of the tabletop. The stain brings out the texture and gives the piece a rich, inviting tone.
For the base, he uses a white urethane alkyd enamel in a semi-gloss finish. This classic two-tone contrast gives the coffee bar a timeless look and makes the top stand out even more.
Final Assembly and Delivery
To attach the top, Tim uses z-clips, which allow for seasonal wood movement while keeping the top secure. He also adds felt levelers under each leg to protect floors and prevent wobbling.
The final build is both functional and beautiful. Tim delivers it to his friend’s house and notes how satisfying it is to create something useful that will be appreciated daily.
Please support Tim by visiting his website: https://www.casualbuilds.com/.

Matt’s Take
These are my personal thoughts and tips based on my own experience in the shop. This section is not written, reviewed, or endorsed by the original creator of this project.
Tim’s approach to breaking down this project is spot-on for beginners. The beauty of using standard lumber dimensions like 2x4s and 2x6s is that you can walk into any home center and grab what you need without special ordering. If you’re working without a jointer and planer like Tim uses, don’t let that stop you — just pay extra attention to selecting straight, flat boards at the lumber yard. Take your time digging through the pile to find the best pieces.
Those X-shaped supports really do make a difference in the final look. When cutting angles like this, I always recommend making test cuts on scrap first. A miter saw with a stop block will give you consistent results if you’re making multiple pieces. And Tim’s right about using brad nails for these decorative elements — they hold things in place during glue-up without the bulk of pocket screws.
The z-clip attachment method for the top is smart thinking. Solid wood tops will move with seasonal changes, and those clips allow the movement while keeping everything secure. If you’ve never used z-clips before, they’re worth adding to your hardware collection — they’re perfect for tabletops, floating shelves, and similar applications where you need a strong connection that can handle wood movement.