This project was built and designed by Jon Peters from Longview Woodworking.
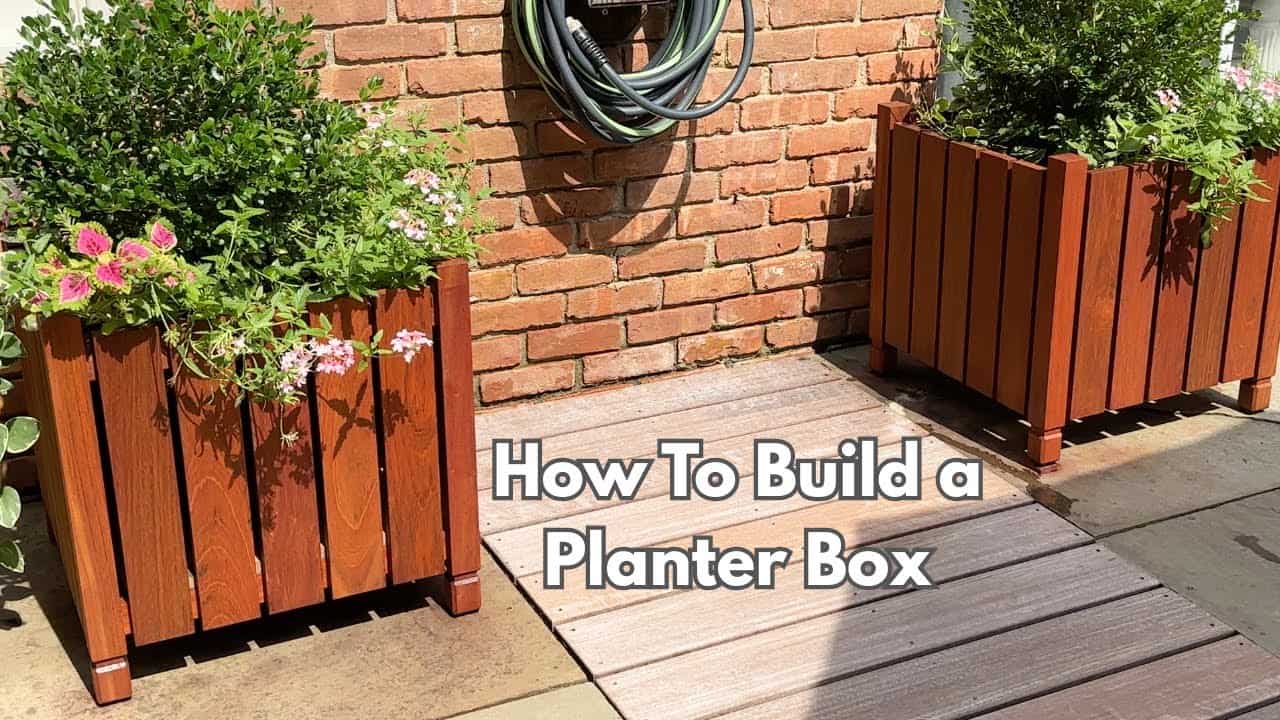
It’s a clean, durable wooden planter box that blends traditional joinery with modern woodworking techniques for long-lasting performance and style.
Jon’s approach emphasizes precision, repeatability, and thoughtful design.
The result is a planter that not only looks great but is built to stand up to years of outdoor use—with clear opportunities for customization based on your own tools, wood choice, and garden space.
Watch the full video and subscribe to Jon’s channel:
Starting with the Legs
The build begins by preparing the planter’s legs from rough lumber. Jon mills each board to a consistent thickness and width, then squares one face for accurate reference during cutting.
To maintain identical lengths, a stop block setup is used at the miter saw.
Each leg also gets subtle bevel details at the bottom, created through angled cuts made with multiple passes. These visual touches are simple but elevate the overall look.
A slight taper at the top adds visual flow and improves the transition between the legs and rails. Jon recommends making test cuts on scrap wood to dial in angles and tool settings before working on your final pieces.
Milling and Joining the Rails
Next, Jon prepares the rails—the horizontal cross pieces that frame out the planter and provide the mounting surfaces for the slats.
These are milled and cut to match the leg spacing, again using a stop block for consistency.
While pocket holes were initially considered, Jon switches to domino joinery due to the wood species: Jatoba, a dense Brazilian hardwood. Because Jatoba can be tough on screws, dominoes offer a cleaner, stronger solution.
To ensure repeatable mortise placement, Jon builds a simple jig that marks all critical joinery locations. This setup avoids errors during assembly and keeps every joint aligned and square.
Slat Spacing and Exterior Assembly
After the frame is assembled, Jon turns to the slats that form the planter’s exterior.
These are milled to consistent thickness, cut to length, and spaced using a combination of top and bottom wooden spacers.
Predrilled holes and countersinks help avoid splitting during assembly. Glue is added at the joints, and clamps hold each slat in place temporarily before screws are driven.
This step calls for patience, especially with dense hardwood, but pays off with clean, even sides.
Jon’s preference for quality tools shows here—his clamps are American-made and strong enough to handle the pressure needed for hardwood joinery. He also notes that dense woods can be hard on drill bits, so care and sharp tools are key.
Adding a Strong, Functional Base
The planter bottom is constructed from white oak, chosen for its outdoor durability. These boards are milled and fitted into the bottom frame to provide a stable base for soil and plants.
One thoughtful detail is the inclusion of a plastic planter liner, which drops inside the wooden box. This liner protects the wood from moisture and soil, extending the lifespan of the entire build.
Jon sizes the base to accommodate the liner perfectly, offering convenience and reducing maintenance.
The base also allows for drainage and airflow, which is critical in any outdoor planter.
Finish and Protection
Once assembled, the entire planter is sanded lightly to remove sharp edges and prep the wood for finish.
Jon uses a Danish teak oil from Total Boat, which enhances the wood’s color and provides outdoor protection.
This finish works especially well on hardwoods like Jatoba, Sapele, or Cedar—bringing out grain while shielding the wood from UV and water damage. It’s easy to apply and helps preserve the planter’s appearance over time.
To keep the legs off the ground, small nylon feet are installed at the bottom of each one.
These allow airflow underneath the planter and help prevent moisture from soaking into the wood from below.
Wood Choice and Joinery Options
While this build uses Jatoba for its strength and color, Jon points out that softer woods like Cedar or Sapele are easier to work with and still durable for outdoor use.
The joinery approach is flexible too.
Domino mortises are ideal for hard woods, but pocket holes are fine for Cedar or Pine, making the project accessible to a wider range of skill levels and tools.
This adaptability allows woodworkers to adjust based on their shop setup and material availability—without sacrificing structural integrity or visual appeal.
Why Make a Planter Like This?
Planter boxes are a great woodworking project because they combine utility and style.
They’re functional for gardening but also serve as standalone decorative pieces on patios, porches, and yards.
Jon’s version stands out thanks to its attention to detail—from the leg bevels to the slat spacing, every part is clean and intentional.
The plastic liner integration also makes this a long-term solution for growing herbs, flowers, or vegetables.
It’s a build that feels both classic and modern, and one that can be replicated or scaled for different spaces and applications.
Get Jon’s plans here: https://jonpeters.com/products/traditional-wooden-planter.

Matt’s Take
These are my personal thoughts and tips based on my own experience in the shop. This section is not written, reviewed, or endorsed by the original creator of this project.
The beauty of a project like this is how it demonstrates that good joinery doesn’t have to be complicated to be effective. Using dominoes for dense hardwood like Jatoba is a smart call—those Brazilian hardwoods can snap screws or strip out pocket holes if you’re not careful. The wood is gorgeous but definitely demands respect. If you’re working with softer species like cedar or pine, pocket screws will serve you just fine and speed up the build considerably.
That plastic liner detail is pure genius for longevity. I’ve seen too many beautiful planters turn into expensive compost bins because moisture got trapped against the wood. The liner creates a barrier while still letting you showcase the craftsmanship on the outside. It’s one of those simple solutions that makes a huge difference in how long your project will actually last outdoors.
The jig approach for consistent mortise placement is spot-on woodworking practice. Taking time to set up jigs and stop blocks might feel slow at first, but it’s what separates clean, professional-looking work from projects that look homemade. Those little details—like the leg bevels and consistent slat spacing—are what make people stop and take notice of good craftsmanship.
If you’re considering this build, remember that hardwood outdoor projects need proper finish maintenance. That Danish oil will need refreshing every year or two depending on your climate, but it’s worth it for the protection and the way it makes the grain pop.