This project was built and designed by Jay Bates. It’s a straightforward, workshop-friendly bar stool that balances clean design with practical construction—an ideal one-day woodworking project.
The stool is built using basic tools and materials, making it approachable for newer woodworkers without sacrificing functionality. With a comfortable seat, strong joinery, and optional upholstery, this is a piece that can fit in nearly any kitchen, bar, or workspace.
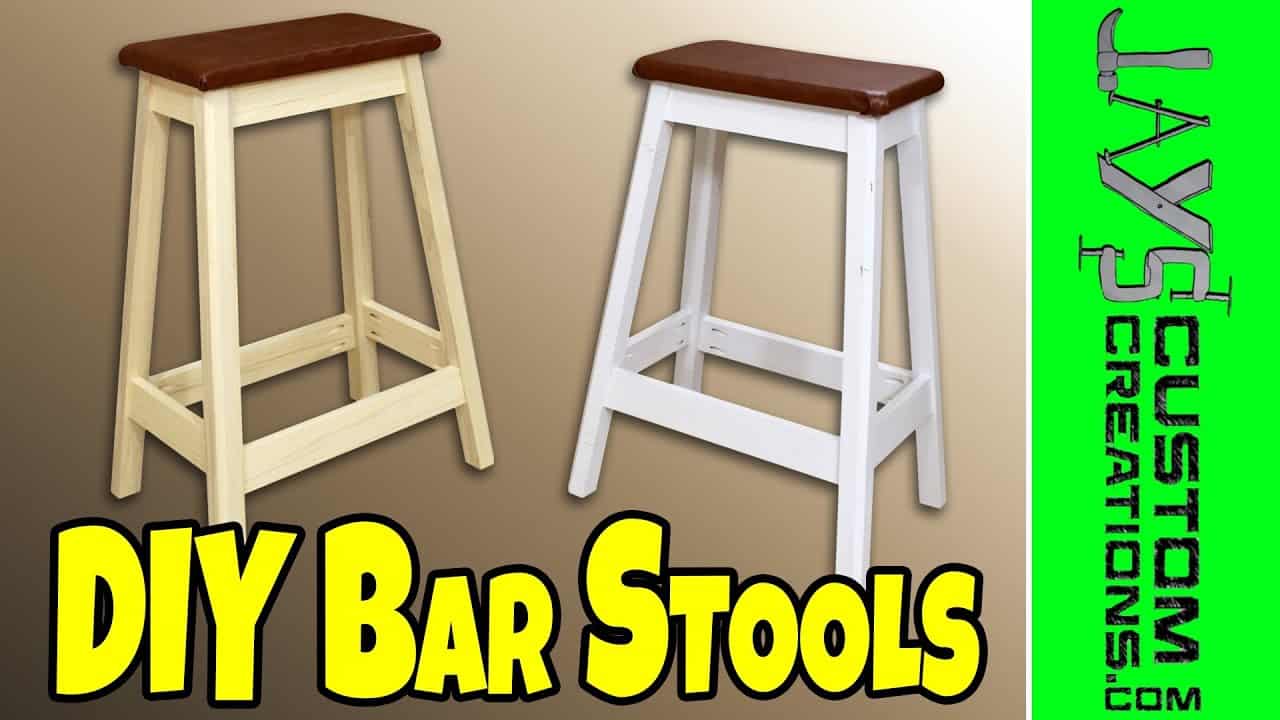
Watch the full video and subscribe to Jay’s channel:
Why a Bar Stool is a Great First Furniture Build
Bar stools are compact, useful, and a great introduction to repeatable joinery. Jay’s design focuses on simplicity, but also includes enough detail to practice angles, edge finishing, and assembly techniques.
This project also offers room for customization—change the fabric, adjust the height, or experiment with finishes. It’s a rewarding build whether you’re furnishing a home bar or just looking for a quick win in the shop.
Materials and Tools Overview
The seat is made from a durable piece of plywood, cut to a comfortable size. The legs and supports are built from square poplar, which offers strength while being easy to mill and cut.
Key tools used in the project include:
- A table saw or miter saw for precise cuts
- A router to soften edges on the seat
- A stapler for upholstering the cushion (if desired)
- Wood glue and screws for secure joinery
- A measuring tape and pencil for layout
These tools are common in most home shops, making this a highly accessible project.
Preparing the Seat
The build begins with the seat, cut from a piece of plywood. Jay shapes it to a square or round profile depending on preference, but focuses on comfort and proportion.
To enhance the appearance and prevent sharp edges, a router is used to apply a round-over to the top and bottom edges. This simple detail gives the seat a more finished, professional feel.
Cutting and Shaping the Legs
The legs are cut from square poplar stock and beveled at the top to match the angle of the seat. This is done by tilting the saw blade and cutting each leg with a compound angle, ensuring all four legs match perfectly.
Jay emphasizes the importance of accurate measuring and consistency. These angled cuts allow the legs to splay slightly for stability and give the stool a lighter, more refined look.
Joining the Frame
With the legs prepared, they are attached to the underside of the seat using wood glue and screws. Jay spaces them evenly and ensures that the orientation and angles match across all four corners.
Rails are then cut to connect each leg, forming the structural support for the stool. These are inset slightly from the outside edges for both appearance and added strength. Screws and glue are used to secure the rails in place, resulting in a sturdy frame.
Upholstering for Comfort
Jay adds a cushioned seat to make the stool more comfortable. A layer of foam is placed on top of the plywood seat and wrapped with durable upholstery fabric.
The fabric is stapled underneath the seat, starting with the corners to create tension and clean folds. Once secured, the padding transforms the stool from a purely functional piece into a more inviting one.
This step is optional, but it gives the project a polished and professional result that’s well-suited for frequent use.
Applying a Finish (or Not)
At the end of the build, Jay discusses finishing options. You can leave the wood natural if you prefer a raw look, or apply a clear coat or stain to protect the surface and bring out the grain.
Because poplar takes stain differently than hardwoods, a test piece is recommended before applying your final coat. A simple satin polyurethane works well to protect both the frame and seat from daily wear.
A Solid, Everyday Piece
This stool checks a lot of boxes—it’s easy to build, practical in use, and customizable to fit a variety of settings. Jay’s method keeps the process simple while delivering a clean, finished result that holds up over time.
It’s also a great project to build in pairs or sets. Once the first stool is complete, you can repeat the process with minor adjustments for height or design.
Please support Jay by purchasing his plans here: Jay’s Custom Creations.

Matt’s Take
These are my personal thoughts and tips based on my own experience in the shop. This section is not written, reviewed, or endorsed by the original creator of this project.
Jay’s approach with the compound angles on the legs is spot-on for this style of stool. That slight splay not only looks great but adds real stability—something you definitely want when people are climbing up to sit. When cutting those beveled tops, I always recommend making test cuts on scrap first. Getting the angle and depth consistent across all four legs can be tricky, and it’s much better to dial it in on waste wood than risk messing up your good stock.
The rail placement is critical for comfort too. Setting them back from the leg edges like Jay does creates a nice footrest and keeps your knees from banging into them. I’ve found that 16-18 inches from the floor works well for most counter-height stools, but it’s worth checking what feels right for your specific setup before committing to the cuts.
Poplar is an excellent choice for painted projects, but if you’re planning to stain, definitely test first like Jay mentions. It can get blotchy, so a pre-stain conditioner is often your friend. And don’t skip that edge routing—it makes such a difference in how the finished piece feels and looks. Those sharp plywood edges can really cheapen an otherwise solid build.