This video was created by Jodee from Inspire Woodcraft. It’s a deep dive into the different types of double-sided tape used in woodworking—and why many woodworkers might be using the wrong one without realizing it.
From improving router templates to reducing tear-out at the table saw, Jodee shares practical advice and clever techniques that can immediately upgrade your workflow. Whether you’re new to woodworking or refining your shop setup, understanding how to use tape correctly can make a big difference.
Watch the full video and subscribe to Jodee’s channel:
Why Double-Sided Tape Matters in Woodworking
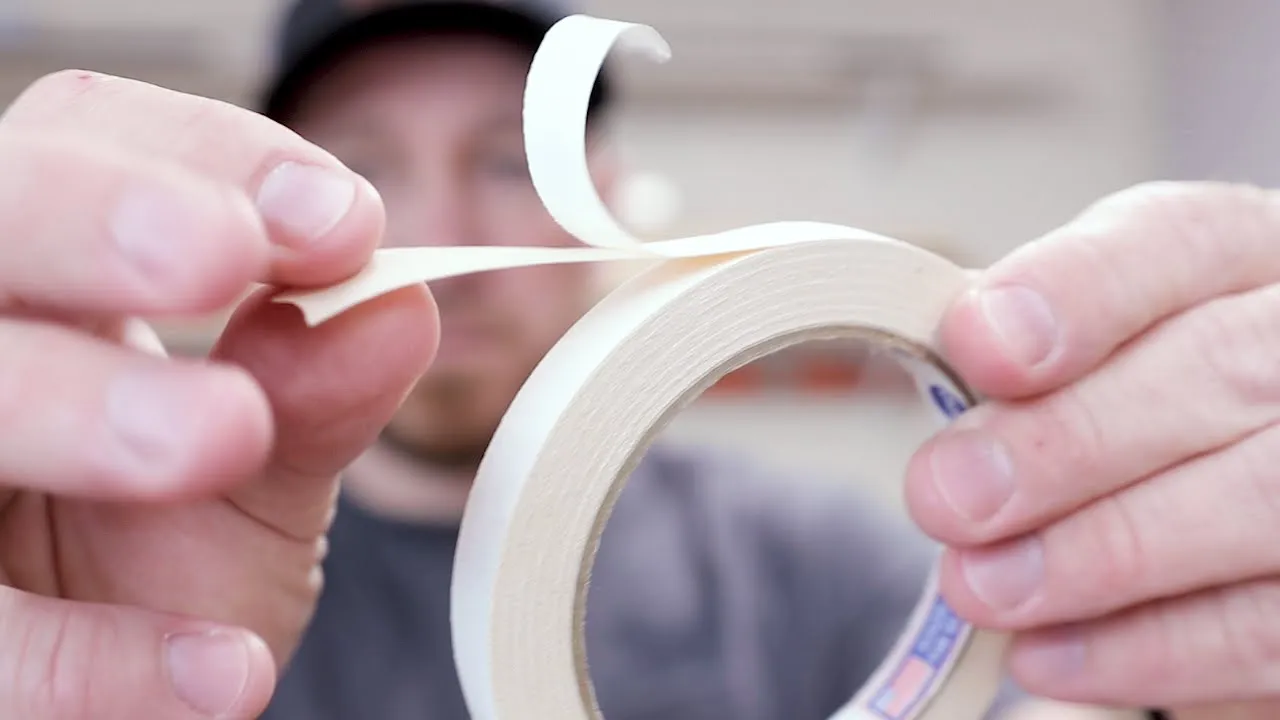
Most woodworkers have used double-sided tape at some point, but few consider how much the type of tape matters. Many reach for carpet tape or mounting tape out of convenience, but these products often leave residue or are too thick to allow precision.
Jodee recommends switching to a thin, double-sided paper tape. This kind of tape sticks well, doesn’t tear out fibers, and is easy to remove—all without gumming up your materials or your tools.
What Makes Paper Tape Better?
Paper tape is thin enough to allow flush contact between surfaces, which is essential for precision setups. Its strong bond holds up well during routing or cutting, yet it peels cleanly when it’s time to disassemble.
It also comes in various widths, making it easy to customize your setup based on the project at hand. Whether you’re securing thin pieces or need full-surface contact for template work, there’s a size that fits.
Smarter Tape Techniques
Jodee demonstrates several time-saving tape tricks. For example, leaving a small “paper tail” when applying tape makes removing the backing much easier—no more struggling to peel tiny slivers with your fingernails.
Another useful tip: touch the adhesive lightly with your fingers before clamping two pieces together. This slightly reduces the stickiness, making separation easier later—especially useful when fine sawdust is involved.
Template Work Made Easier
One of the best uses for paper tape is securing templates for routing. Apply strips to both the workpiece and the template, then press them together firmly. The resulting bond is strong enough to keep everything in place, even with aggressive router passes.
This method is ideal for sign-making, cutting boards, or any project where consistent, repeatable shapes are required. No clamps needed, and no slipping or shifting during the cut.
Zero Clearance Inserts and Tape
Another practical tip from Jodee is using double-sided tape to create zero clearance inserts for your table saw or router table. Attach a piece of plywood to the throat plate, and the result is cleaner cuts with far less tear-out.
The same idea applies to miter saws. Tape a zero clearance board to the base and fence to reduce chipping on the back side of your workpiece. It’s a simple solution with a noticeable improvement in cut quality.
Improving Your Router Table Surface
Router tables often come with slight dips or imperfections in the surface. By using tape to attach a flat sheet of plywood as a false top, you can create a smoother working surface.
This trick helps keep materials level during passes, which leads to better control and more accurate cuts. It’s easy to apply and just as easy to remove when you’re done.
Batch Cutting with Stacked Pieces
When you’re making multiples of the same part, stacking workpieces is a great time-saver. Tape lets you hold them together temporarily so they can be cut all at once on the bandsaw or drill press.
This ensures all the parts come out the same size and shape, which is essential for projects that require consistency, like drawers, coasters, or repetitive joinery.
Squaring Crooked Edges
If you’re working with plywood that’s slightly out of square, Jodee recommends using tape to attach a straightedge. Run the setup through the table saw, and you’ll get a perfectly square edge without building a complex jig.
It’s a fast and flexible method that’s ideal for quick cleanups or when working with rough or irregular stock.
Testing Jigs Before Committing
Another underappreciated use for tape: temporary jig setups. When you’re experimenting with a new jig idea, tape can hold parts together long enough for a dry run.
If it works, you can commit to a permanent build. If not, just pull the tape and revise. It’s a flexible way to prototype without wasting time or materials.
The Takeaway: Tape Is More Than Just Sticky
Double-sided tape might seem like a small detail in the shop, but using the right kind—and using it the right way—can lead to better results and fewer headaches. Jodee’s tips take a simple material and show how it can enhance nearly every part of your woodworking workflow.
From safer cuts to faster setups, paper-style tape has more applications than most woodworkers realize. Whether you’re making templates, building jigs, or just trying to improve accuracy, it’s a tool worth having on hand.
Support Jodee by visiting his online store here: https://inspirewoodcraft.com/collections/all.

Matt’s Take
These are my personal thoughts and tips based on my own experience in the shop. This section is not written, reviewed, or endorsed by the original creator of this project.
The difference between using the right tape and just grabbing whatever’s handy really shows up in your results. I keep rolls of thin paper tape in different widths because it saves so much time compared to fighting with thick carpet tape that leaves gummy residue everywhere. That little “paper tail” trick Jodee mentions is one of those simple things that makes a huge difference once you start doing it automatically.
Template work is where good tape really shines. When you’re routing with a pattern bit, any slippage between the template and workpiece shows up immediately in your finished piece. Paper tape creates that solid connection without adding thickness that throws off your measurements. I’ve found it particularly useful for repetitive cuts where consistency matters more than anything else.
The zero clearance insert idea is brilliant for anyone dealing with tear-out issues. Instead of buying expensive aftermarket inserts, you can create exactly what you need for each specific cut. Fresh tape holds everything perfectly flat, and when the insert gets chewed up from use, it’s easy to replace with a new piece of plywood.
Safety-wise, tape setups give you more control than trying to hold small pieces by hand, especially near spinning blades. Just remember that any tape joint is temporary by design, so always consider what happens if the bond fails mid-cut and position yourself accordingly.