This woodworking tip comes from Jodee at Inspire Woodcraft. In this video, he breaks down what causes sanding pigtails and shares specific techniques to avoid them, helping you improve your finishes and reduce frustration in the shop.
Pigtails are one of the most common sanding issues woodworkers face. These fine, swirled scratches often appear after finishing and can ruin an otherwise perfect surface. Jodee explains why they happen and how to correct your approach for better results.
Watch the full video and subscribe to Jodee’s channel:
What Your Orbital Sander Is Actually Doing
Random orbital sanders operate by both spinning and vibrating in a random pattern. This dual motion is designed to minimize visible sanding marks—but only if used properly.
Jodee compares the movement to washing a window in circular motions while gradually moving side to side. When used with the wrong speed or technique, this motion can actually leave behind swirls, especially if debris or poor sanding habits interfere.
The Two Biggest Causes of Pigtails
According to Jodee, most sanding pigtails can be traced back to two simple issues: user speed and debris.
First, if you move the sander too quickly across the surface, the abrasive can’t do its job effectively. Jodee recommends a pace of about one inch per second—slower than most people are used to, but far more effective for even sanding.
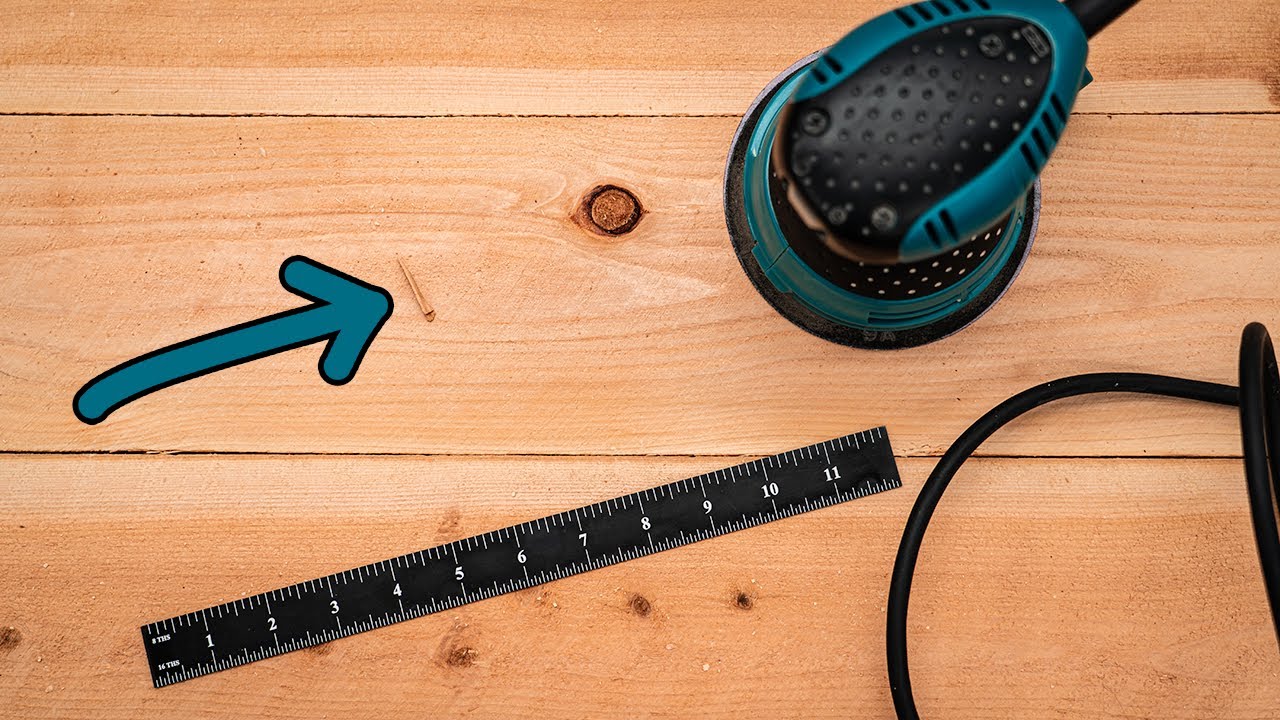
Second, anything caught between the sanding disc and pad—like wood dust, splinters, or even a torn disc—can create uneven abrasion. This results in concentrated scratches that show up as pigtails.
Tip #1: Slow Down Your Sanding Motion
The number one adjustment most people need to make is slowing down. Fast movements reduce the time each grit has to properly cut the surface, making the sander skip across the material instead of refining it.
Slowing down may feel inefficient, but it prevents damage and creates a smoother surface. A more methodical pass actually saves time overall by reducing the need for rework.
Tip #2: Use Quality Sanding Discs
Not all sanding discs are created equal. Jodee recommends using high-quality discs like 3M Cubitron, which are less likely to tear and more consistent in cutting performance.
Cheaper discs tend to wear out faster, clog more easily, and are prone to tearing—each of which increases the likelihood of pigtails. Investing in better abrasives improves your results and reduces frustration.
Tip #3: Keep Your Work Area Clean
It only takes one splinter or speck of debris to scratch your work. Jodee advises inspecting your work surface, disc, and sander pad regularly to remove any buildup.
Even if your pad looks clean, run your hand over it to feel for any embedded particles. A clean pad and disc make a huge difference in maintaining consistent contact with the surface.
Tip #4: Match Pad and Disc Sizes
Sanding discs need to fit your pad exactly. If your disc is too large or small, it may bunch up or fold at the edges, leading to uneven pressure and visible marks.
This is especially important when sanding glue-ups or panels with varying thickness. If a disc edge catches on an uneven surface, it can tear or crease, creating more problems during sanding.
Tip #5: Adjust Suction on Your Dust Collection
If you’re using a dust extractor or shop vac, be mindful of how much suction it’s applying. Too much suction can press the sander too firmly into the surface, leading to pigtails.
Some sanders have airflow controls to reduce this pressure. If yours doesn’t, consider using a bypass valve or lowering the suction on your vacuum manually.
Tip #6: Don’t Skip Grits
Progressing through sanding grits in the correct order helps to remove scratches from previous passes. Jumping from coarse to fine grit without proper steps in between will leave sanding marks that show up in your final finish.
A typical grit progression might start at 80 or 120, then move through 150, 180, and 220 depending on your project. Skipping these steps may seem faster, but it usually creates more work in the end.
Test on Scrap First
Jodee recommends practicing your sanding technique on scrap wood—or even clear acrylic—to see the effect of your speed and pressure in real time. These practice runs help fine-tune your approach before sanding a finished project.
You can use the same grit progression and sanding method, then hold the scrap up to the light to inspect for pigtails or irregular marks. It’s a great way to build confidence and consistency.
Use a Sanding Block for Touch-Ups
Even with the best technique, you might still see a few leftover marks. In those cases, Jodee suggests lightly sanding by hand using a sanding block and the same grit used on your last machine pass.
Always sand with the grain when touching up to avoid introducing cross-scratches. This final step can erase minor defects without damaging the surface.
Final Thoughts
Pigtails don’t have to be a constant headache in your woodworking process. By slowing down, choosing the right materials, and keeping your tools clean, you can drastically improve your sanding results.
Jodee’s tips are practical and easy to implement, whether you’re working on high-end furniture or simple home projects. The key takeaway: patience pays off in smoother finishes and less rework.
Support Jodee by visiting his online store here: https://inspirewoodcraft.com/collections/all.

Matt’s Take
These are my personal thoughts and tips based on my own experience in the shop. This section is not written, reviewed, or endorsed by the original creator of this project.
These pigtail prevention tips really hit home for me. I see so many woodworkers rushing through the sanding process, but that “one inch per second” rule is spot-on. When I first started woodworking, I definitely fell into the trap of thinking faster meant more productive. In reality, those quick passes just create more work later when you’re trying to fix the swirls under finish.
The debris issue is huge too, and it’s not always obvious stuff. Sometimes it’s just accumulated dust in the pad holes or a tiny wood fiber stuck to the disc. I make it a habit to give the pad a quick brush-off between grits and actually feel around the surface with my hand before starting each pass. You’d be surprised what you can catch that way.
One thing worth mentioning about dust collection suction – if you don’t have adjustable suction, you can also try opening the dust port slightly to reduce the vacuum pull. And definitely invest in quality discs. I learned that lesson the hard way after going through cheap discs that would tear mid-project and leave me starting over with a scratched surface.
The scrap wood testing idea is brilliant, especially for beginners. It takes the pressure off and lets you dial in your technique before touching your actual workpiece.