Jodee from Inspire Woodcraft shared the woodworking tip featured in this video.
This video explains how to check a combination square for squareness, how to true it up, and how to tune the tool so it lasts longer and behaves more predictably in the shop.
Watch the full video and subscribe to Inspire Woodcraft:
Why Check Your Combination Square
A combination square is a basic but essential layout tool whose accuracy affects every cut and joint that relies on a 90° or 45° reference.
Regular checks catch bent rulers, worn contact pads, or a twisted head before those errors transfer into workpieces.
What You Need and Preparing a Reference Edge
Checking accuracy requires the square, a pencil or marking knife for better precision, and a straight, smooth reference edge to run the head against. The quality of that reference matters—use a jointed, clean board or finished plywood and avoid rough factory edges that will mask the square’s errors.
How to Check for Squareness
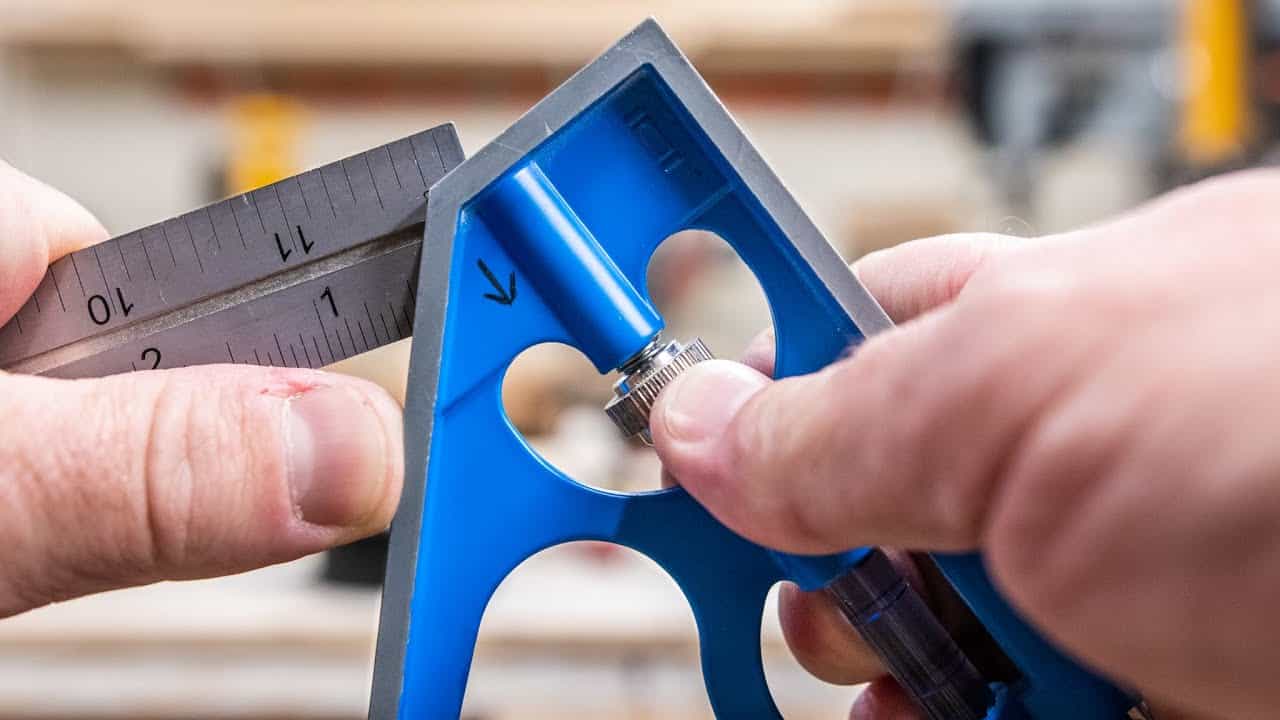
Extend the ruler so it seats into the head, tighten the clamp, and lay the head flat against the reference edge while holding the ruler flat on the face of the board.
Mark a line, flip the square end-for-end, redraw the line, and compare how the two lines align to determine which side of the head or pad needs adjustment.
Tuning the Square (Adjusting the Pads)
Inside the head are two small contact pads that act like a teeter-totter around the clamp bolt; removing tiny amounts of material from one pad pivots the ruler in the desired direction.
Use fine needle files, jeweler’s files, or folded sandpaper to remove very small amounts at a time, reassembling and checking frequently to avoid taking off too much.
Using the Ruler or Other Tools to Remove Material
On softer heads a ruler or blade edge can be used to scrape away material, but harder head materials require files or abrasive. The key is incremental removal and repeated checks so the square is nudged back to true without destroying the adjustment surfaces.
Improving the Ruler and Head for Longer Life
Sharp ruler edges and burrs can dig into the adjustment paths and cause the square to lose calibration each time the ruler slides in and out. Lightly easing or polishing the ruler’s long edges and minor rounding of the corners reduces chatter and wear, helping the square stay truer between tune-ups.
Fixing a Warped or Twisted Head
Some low-end heads arrive with slight warps in the reference face; flattening that surface against a known 90° reference—such as a jointer bed, table saw fence, miter saw fence, or a homemade right-angle jig—removes the twist.
Sandpaper on the reference and a few cautious passes will bring the face into square, and a Sharpie can be used to monitor progress visually.
Rechecking and Adjusting 45° Settings
Any material removed from the head affects both 90° and 45° faces, so the tool should be rechecked after tuning and fine-tuned against a trusted 45° reference as needed. The same incremental approach applies: small removals, frequent checks, and a reliable reference for the angle being verified.
When to Upgrade
Tinkering can make lower-end tools work well, but higher-quality combination squares come with smoother rulers, better-machined heads, and harder contact surfaces that stay true longer.
For those who want less maintenance, investing in a better tool can save time and frustration in the long run.
Overall Takeaways
Checking, tuning, and small improvements let a combination square serve accurately for much longer, and the techniques shown are adaptable to most shop setups.
The most important habits are using a true reference edge, removing material in very small amounts, and rechecking often so the tool is nudged toward square rather than overworked into uselessness.
Support Jodee by visiting his online store here: https://inspirewoodcraft.com/collections/all.

Matt’s Take
These are my personal thoughts and tips based on my own experience in the shop. This section is not written, reviewed, or endorsed by the original creator of this project.
Combination squares are one of those tools where the cheap ones can work surprisingly well if you’re willing to tune them up. The beauty of Jodee’s approach here is that it works whether you’ve got a $15 square from the hardware store or a nicer Starrett that just needs a small tweak. I’ve seen plenty of woodworkers struggle with layout accuracy because they assumed their square was good to go out of the box.
The reference edge point can’t be overstated — your square is only as accurate as what you’re checking it against. A freshly jointed board face or a quality piece of MDF works great. I keep a dedicated reference board in the shop just for tool setup because having that known-flat surface saves so much frustration down the line.
When you’re filing those contact pads, patience really pays off. It’s tempting to take bigger bites when you see how far off the square is, but those tiny adjustments add up fast. I like to check after every few file strokes because it’s way easier to take a little more material off than it is to put it back. The same incremental approach applies when you’re polishing the ruler edges — just a light touch with some fine paper can make a huge difference in how smoothly everything operates.