This tip is by Norman Pirollo from WoodSkills. It focuses on one of the most essential tools in hand tool woodworking: the shooting board.
Precision and accuracy are at the heart of fine woodworking, especially when using hand planes. A shooting board is a straightforward but powerful jig that helps you achieve perfectly square or angled edges every time.
Watch the full video and subscribe to Norman’s channel:
What a Shooting Board Is and Why It Matters
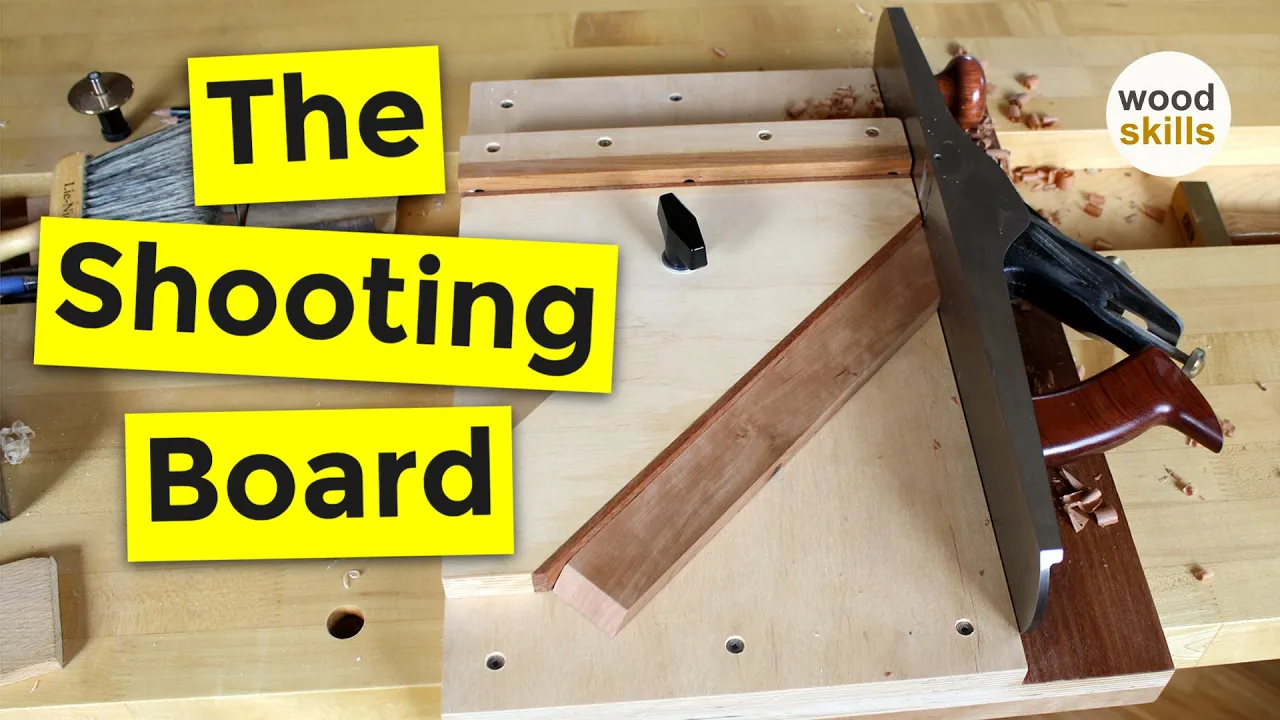
At its core, a shooting board is a flat base with a fixed fence that guides your workpiece as you trim the end grain with a hand plane. This setup ensures a clean, consistent 90-degree edge—crucial for joinery that needs to be tight and gap-free.
Instead of guessing or relying solely on sight, the shooting board gives you a reference surface that supports both the wood and the tool. This leads to cleaner edges, tighter joints, and a better final fit.
Core Benefits of Using One
One of the main advantages is how easily the shooting board can square up edges that might be slightly off. It helps remove tiny inconsistencies that a saw cut or miter might leave behind.
The process of shaving down end grain using a well-tuned hand plane results in an incredibly smooth, polished finish. That final pass makes all the difference when you’re after professional-level joinery.
Types and Variations
There are several styles of shooting boards depending on your needs. The most common is a basic version that produces clean 90-degree edges.
But you can also make angled shooting boards with accessories like a 45-degree fence. These are great for face miters, box making, and casework where precision angles are critical.
Building a Basic Version
Constructing a shooting board doesn’t require exotic materials or complicated techniques. A solid base, a square fence, and a stop block are the three main elements you need.
Getting the fence perfectly square is the most important part. Once that’s in place, you can rely on the board to keep every cut true.
Upgrading with Attachments
To make your board more versatile, attachments can be added. A removable 45-degree guide, for example, lets you work on miters without needing a second setup.
These modifications can be bolted or clamped on, turning a basic shooting board into a multi-functional tool. As you take on more complex joinery, these additions will save time and improve results.
Choosing the Right Plane
Norman recommends a long sole plane for most tasks on the shooting board. The length helps register the plane flat against the board’s edge and keeps each pass smooth.
Bevel-up jack planes also work well, especially on smaller boards. The key is to use a plane that’s sharp and tuned, with a flat sole and tight mouth for clean shearing cuts.
Design Details That Matter
One smart design feature is a small gap at the bottom of the fence. This prevents the plane’s sole from rubbing against the wood or damaging the setup over time.
That gap protects both the plane and the fence, and it’s a subtle but important way to increase the life and reliability of your shooting board.
Helpful Techniques for Better Results
When checking the edge of your board after a pass, don’t place your square tightly against the surface. Instead, leave a small gap and look for light peeking through—this makes it easier to spot inconsistencies.
Another tip Norman shares is to keep your hand tools clean and lightly waxed. Applying a bit of paraffin wax to the sole of your plane will help it glide more smoothly across the board.
Maintenance and Longevity
Like any tool, the shooting board works best when it’s kept clean and flat. Check the fence occasionally for square and make sure the base hasn’t warped with use.
Even simple plywood can serve as a reliable shooting board base, but upgrading to hardwood or MDF can extend its life. A well-built board will serve you for years with only minor upkeep.
Why It Belongs in Every Shop
For anyone working with hand tools, the shooting board is a must-have. It turns end grain trimming into a repeatable, accurate task instead of a guessing game.
Whether you’re squaring up drawer parts or fitting small miters, the shooting board gives you an edge—literally and figuratively—in your woodworking workflow.
A Gateway to Better Joinery
Using a shooting board also builds your understanding of how tools interact with materials. It encourages a slower, more thoughtful approach that improves not just your results, but your skills.
As Norman demonstrates, it’s one of those tools that quickly becomes indispensable. Once it’s part of your bench setup, you’ll find yourself reaching for it regularly.
Support Norman by visiting his website: https://www.woodskills.com/

Matt’s Take
These are my personal thoughts and tips based on my own experience in the shop. This section is not written, reviewed, or endorsed by the original creator of this project.
I’ll be honest — the shooting board was one of those tools I kept hearing about but didn’t fully appreciate until I actually made one. It’s deceptively simple looking, but the precision it brings to end grain work is remarkable. Norman’s right about that gap at the bottom of the fence — it’s one of those details that might seem minor but makes a huge difference in preventing wear on your plane’s sole.
One thing I’ve found helpful is starting with a basic plywood version before investing time in a hardwood upgrade. You can learn the technique and figure out your preferred dimensions without worrying about making mistakes on expensive stock. The beauty is that even a simple shooting board will dramatically improve your joinery — perfect for drawer fronts, small boxes, or any time you need that glass-smooth end grain finish.
If you’re new to hand planes, a shooting board is actually a great way to practice your technique. The guided setup removes a lot of variables, so you can focus on things like maintaining consistent pressure and reading the shavings. Plus, there’s something satisfying about taking those whisper-thin shavings off end grain — it’s one of those moments where hand tools really shine compared to their powered counterparts.