This tips is by Jodee from Inspire Woodcraft.
It highlights a simple method for squaring large, out-of-alignment panels on the table saw—without needing a giant sled or full-size jointer.
If you’re dealing with awkwardly sized panels that won’t register cleanly against your fence, this method offers a reliable solution using scrap plywood, double-sided tape, and basic table saw technique.
It’s an efficient workaround that fits well in shops with limited space or tool access.
Watch the full video and subscribe to Jodee’s channel:
The Problem: Large Panels That Aren’t Square
In woodworking, not everything comes out square on the first try—especially oversized glue-ups or wide panels that span multiple boards.
If your jointer isn’t wide enough or a crosscut sled won’t support the weight, it becomes tricky to square up the edges.
Jodee often encounters this situation in his shop and developed a technique using temporary runners taped to the panel itself. These runners act as a temporary straightedge and gliding base to allow the table saw fence to do its job—without fighting the panel’s original shape.
Why This Method Works
The concept is simple but effective: the table saw only needs one clean, straight edge to guide a cut. If your panel lacks that edge, attach a new one using a thin plywood strip.
By taping a straight runner to the panel’s face, you give the fence something to register against. A second runner underneath supports the panel during the cut, keeping it flat and parallel to the tabletop.
This approach allows you to cleanly rip one edge, flip the panel, and then use the new edge to rip the opposite side parallel. Once two parallel edges are established, crosscuts can be made to square the ends.
Materials You’ll Need
This workaround uses common shop materials:
- Two thin sheets of plywood or MDF
- Double-sided tape (2-inch wide tape is easiest to handle)
- Optional wax or lubricant for smooth gliding
- Flat-top rip blade and a clean crosscut blade
- Speed square or framing square for checking results
Jodee emphasizes that the materials don’t need to be fancy—scrap plywood and reliable tape go a long way when properly applied.
Step-by-Step Concept (Not a Strict Tutorial)
The process is intentionally flexible to adapt to your tools and workspace. Here’s the general idea behind it:
Inspect the panel first. Identify any taper, twist, or glue-up inconsistencies that prevent square referencing.
Attach a straight plywood runner to one face using double-sided tape. This will serve as the reference edge against your table saw fence.
Add a second runner underneath the panel to elevate and stabilize it during the cut. Waxing this lower runner helps reduce drag across the table saw surface.
Make your first rip cut along the taped edge. This gives you one clean, straight face.
Flip the panel and use the newly cut edge against the fence to rip the opposite side. Now your panel has two parallel long edges.
Switch to a crosscut blade and trim the ends square, using a framing square to check accuracy. Small corrections can be made with minimal material removal.
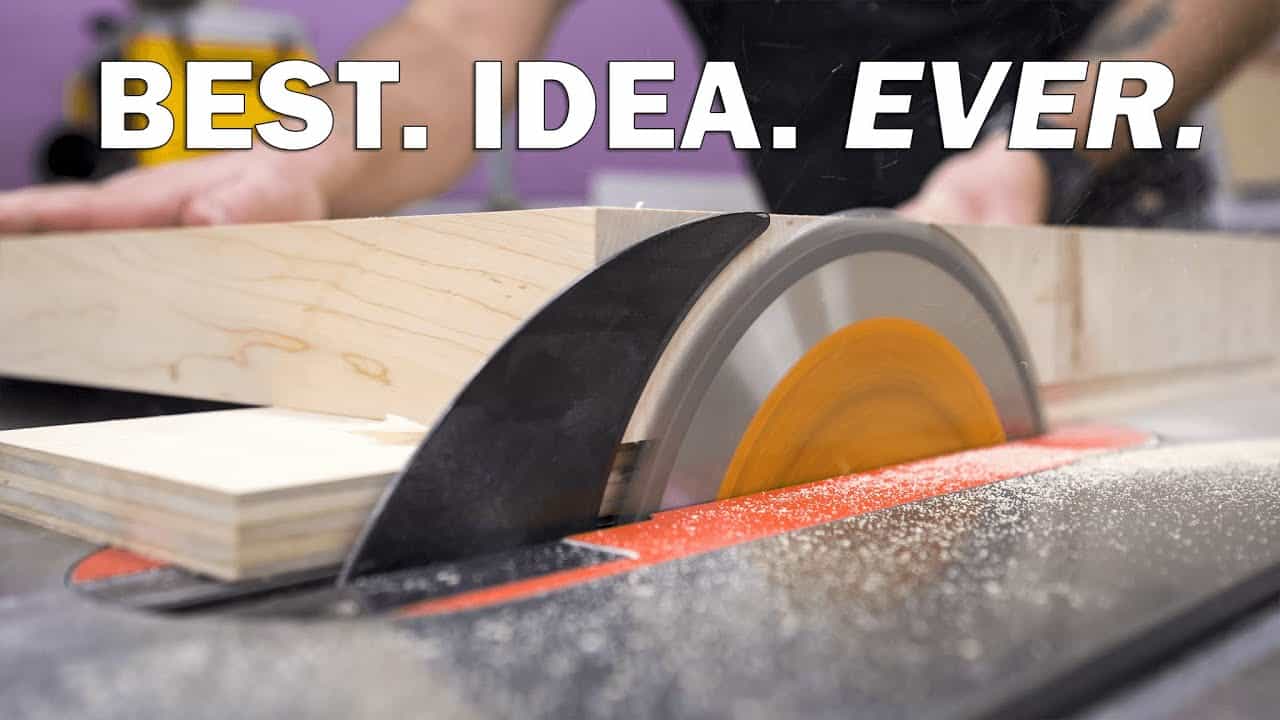
Blade Selection Matters
Jodee recommends using a flat-top grind rip blade for the long edge cuts. These blades remove material efficiently and help prevent burning.
For squaring the ends, a high-tooth-count crosscut blade provides a cleaner finish with minimal tearout. Swapping blades at the right moment ensures smoother results and reduces post-cut cleanup.
Always make sure your blades are clean and sharp. Dull blades generate heat and resistance, increasing the chance of inaccuracy or material burning.
Helpful Tips from Jodee’s Shop
- Use a full-length strip of tape for stability and avoid shifting during cuts.
- Only remove what’s needed with each cut—especially if the panel size is already close to finished dimensions.
- A light coat of wax on the runner can help the panel glide easily without friction.
- After each cut, double-check with a square to confirm squareness and parallelism.
- If you see burn marks or uneven edges, slow down the feed rate and verify blade alignment.
Jodee shows how easy it is to adapt this method to a variety of shop sizes and skill levels. It’s not a replacement for a large sled or jointer, but it’s a fast and reliable solution for one-off panels or smaller-scale shops.
When to Use This Method
This runner system shines when you need to square one or two oversized panels and don’t want to spend time building a full sled. It’s especially helpful if you’re working solo or have limited floor space.
However, for repetitive panel work or larger batch processing, consider building a proper sled or using a track saw setup.
Each approach has its place, and Jodee’s technique is perfect for those in-between moments where space, time, or setup limits other methods.
A Clever Fix for a Common Challenge
What makes this approach great is that it doesn’t rely on expensive tools or permanent fixtures. With a few strips of plywood, a roll of tape, and some thought to safety, you can square large, misaligned panels on the table saw with ease.
It’s one more example of creative problem solving in the woodshop—turning what seems like a limitation into a manageable, repeatable solution.
Support Jodee by visiting his online store here: https://inspirewoodcraft.com/collections/all.

Matt’s Take
These are my personal thoughts and tips based on my own experience in the shop. This section is not written, reviewed, or endorsed by the original creator of this project.
This is exactly the kind of shop problem-solving that makes woodworking so satisfying. We’ve all been there with a panel that’s just slightly off-square but too big for our normal squaring methods. The beauty of this technique is how it uses basic materials to create a temporary reference system that works with your existing tools.
Safety-wise, remember that oversized panels can be unwieldy near spinning blades. Take your time with the setup and make sure those tape joints are solid before committing to the cut. A panel shifting mid-cut is never fun. I’d also suggest having adequate outfeed support—whether that’s a helper, roller stands, or extension tables.
The blade selection point is spot-on. That switch from rip to crosscut blade really does make a difference in cut quality, especially on the end grain cuts. And while we’re talking blades, keep your feed rate steady and deliberate. These larger panels can want to bog down the saw if you push too hard, leading to burn marks that’ll require extra sanding later.
This method really shines for those one-off situations where building a full crosscut sled feels like overkill. It’s the kind of technique that’s worth keeping in your back pocket for when the “normal” methods just don’t quite fit the job at hand.