Jodee from Inspire Woodcraft shared the woodworking tip featured in this video.
This video shows a straightforward workflow for making complete drawers using a box-joint jig set up for repeatability and speed. The approach centers on using consistent references and simple blade changes so drawers of different heights all turn out the same.
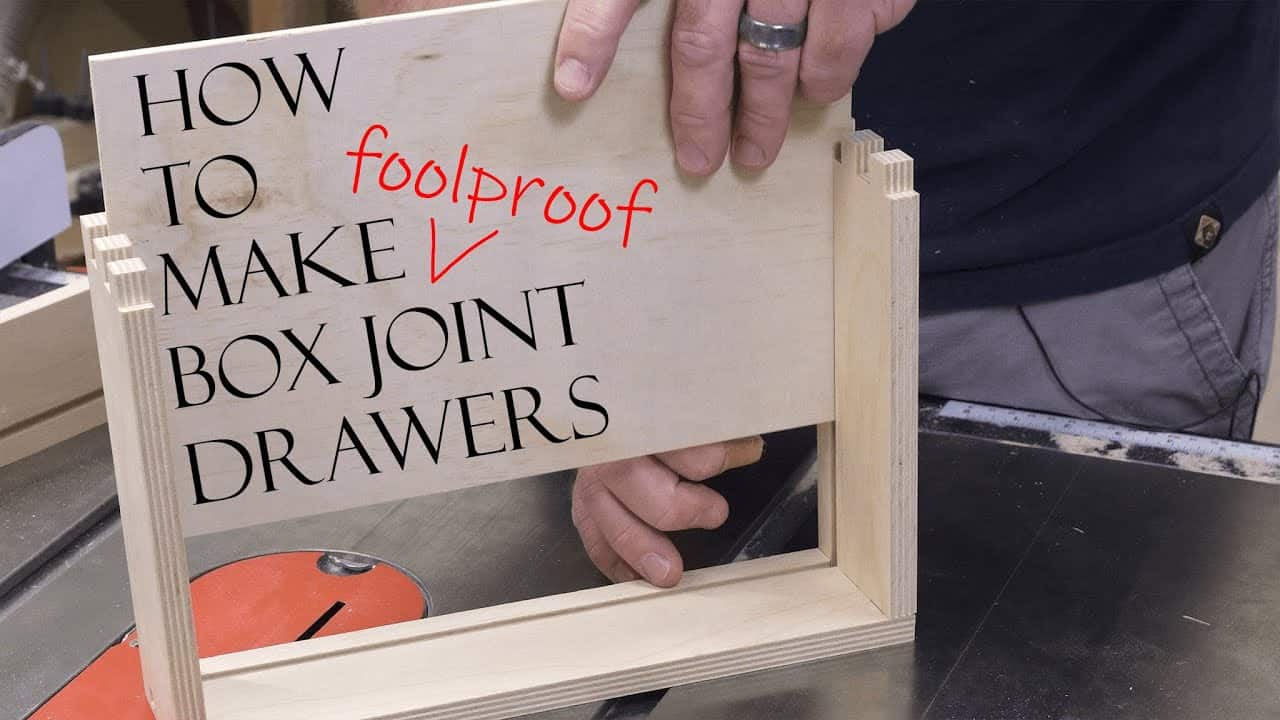
Watch the full video and subscribe to Inspire Woodcraft:
Design Philosophy
The method prioritizes consistency over decorative complexity so multiple drawers can be produced quickly with predictable results.
Jodee emphasizes a system where the bottom of each drawer is used as the primary reference, removing guesswork between jobs.
Using repeatable setup points—like a fixed fence and a keyed position on the jig—keeps joinery aligned regardless of drawer height. This makes the workflow scalable and ideal for batch production or for anyone who prefers a reliable routine.
Lumber Preparation
Parts are pre-cut to the finished outer dimensions so the interlocking box joints align without adding or subtracting for material thickness. Surfaces are labeled to mark tops and bottoms, which preserves orientation through every step and prevents mistakes during assembly.
Sanding the inside faces before glue-up is recommended so final cleanup after assembly is minimal. Labeling the pieces and keeping them organized reduces confusion when switching between jig faces or when cutting grooves for the drawer bottom.
Joinery with the Box-Joint Jig
The workflow starts by cutting the front and back pieces first, then the sides, keeping the bottom marks facing the jig key and fence for reference. Cutting two matching pieces at once speeds production, but careful attention to flush alignment is essential to avoid cumulative error.
Jodee demonstrates micro-adjusting the jig and making successive passes while flipping parts end-for-end to complete the pattern. The result is accurate interlocking box joints that assemble without complex dimension gymnastics.
Groove for the Drawer Bottom
After the box joints are cut, the dado stack is swapped for a single blade to cut the groove for the drawer bottom.
A couple of shallow test passes are used to dial in the groove width and depth so the plywood bottom fits snugly but can still be adjusted during assembly.
Keeping the inside face down when routing the groove ensures the scored side is placed correctly to accept the drawer bottom. This attention to orientation preserves the finished appearance and simplifies final fitting under a false front.
Assembly and Clamping
Assembly follows a logical sequence so the notch for the bottom is hidden where it won’t be seen, such as on the back of the drawer or underneath a false front. Dry-fitting and consistent orientation marks prevent surprises during glue-up.
Glue is applied and the box is clamped, then excess squeeze-out is left to be sanded after the glue cures. Jodee suggests sanding the outside faces after assembly so the box is uniformly finished and any seam irregularities are smoothed out.
Shaping, Sanding, and Final Fit
Sanding the inside faces before assembly and then addressing the outside after glue-up streamlines the workflow and produces cleaner internal surfaces. Small adjustments, like widening a groove with extra passes, are done incrementally and tested with the bottom panel for a precise fit.
Runner installation and final fitment are quick once the box is assembled, and any excess gaps can be corrected with sanding or light trimming. The method favors functional fit and tidy presentation rather than decorative excess.
Overall Takeaways
This approach is valuable because it reduces variables: a fixed jig setup, consistent reference marks, and a clear order of operations make repeat builds reliable.
The system adapts to different drawer heights without changing the underlying process, which is ideal for both one-off and batch work.
Woodworkers can adopt the technique by focusing on orientation marks, testing blade settings, and prioritizing organization during cutting and assembly. Small habits—like labeling bottoms and cutting front/back first—deliver a professional, repeatable result.
Support Jodee by visiting his online store here: https://inspirewoodcraft.com/collections/all.

Matt’s Take
These are my personal thoughts and tips based on my own experience in the shop. This section is not written, reviewed, or endorsed by the original creator of this project.
Box joints are one of those techniques that really benefit from having a dialed-in system. What I appreciate about Jodee’s approach is the emphasis on using the drawer bottom as a consistent reference point. This eliminates the mental gymnastics of trying to remember which way is up when you’re cutting multiple sets of parts. Once you establish that bottom-down orientation and stick with it religiously, the whole process becomes much more predictable.
The micro-adjustment aspect is crucial with box joints. Even tiny discrepancies get magnified when you’re dealing with multiple fingers, so those test cuts and small tweaks Jodee demonstrates can save you from a frustrating assembly later. I’d also emphasize taking your time with the initial setup – it’s worth spending an extra 10 minutes getting the jig perfectly dialed in rather than rushing and having to remake parts.
From a safety standpoint, remember that box joint jigs put your hands relatively close to the blade, especially when you’re making those micro-adjustments. Keep push blocks handy and never rush the cuts. The beauty of this method is that it’s designed for consistency and repeatability, not speed, so let the process work at its own pace.