Nick Starrett shared the woodworking tips featured in this video.
Nick compiles a handful of simple, professional-level shop tricks that improve accuracy, protect materials, and speed up common tasks without flashy tools or complicated setups.
Watch the full video and subscribe to Nick Starrett:
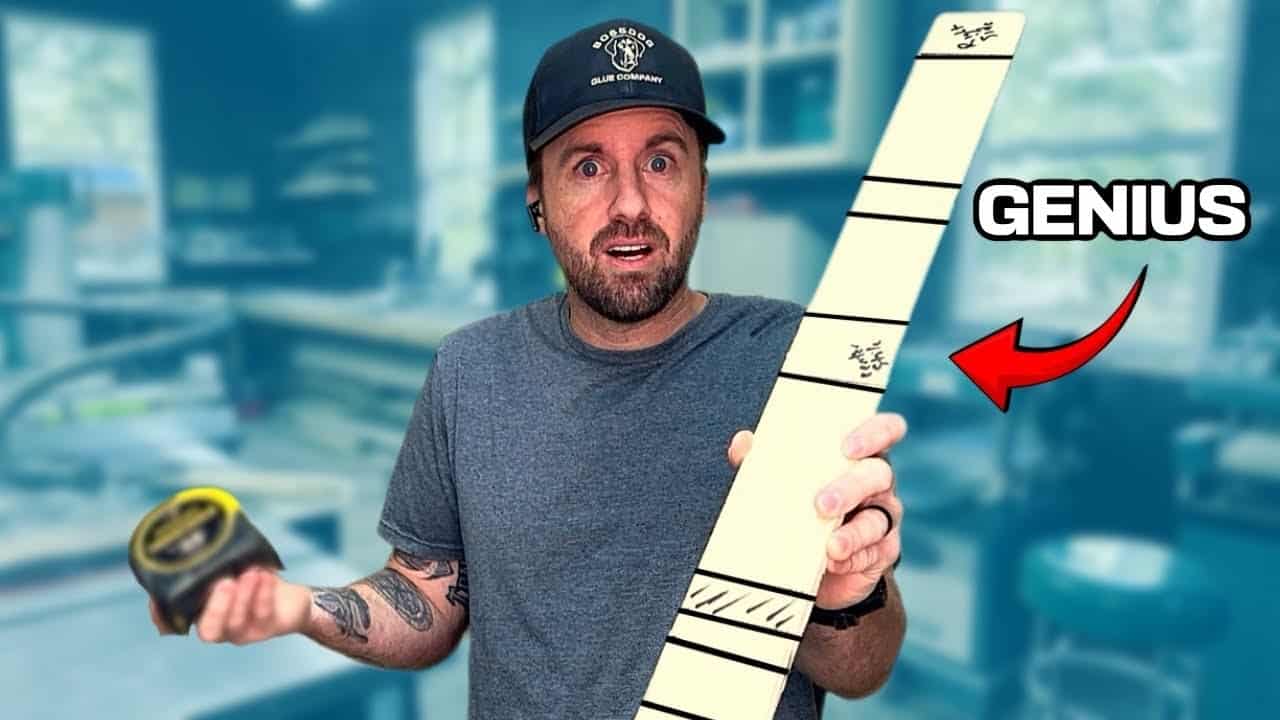
Story Stick: Measure Reality, Not Numbers
The story stick is a simple strip of plywood used to capture exact layout points from an actual assembly rather than relying on tape-measure numbers. It records cut locations, notches, and faces so those critical dimensions can be transferred directly to mating parts for perfect alignment.
This approach eliminates cumulative measurement error and mental math when building repeatable items like cabinets or drawer faces. A story stick can be annotated, stored for future repeats, or discarded after a one-off project, making it a cheap and highly accurate blueprinting tool.
Painter’s Tape: The Most Versatile Shop Helper
Painters tape is more than a masking tool—Nick shows how it serves as temporary clamps, tear-out preventers, and alignment aids during glue-ups. It can act like double-sided tape when paired with CA glue and activator, or hold miters perfectly aligned while the glue sets.
Taping over a plywood cut area reduces tear-out along the cut line, saving material and cleanup time. The tape trick is low-cost and low-effort, and it can substitute for clamps when only light pressure is needed for delicate joins.
Raising the Grain (Water Popping) for a Smoother Finish
Raising the grain—also called water popping—is used to pre-raise wood fibers so they can be sanded away before the final finish is applied. Nick recommends doing this near the end of the sanding progression so the last pass removes any fuzz caused by finish absorption.
This simple step prevents a fuzzy, uneven surface after finishing and helps the final coat sit smoother and truer to the wood. It’s especially useful on hardwoods where raised fibers are more noticeable after sealers or topcoats cure.
Build to the Eye, Not Just to the Tape
Nick emphasizes visual fit over numeric perfection when installing furniture or cabinetry because few walls and floors are perfectly square or level. Adjusting parts to look right in their real environment often yields better results than strictly following measurements.
This method is practical for custom installs where gaps and slopes are common; small visual adjustments, shimming, and selective trimming produce a much cleaner final appearance. Prioritizing what the end user sees keeps projects looking intentional and well-fitted.
Table Saw Blade Height: Reduce Tear-Out and Improve Safety
The ideal blade height is not with the teeth barely above the wood but with the gullets—the valleys between teeth—sitting just above the top surface. That position lets the first tooth engage the wood at a downward angle, which reduces tear-out on the top face of the cut.
Conversely, setting the blade too high exposes more blade, increases kickback risk, and can worsen the bottom finish of a cut. Finding the sweet spot balances cut quality and safety for smoother, more consistent results.
Plastic Bag Brush Trick: Keep Brushes Ready Between Coats
Wrapping a brush in a plastic bag between coats prevents air from drying the finish on the bristles and keeps the tool usable for hours or even days. This is a handy solution on job sites where washing brushes between every coat is impractical or inconvenient.
Brushes should be cleaned thoroughly at the end of the job to prolong life, but the bag trick lets a single brush carry through multiple coats without hardening. It’s a quick shop habit that saves time and reduces brush waste.
Overall Takeaways
These tips share a common theme: small, low-cost habits can dramatically improve accuracy, finish quality, and workflow in the shop. Each technique is adaptable—story sticks for repeatable layouts, tape for delicate holding, water popping for finishes—so builders can pick what fits their shop and projects.
Adopting a few of these methods will speed up common tasks while producing more consistent, professional-looking results. Practicing the techniques and keeping a few simple supplies on hand pays dividends across many builds.
Please support Nick by visiting his website here: https://www.nickscustomwoodworks.com/.

Matt’s Take
These are my personal thoughts and tips based on my own experience in the shop. This section is not written, reviewed, or endorsed by the original creator of this project.
These are the kinds of shop tricks that really separate weekend warriors from folks who work wood regularly. The story stick approach is brilliant for anyone doing built-ins or multiple pieces that need to match — I keep a few scraps of plywood around just for this purpose. It’s amazing how much more accurate your work becomes when you stop fighting cumulative measurement errors.
The painter’s tape insights hit home because I see so many people underestimate this simple tool. Beyond what Nick covers, I’ve found it invaluable for marking drill depths on bits and creating temporary reference lines that won’t leave marks. Just make sure you’re using the right adhesion level — the blue stuff is usually perfect for most shop tasks without leaving residue.
That blade height tip deserves special attention from newer woodworkers. I see people running blades way too high all the time, thinking more exposure means better cuts. Getting those gullets just above the surface really does make a difference in both cut quality and safety. Your saw will feel more controlled, and you’ll get cleaner results with less effort.
The water popping technique is one of those finishing steps that seems fussy until you see the difference it makes. It’s particularly game-changing on figured woods where you want that final surface to be absolutely smooth. Take the extra few minutes — your finish will thank you.