Jodee from Inspire Woodcraft shared the woodworking tip featured in this video.
Jodee demonstrates a variety of practical ways blue painter’s tape can speed up shop work, reduce cleanup, and protect both tools and workpieces.
The techniques range from simple marking tricks to clever temporary adhesives and glue management methods that fit into everyday workflows.
Watch the full video and subscribe to Inspire Woodcraft:
Drilling, Holding, and Zero-Clearance
These tips focus on controlling depth, stabilizing small parts, and preventing lost pieces during machine work. They are simple tactics that replace clumsy setups or permanent fixtures with a roll of tape.
- Make a depth stop on a drill bit by wrapping tape around the bit so a small flag shows when the desired depth is reached.
- Create a temporary double-sided hold by making a tape loop sticky-side-out to secure a workpiece to the bench for marking or drilling.
- Use that same adhesive loop technique on a bandsaw table as a quick zero-clearance insert to reduce tear-out and keep small offcuts from falling into the throat plate.
Preventing Tear-Out and Keeping Clean Layouts
Protecting edges and keeping accurate layout lines matters for clean joinery and finishes. These tape uses lock down fibers and prevent marking the wood directly.
- Apply tape across a cut line on a miter saw or table saw to minimize tear-out and produce cleaner end grain cuts.
- Lay tape on a workpiece for layout and measurement marks so the surface stays pristine and easy to correct if plans change.
- Use small rolls of tape under stock to keep it from sliding while transferring drill positions or centerlines without marking the part.
Glue, Clamps, and Clean-Up Tricks
Glue squeeze-out and sticky clamps are common nuisances; tape offers low-cost sacrificial protection and temporary clamping solutions. These techniques extend tool life and reduce sanding or scraping after glue-ups.
- Use a short tape “squeeze tube” by folding a piece of tape into a small trough to pour epoxy or glue into holes without contaminating fingers or bottles.
- Stick tape to clamps in glue-up contact areas so squeeze-out lands on the tape instead of metal, extending clamp life and simplifying cleanup.
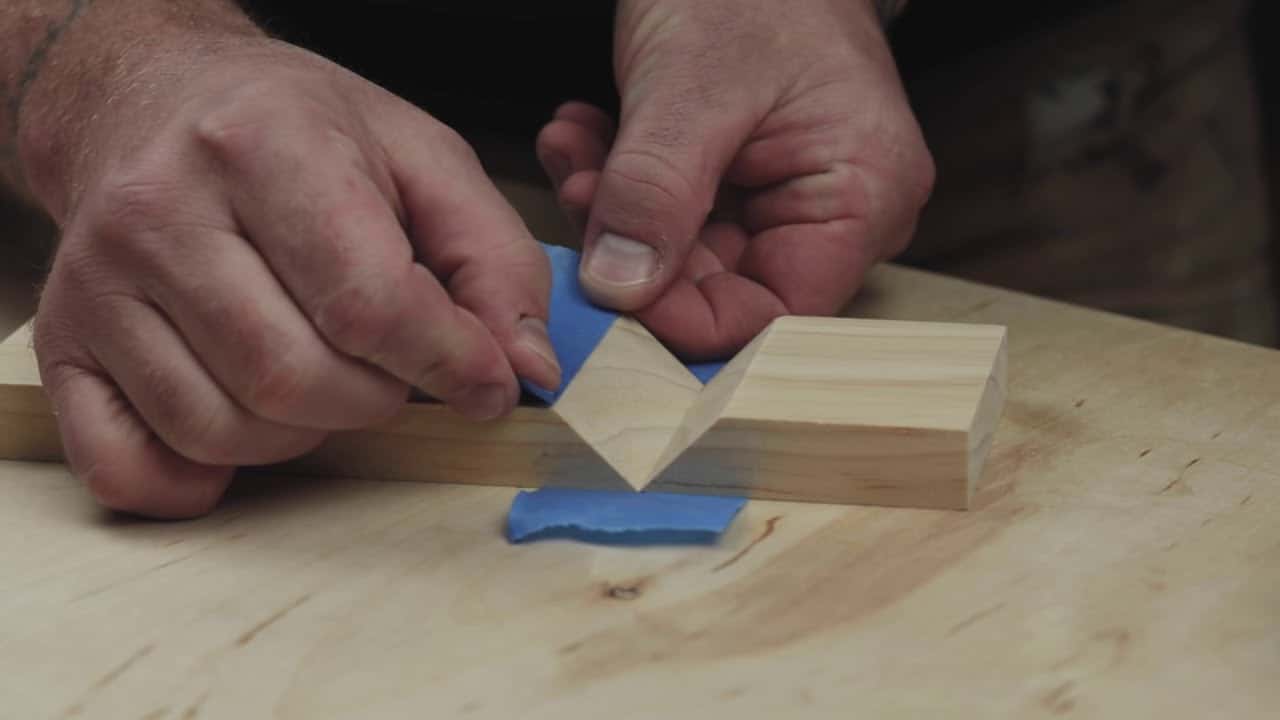
- Use tape as a clamp for light 90-degree assemblies by wrapping the joint; also mask inside corners with tape to catch squeeze-out and avoid stain or finish problems later.
- Sandwich tape between two surfaces with a drop of CA on one side and accelerator on the other to create a quick temporary bond that peels away cleanly when separated.
Routing, Measuring, and Workflow Shortcuts
Small tape tricks can save time and reduce mistakes while routing or cutting multiple parts. They help communicate settings and prevent repeated measuring trips.
- Mark start and stop points on a router table with tape so a groove begins and ends exactly where needed without complex jigs.
- Stick a strip of tape to a tape measure and write frequently used dimensions on it to keep cuts consistent and avoid re-measuring at the bench.
Why These Tape Tricks Matter
These techniques take advantage of a simple, inexpensive material to solve everyday problems in the shop. Adopting a few of them can reduce rework, protect tools, and speed up common tasks.
Each trick is adaptable to different tools and materials, and most are reversible so they won’t damage stock or finishes when used thoughtfully. Implementing tape-based solutions can make small jobs cleaner and larger projects run more smoothly.
Support Jodee by visiting his online store here: https://inspirewoodcraft.com/collections/all.
