This project was built and designed by Jodee from Inspire Woodcraft. It features a series of smart upgrades to his outfeed and assembly table—turning a basic piece of shop furniture into a more mobile, stable, and versatile workspace.
Jodee walks through the process of diagnosing problems with his original table and systematically improving it with thoughtful modifications. The result is a functional upgrade that any woodworker can learn from and apply to their own setup.
Watch the full video and subscribe to Jodee’s channel:
Addressing Real-World Shop Problems
After using his outfeed table for a few weeks, Jodee noticed a few recurring issues. The table rocked on the uneven concrete floor, wasn’t level with the table saw, and lacked versatility for clamping and mobility.
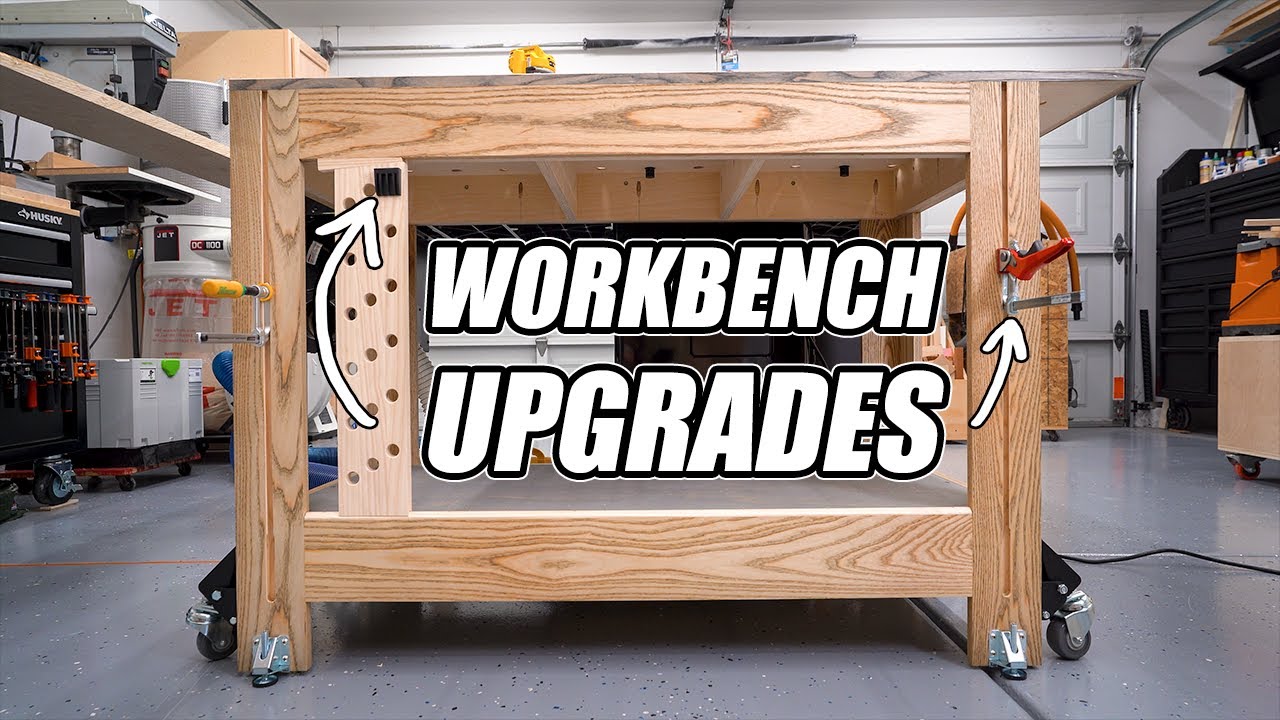
Rather than rebuild the entire table, he focused on retrofitting it with better features. These included leveling feet, casters, a sliding deadman, miter gauge reliefs, and a strategic layout of dog holes—all aimed at enhancing both workflow and workholding.
Installing Leveling Feet and Casters
To solve the wobble and mobility issue, Jodee started by flipping the table over and installing heavy-duty casters and leveling feet. The feet were aligned and mounted into pilot holes, allowing him to later adjust the height precisely.
Because the included screws for the casters were too long, he modified the mounting by adding plywood blocks to the inside corners. This small adjustment ensured a snug, secure installation and gave the wheels a stronger anchor point.
With the feet and wheels in place, the table was flipped back over. It now rolled smoothly around the shop and could be leveled to match the exact height of the table saw.
Adding Miter Gauge Reliefs
One of the more practical upgrades was routing miter gauge reliefs into the top of the table. These cutouts prevent the miter bar from hitting the outfeed surface during crosscuts.
To keep the cuts straight and properly aligned, Jodee created a simple template. This helped him route precise channels that matched the gauge slots on the saw and maintained material support without interference.
Building a Sliding Deadman
To improve support for long boards, Jodee added a sliding deadman to the front of the table. Using a scrap of ash and some leftover hardware, he built a simple track system that lets the deadman move side to side.
After a few design tweaks—including refining the shoulder for smoother sliding action—the deadman became a reliable helper for awkward or heavy pieces. It functions as a third hand during assembly or when milling lumber solo.
This feature alone increases the range of tasks the outfeed table can handle and eliminates the need to drag out extra stands or supports.
Drilling Dog Holes for Better Clamping
Next, Jodee laid out and drilled a clean grid of dog holes across the tabletop. These holes allow the use of bench dogs, holdfasts, and other accessories, making the surface far more versatile.
Using a template ensured even spacing and repeatability. After drilling, the holes were routed lightly to remove sharp edges and give a cleaner finish.
With dog holes in place, workpieces can be clamped flat or on edge quickly—ideal for sanding, planing, or joinery work.
Integrating Sliding Dovetail Clamps
To increase clamping power along the front of the table, Jodee added sliding dovetail slots into the legs. These grooves accept specialized clamps that slide in and lock, creating a removable vise-like clamping area.
This addition expands the workholding options without permanently attaching a vise. It’s especially useful for edge work, glue-ups, or repetitive tasks where quick clamping is essential.
Improved Efficiency and Flexibility
Taken together, these upgrades transform a basic outfeed table into a multifunctional workhorse. Jodee can now move the table easily, level it precisely, support longer materials, and clamp items from multiple angles.
Each change is practical, efficient, and designed around the way he actually works in the shop. Rather than overbuild or redesign from scratch, Jodee focused on problem-solving and incremental improvements.
A Great Model for Shop Optimization
For woodworkers looking to improve their shop layout, this video offers useful ideas that don’t require a full rebuild. Even small upgrades—like adding leveling feet or routing in a few dog holes—can yield big results.
The key takeaway from Jodee’s approach is to design around your workflow. Think about how you move, cut, clamp, and assemble. Then customize your workspace to support those actions more smoothly.
Support Jodee by visiting his online store here: https://inspirewoodcraft.com/collections/all.

Matt’s Take
These are my personal thoughts and tips based on my own experience in the shop. This section is not written, reviewed, or endorsed by the original creator of this project.
This kind of systematic approach to shop furniture really resonates with me. Rather than starting from scratch, Jodee tackled each problem individually with smart retrofits. The combination of casters and leveling feet is brilliant — you get mobility when you need it and rock-solid stability when you don’t. That balance is crucial for any workbench or outfeed table that sees heavy use.
The sliding deadman is a game-changer for solo woodworkers. I can’t count how many times I’ve needed that third hand when running long boards through the saw or trying to manage awkward assemblies. The track system keeps it out of the way when not needed but instantly available when you do. It’s these kinds of thoughtful details that separate a good shop setup from a great one.
Dog holes are one of those upgrades that seem simple but completely transform how you work. Once you have them, you wonder how you ever managed without that kind of flexible workholding. The key is getting the spacing right for your typical work — too far apart and they’re not as useful, too close and you’re weakening the surface unnecessarily.
What I really appreciate about this approach is the focus on actual workflow problems rather than just adding features for the sake of it. Each upgrade serves a specific purpose and works together with the others. That’s smart shop planning.